Look, I get it – you’ve seen countless dutch oven bread recipe posts promising miracle loaves. Most are garbage.
This one’s different because I’ve screwed up enough times to know what actually matters, and I’m going to tell you exactly how to nail this artisan bread without the fancy chef nonsense.
Why This Dutch Oven Method Changed Everything for Me
Three years ago, my wife handed me a cast iron Dutch oven and said “figure it out.”
I burned exactly seven loaves before understanding the real secret isn’t just heat – it’s controlled steam and timing that creates that perfect crusty exterior.
The game-changer? Cold fermentation. Forget those 4-hour recipes. We’re talking about slow-rise dough that develops flavor while you sleep. Your kids will think you’ve become some kind of bread wizard overnight.
The Science Behind the Magic (Keep It Simple, Dad)
Dutch oven baking works because it mimics professional steam ovens.
The heavy lid traps moisture from the dough, creating steam that keeps the bread surface soft during initial expansion. Then we remove the lid for that golden bread crust finish.
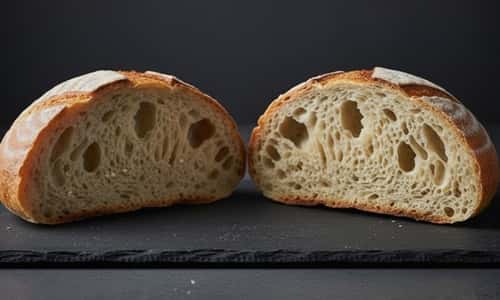
Hydration levels matter more than you think. High-hydration dough (around 75 to 80% water-to-flour ratio) creates those beautiful open crumb holes that make people think you’re a baking genius.
Ingredients Needed To Make Dutch Oven Bread

Bread flour beats all-purpose every time for this no-knead bread method. The higher protein content gives you better gluten development without the arm workout.
The Foundation:
- 500g bread flour (that’s about 4 cups, but weighing is better)
- 375ml lukewarm water (warm, not hot – you’re not making tea)
- 1/4 teaspoon instant yeast (yes, that little)
- 1 1/4 teaspoons kosher salt
- 1 tablespoon olive oil (optional, but adds flavor)
Here’s where most recipes go wrong – they rush the proofing process. We’re not doing that.
Instructions To Make Dutch Oven Bread
Day 1 (5 Minutes of Work)
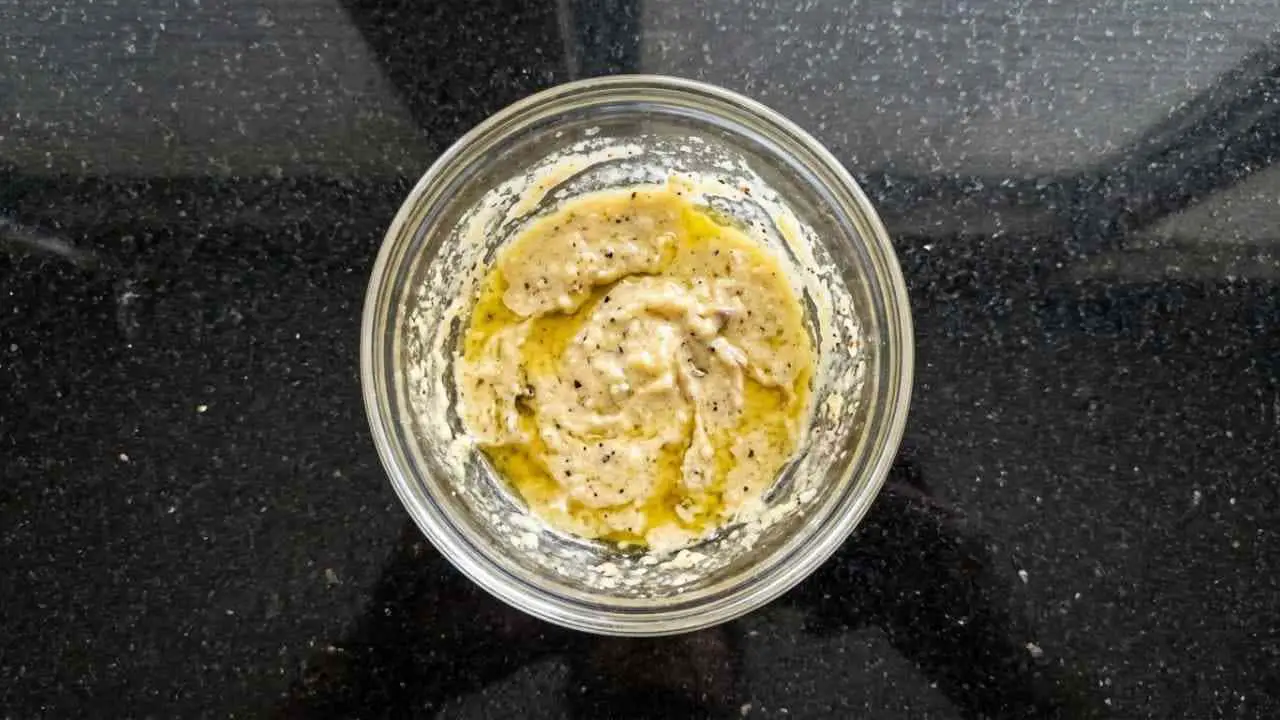
Mix everything in a large bowl until it looks shaggy. Don’t overthink it. Cover with plastic wrap and forget about it for 12-24 hours at room temperature. This long fermentation is doing the heavy lifting while you’re busy being a dad.
Day 2 (The Real Magic)
Your dough consistency should look bubbly and smell slightly sour – that’s wild yeast doing its job. Now comes the stretch and fold technique that replaces kneading.
Wet your hands (prevents sticking), grab one side of the dough, stretch it up, and fold it over. Rotate the bowl 90 degrees, repeat. Do this four times total. Let it rest 30 minutes. Repeat this process three more times over two hours.
Pre-shape the dough into a rough ball on a floured surface. Let it rest 20 minutes under a damp towel.
Final Shaping (Don’t Screw This Up)
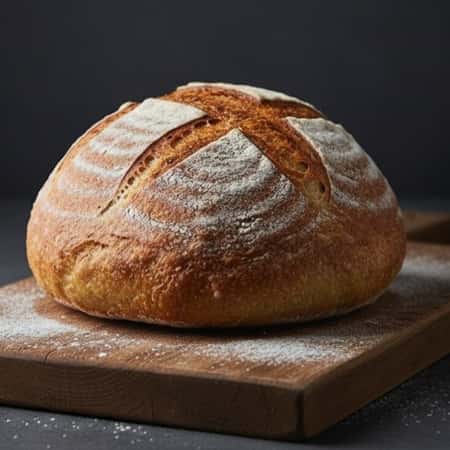
Shape your boule (that’s fancy talk for round loaf) with firm but gentle movements.
You want surface tension without degassing all those beautiful bubbles. Place seam-side down in a banneton or bowl lined with a floured towel.
Final proof in the fridge overnight. This cold retard develops flavor and makes scoring easier.
Baking Day (The Grand Finale)
Preheat your Dutch oven to 475°F for 45 minutes. Remove the proofed dough, flip onto parchment paper.
Score with a sharp knife or lame – one deep slash or a cross pattern.
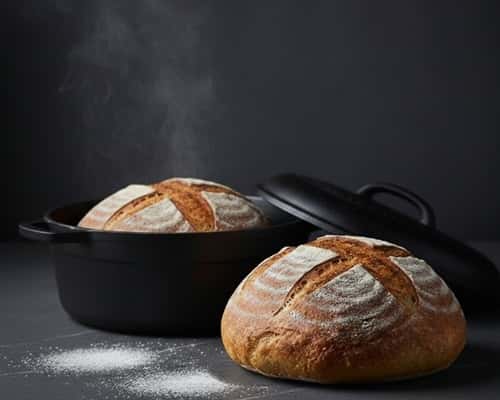
Lower into the hot pot using the parchment as a sling. Cover and bake 30 minutes. Remove the lid, bake another 15-20 minutes until golden brown and hollow-sounding when tapped.
Internal temperature should hit 205°F if you want to be precise about it.
The Troubleshooting (Because Things Go Wrong)
Dense bread? Your yeast might be dead, or you didn’t give it enough time. Flat loaf? Over-proofed or under-shaped. Burnt bottom? Put a baking sheet under your Dutch oven next time.
I’ve made every mistake possible. The beauty of this rustic bread method is that even “failures” usually taste pretty damn good.
Final Thoughts
I would say bread baking isn’t just about feeding your family.
It’s about showing up consistently, even when you’re tired after work.
Your kids will remember the smell of fresh bread more than any store-bought convenience.
This artisanal process teaches patience in a world that demands everything instantly. When you pull that first perfect loaf from your Dutch oven, you’ll understand why humans have been doing this for thousands of years.
The home baking connection runs deeper than just carbohydrates – it’s about creating something real with your own hands, something that nourishes both body and soul in ways that go far beyond simple nutrition.