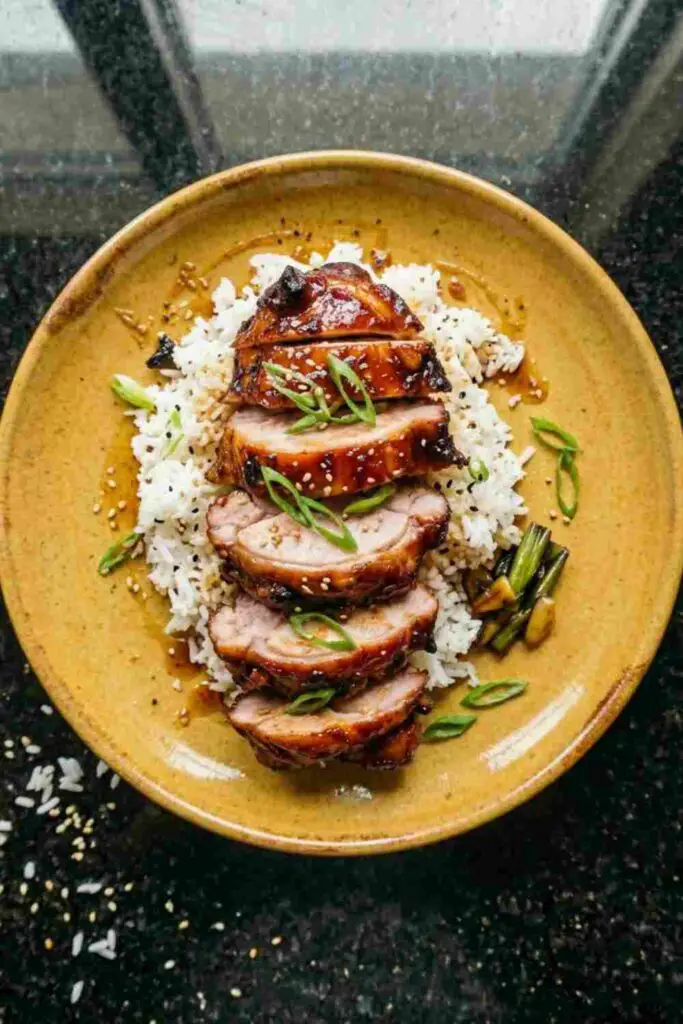
There’s something wildly comforting about sticky glazed char siu chicken bubbling around the edges of a pan while the kitchen smells sweet, smoky, and just a little garlicky.
I started making this version on busy evenings when I wanted an asian inspired dishes vibe without spending all night cooking. The twist here? A spoonful of peach preserves mixed into the marinade.
Sounds odd maybe, but it gives the char siu glaze this glossy sweet edge that works crazy good with boneless skinless chicken. It’s rich, sticky, smoky, and honestly a little addictive.
This dinner recipe also works beautifully for quick meal prep because the marinated chicken tastes even better the next day.
Why This Char Siu Chicken Feels Different
Most char siu chicken recipes lean heavy on sweetness alone. This one balances sweet, savory, smoky, salty, and a tiny sharp edge from rice vinegar.
The peach preserves melt into the hoisin sauce and creates these caramelized edges that look imperfect in the best homemade kinda way.
And nope, you don’t need a smoker, fancy grill, or special tools. A basic oven does the work beautifully.
Simply replace the soy sauce with gluten-free hoisin sauce and tamari to make gluten-free chicken.
Ingredients Needed To Make Char Siu Chicken
For the Chicken
- 2 pounds boneless skinless chicken thighs
- 1 tablespoon neutral oil
- 1 teaspoon kosher salt
- 1/2 teaspoon black pepper
For the Char Siu Marinade
- 4 tablespoons hoisin sauce
- 2 tablespoons peach preserves
- 2 tablespoons honey
- 1 tablespoon duck sauce
- 2 tablespoons soy sauce
- 1 tablespoon dark soy sauce
- 1 tablespoon rice vinegar
- 5 garlic cloves, grated
- 1 teaspoon grated ginger
- 1 teaspoon Chinese five spice
- 1 teaspoon smoked paprika
- 1/2 teaspoon sesame oil
- 1 tablespoon ketchup
- Few drops red food coloring (optional, mostly for that classic char siu look)
Step 1: Prep the Chicken Properly
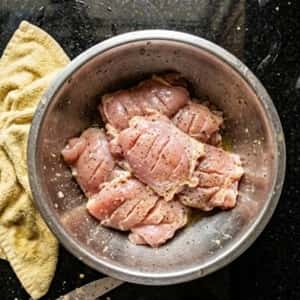
Take the boneless skinless chicken out first so it loses a little chill. Cold chicken straight from the fridge dont cook evenly sometimes. Pat every piece dry using paper towels because moisture stops caramelization.
Trim only the huge floppy fat sections. Leave some though because that fat turns glossy and flavorful during roasting.
Now lightly score the thicker parts of the chicken using shallow cuts. Don’t cut deep. This helps the char siu marinade sneak into every bite.
Toss the chicken with oil, salt, and pepper.
Step 2: Make the Sticky Char Siu Marinade
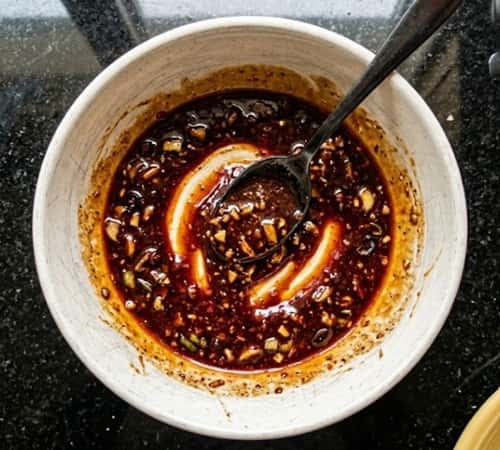
Hoisin sauce, peach preserves, honey, duck sauce, soy sauce, dark soy sauce, rice vinegar, grated garlic, ginger, smoked paprika, Chinese five spices, ketchup, and sesame oil should all be combined in a bowl.
Mix until glossy.
The smell right here? Ridiculous honestly.
Taste a tiny bit if you want. It should taste sweet first, then salty, then smoky right after. If it tastes flat, add a tiny splash more vinegar.
Sometimes peoples skip tasting marinades but thats how bland dinners happen.
Step 3: Marinate Like You Actually Mean It
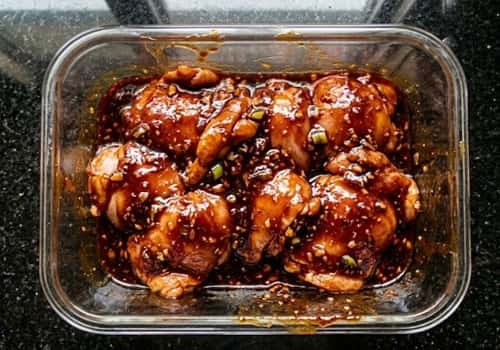
Reserve about 1/3 cup marinade for glazing later.
Now coat every piece of chicken heavily in the remaining marinade. Use your hands if you want honestly, it coats better that way.
Massage it into the cuts and folds. The chicken should look almost too saucy.
Cover and refrigerate at least 4 hours. Overnight is where the magic happens though. The garlic mellows, the color deepens, and the entire mixture begins to smell like authentic char siu.
If you’re in a rush, even 45 minutes works. Not ideal. Still tasty.
Step 4: Prep the Oven and Tray
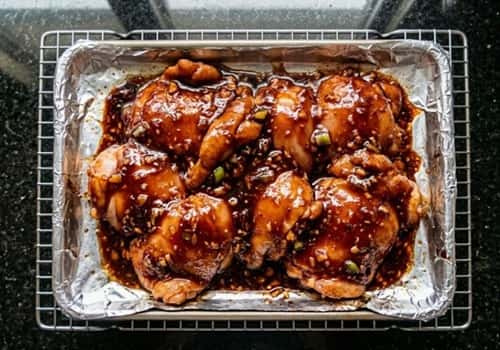
Preheat your oven to 425°F.
Line a baking tray with foil because this glaze gets sticky fast. Place a wire rack over the tray if possible. If not, directly on the tray is completely okay.
Arrange the marinated chicken with a little space between pieces. Don’t dump all the extra marinade overtop or it burns too quickly.
But leave some clinging onto the chicken. That messy coating becomes flavor gold later.
Step 5: Roast Until Glossy and Slightly Charred
Bake for 18 minutes first.
Then pull the tray out carefully and brush reserved marinade over every piece. Focus on the edges because that’s where the glossy char siu chicken magic happens.
Return to oven another 8 to 10 minutes.
Now switch to broil for 2 minutes max. Watch closely. Seriously. One distracted phone scroll and it burns like crazy.
You want sticky bubbling edges, dark caramelized spots, and shiny glaze. Some charred bits are good. Beautiful actually.
The kitchen smells insane by this point.
Step 6: Let It Rest Before Slicing
This step matters more than people realize.
Rest the char siu chicken 7–8 minutes before slicing. If you cut immediately, the juices run everywhere and the glaze slips off too.
Slice against the grain into strips. You’ll notice the inside stays juicy while the outside has that sticky lacquered finish.
And yes, your fingers probably gets sticky stealing pieces here.
Step 7: Build the Final Plate
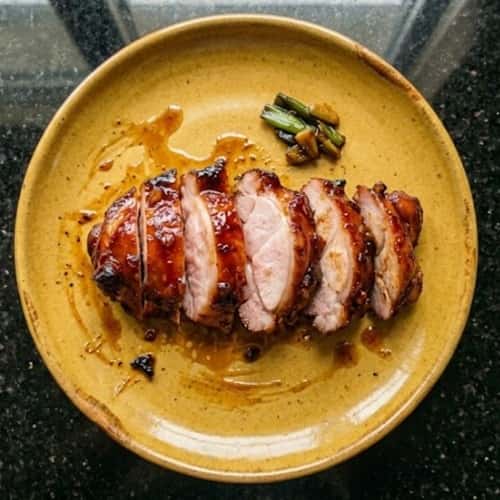
Pile the sliced char siu chicken onto a mustard-yellow plate over steamed jasmine rice or garlicky noodles.
Scatter sliced scallions and sesame seeds over the top. Add quick cucumber ribbons if you want freshness.
Spoon extra warm glaze lightly over everything. Not too much. Let the chicken stay the hero.
The final look should feel homemade, glossy, sticky, slightly messy, and comforting. Nothing overly styled.
What To Serve With Char Siu Chicken
This dinner recipe pairs beautifully with:
- Garlic fried rice
- Sesame noodles
- Pickled cucumbers
- Bok choy
- Chili oil eggs
- Steamed jasmine rice
- Crispy smashed potatoes for a fusion twist
You could even stuff leftovers into bao buns with crunchy slaw. That combo goes kinda wild.
Final Thoughts
One thing I love about char siu chicken is how forgiving it is compared to other glazed chicken recipes.
The sticky marinade hides imperfections beautifully, so even slightly uneven caramelization still looks intentional and homemade.
That’s probably why char siu became such a comfort food favorite across so many kitchens.
Also, sweet glazes like this develop deeper flavor because sugars caramelize at different speeds, creating layers instead of just “sweetness.” Weirdly enough, the messier the edges look, the more authentic it often feels.
Perfectly polished food can look nice, sure, but slightly chaotic homemade food usually tastes better anyway.