There’s something weirdly comforting about a sticky plate of chinese sweet and sour pork sitting in the middle of the table while everyone keeps “just taking one more bite.”
I started making this chinese sweet and sour pork recipe after getting tired of the super bright red restaurant versions that tasted mostly like sugar.
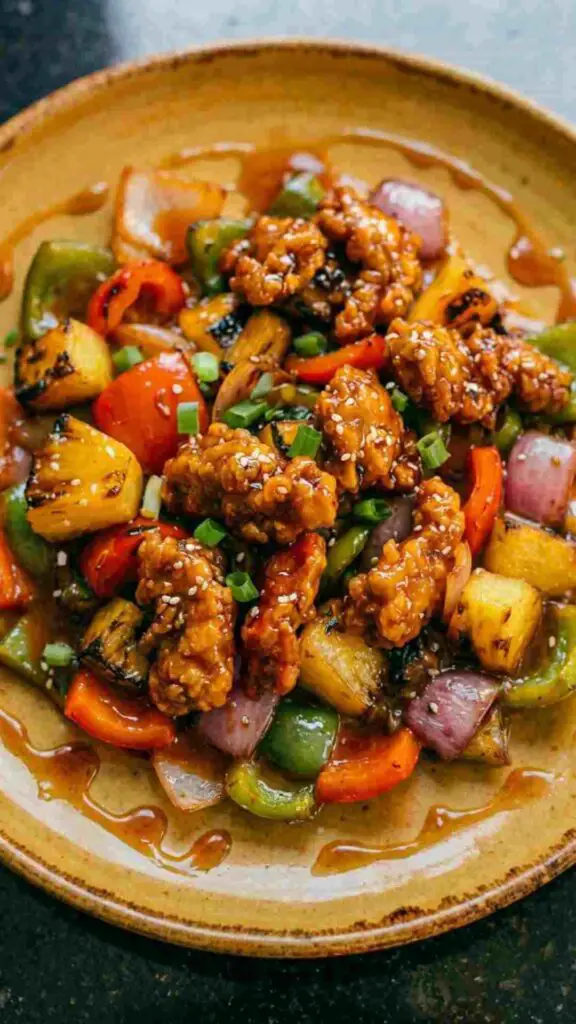
This one stays glossy, tangy, slightly smoky, and deeply savory too. The twist? I add charred pineapple, fresh orange zest, and a splash of black vinegar so the sauce feels layered instead of flat. It’s messy in the best way possible.
To be honest, the reason this dinner meal disappears so quickly in my home is the crispy pork soaking up that sticky sauce.
Why This Chinese Sweet and Sour Pork Feels Different
A lot of sweet and sour recipe versions taste too sharp or candy-like. This one leans richer and warmer.
The caramelized edges from the pork matter alot here. Tiny burnt bits? Don’t panic. Those bits actually make the sauce taste deeper.
You’ll also notice the coating stays crisp longer because of the cornstarch-rice flour mix. Little trick I learned accidentally after ruining one batch years ago.
This sweet and sour pork chinese style recipe balances:
- crispy pork
- glossy sauce
- smoky pineapple
- sharp vinegar
- juicy peppers
- subtle citrus
It’s loud. Sticky. Tangy. Comforting.
And yeah, beginner friendly too.
Chinese Sweet and Sour Pork Ingredients
For the Pork
- 700g pork shoulder, cut into uneven bite-size chunks
- 1 teaspoon salt
- 1 teaspoon white pepper
- 1 tablespoon soy sauce
- 1 teaspoon sesame oil
- 3 garlic cloves, grated
- 1 egg
Crispy Coating
- 1 cup cornstarch
- ½ cup rice flour
- 1 teaspoon baking powder
Vegetables & Fruit
- 1 red bell pepper, rough chopped
- 1 green bell pepper, rough chopped
- 1 medium onion, chunky slices
- 1 cup pineapple chunks
- 2 green onions sliced
Sweet & Sour Sauce
- ⅓ cup ketchup
- ¼ cup brown sugar
- 3 tablespoons rice vinegar
- 1 tablespoon black vinegar
- 2 tablespoons soy sauce
- 1 tablespoon oyster sauce
- ¾ cup pineapple juice
- zest from half an orange
- 1 teaspoon chili flakes
Slurry
- 1 tablespoon cornstarch
- 2 tablespoons water
Oil
- Neutral frying oil
Step 1: Marinate the Pork Properly
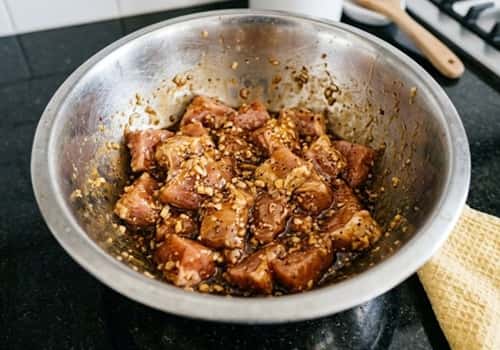
Throw the pork into a bowl with salt, pepper, soy sauce, sesame oil, grated garlic, and egg. Use your hands.
Seriously, spoons don’t coat it evenly. Massage everything into the meat for about 2 minutes until sticky and glossy.
Now leave it alone for at least 25 minutes.
Could you skip this part? Technically yes. But the flavor won’t hit the same.
The pork should smell savory and slightly nutty from the sesame oil by the end. If it smells bland, add another tiny splash of soy sauce.
Some pieces will look ugly and uneven. Good. That creates crispy edges later.
Step 2: Make the Crispy Coating
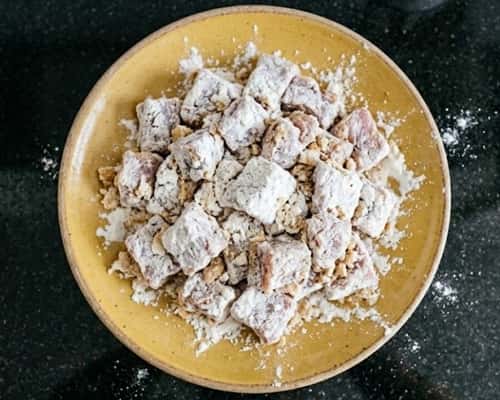
Mix cornstarch, rice flour, and baking powder in a shallow tray.
Every pork piece should get heavily coated. Press the coating into the meat instead of lightly dusting it. That’s where crunch comes from.
I sometimes leave little dry pockets on purpose because those turn craggly after frying. Sounds strange but trust me.
Set the coated pork on a plate and let it sit 5 minutes before frying. The coating hydrates slightly and sticks better. Nobody talks about this enough honestly.
Step 3: Fry Until Rough and Crispy
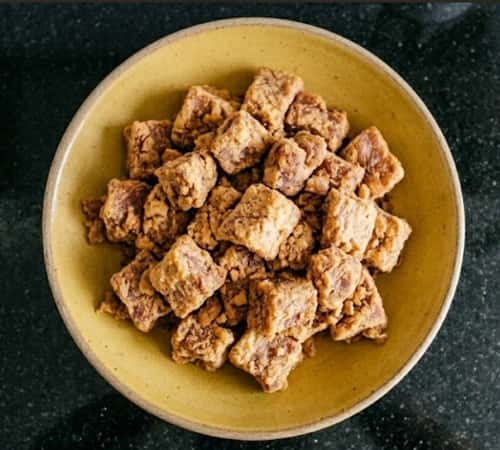
Heat oil in a deep pan over medium-high heat.
Don’t overcrowd it. The pork ain’t gonna crisp if the pan gets crowded and steamy.
Drop the pork in carefully and fry 4 to 5 minutes per batch until deeply golden with rough crunchy edges. Some darker spots are beautiful here.
Transfer to a wire rack instead of paper towels. Keeps them crispier longer.
Then fry everything a SECOND time for about 1 minute. This is the game changer for how to make sweet and sour pork that actually stays crunchy under sauce.
The sound should be loud and crackly when you tap the pork together.
Step 4: Char the Pineapple and Vegetables
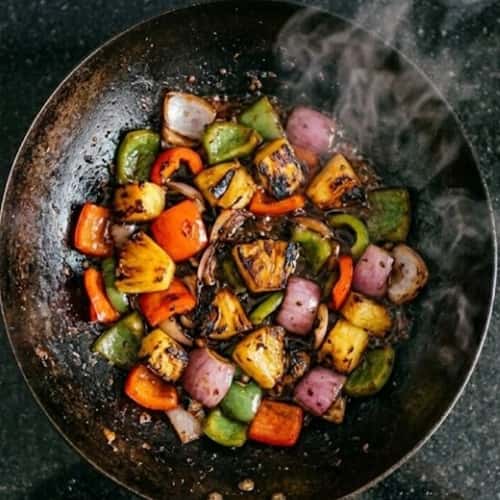
Heat a large wok or skillet until almost smoking.
Add a little oil, then toss in onions and peppers first. Don’t stir constantly. Let them blister slightly.
After 2 minutes add pineapple chunks.
The pineapple edges should caramelize and darken. Doing this ensures that the fruit no longer tastes raw and candy-like, which completely alters the Chinese sweet and sour pork recipe.
I even allowed some parts to get a little burned. Not joking.
Throw in green onions at the end for freshness.
Your kitchen will smell kinda sweet and smoky now.
Step 5: Build the Sticky Sweet and Sour Sauce

In a bowl combine ketchup, brown sugar, rice vinegar, black vinegar, soy sauce, oyster sauce, pineapple juice, orange zest, and chili flakes.
Pour into the hot wok with the vegetables.
Once bubbling, add the cornstarch slurry slowly while stirring. The sauce thickens fast so don’t walk away.
It should become glossy enough to coat the spoon heavily but still drip slowly.
Too thick? Add splash of water.
Too thin? Simmer another minute.
That orange zest sneaks in quietly but makes people wonder why this sweet and sour pork chinese style tastes fresher than takeout.
Step 6: Toss Everything Together
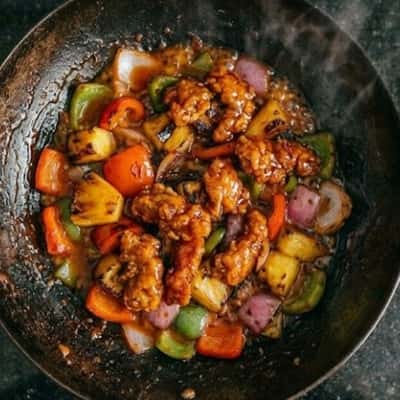
Now add the crispy pork back into the wok.
Move quickly here.
Toss until every piece gets coated in sticky sauce while still keeping little crunchy edges visible. You don’t want the pork drowning completely.
Some spots should remain crisp. That contrast is everything.
Let it cook only 1 extra minute.
The sauce will cling tighter and darker around the ridges of the coating. Looks absolutely ridiculous in the best possible way.
I always steal one piece straight from the pan and burn my tongue every single time.
Step 7: Plate It Like a Real Homemade Dinner
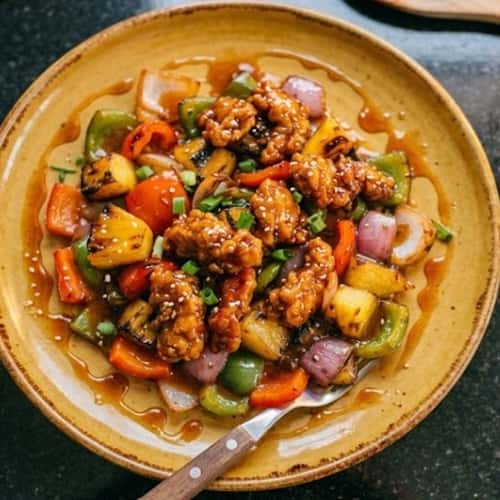
Pile the chinese sweet and sour pork onto a mustard-yellow ceramic plate. Don’t arrange too neatly.
Messy looks more believable and honestly more delicious too.
Spoon extra sauce over the top. Scatter green onions randomly.
Serve with jasmine rice or even crispy noodles if you want extra texture.
The pork should glisten under the light while little crispy edges peek through the sauce. That’s the sweet spot.
What To Serve With Chinese Sweet and Sour Pork
This dinner recipe pairs beautifully with:
- jasmine rice
- garlic fried rice
- stir-fried noodles
- cucumber salad
- chili oil eggs
- sesame green beans
Sometimes I even stuff leftovers into toasted buns the next day. Sounds odd. Taste incredible though.
Final Thoughts
One thing I’ve noticed about chinese sweet and sour pork is how wildly different every family version can be.
Some lean sweeter, others sharper, while older Cantonese-inspired styles often keep the sauce lighter and less sugary than modern takeout spots. That flexibility is what makes this dish survive generations without becoming boring.
Once you understand the balance between acid, sweetness, crunch, and heat, you can start building your own signature version naturally. Maybe extra chili. Maybe smoked pineapple. Maybe more garlic than normal peoples use.
That’s the fun part honestly. Recipes like this stop feeling like instructions after awhile and start becoming little habits your kitchen remembers on its own.