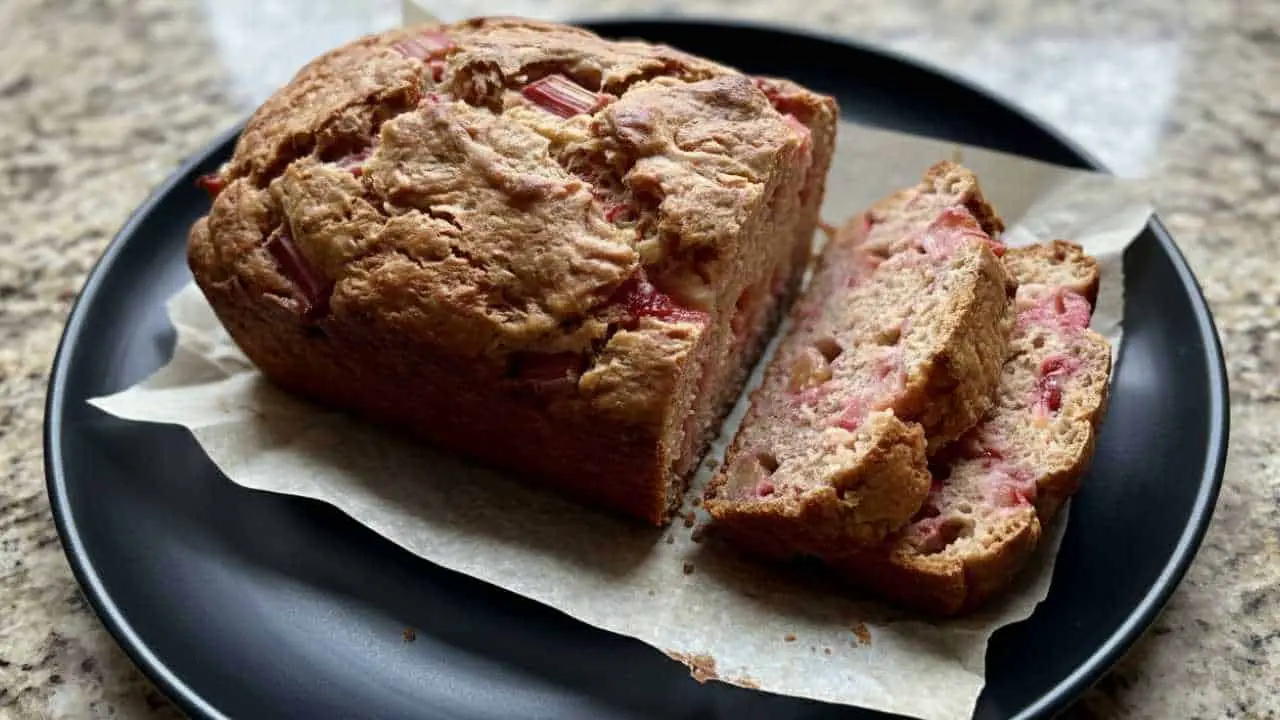
Look, I get it. You’re standing in your kitchen Saturday morning, coffee in hand, wondering if you can actually pull off a ciabatta bread recipe that doesn’t end up looking like a deflated football.
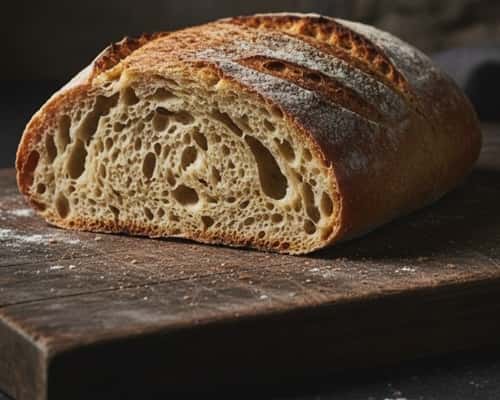
Been there, done that, got the flour-stained t-shirt. After countless weekend experiments and a few spectacular failures that even the dog wouldn’t touch, I’ve cracked the code.
Why This Ciabatta Bread Recipe Changes Everything
Here’s the thing nobody tells you about homemade ciabatta: it’s not about perfection, it’s about understanding the dough.
Most bread recipes treat you like you’re running a commercial bakery. This one? It’s designed for real kitchens where kids interrupt every five minutes and the mixer doubles as a homework station.
Artisan bread doesn’t require artisan-level stress. What it needs is patience, the right hydration levels, and a dad who’s not afraid to get his hands dirty.
The Game-Changing Ingredients Required To Make Ciabatta Bread (No Fancy Stuff Required)
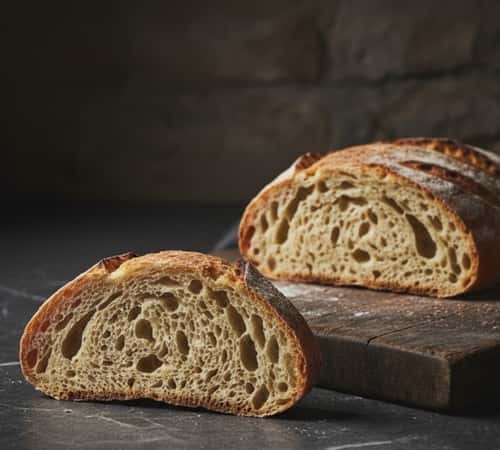
Flour Foundation
- 500g bread flour (King Arthur works, but honestly, any decent brand will do)
- 50g whole wheat flour (trust me on this – adds character without being pretentious)
The Wet Squad
- 425ml lukewarm water (not hot, not cold – think baby bath temperature)
- 1 tsp active dry yeast (fresh yeast works too, but who has time for that?)
- 2 tsp sea salt (table salt works, but sea salt gives better flavor)
- 2 tbsp olive oil (the good stuff, not the cooking oil from 2019)
Secret Weapon
- 1 tbsp honey (this is where other recipes fail you – it feeds the yeast and adds complexity)
Instructions To Make Ciabatta Bread Recipe
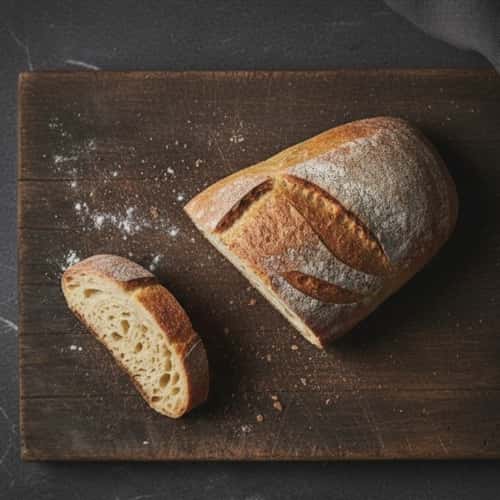
Step 1: The Poolish Method – Your Saturday Morning Ritual
Most ciabatta bread recipes skip the pre-ferment step. Big mistake. Huge.
Mix 200g of your bread flour with 200ml water and just a pinch of yeast.
This poolish sits overnight, developing those complex flavors that separate your loaf from grocery store cardboard.
Cover it loosely – plastic wrap with a few holes poked through works perfectly.
Sunday morning, this mixture should be bubbly and smell slightly tangy. That’s fermentation working its magic.
Step 2: Mixing and Kneading
Here’s where I break from traditional bread making wisdom. You don’t need a stand mixer, but you do need to understand gluten development.
Combine your poolish with the remaining flour, water (reserve 25ml), honey, and olive oil. Mix until it looks like rough cottage cheese had a bad day.
Now add that reserved water gradually – dough consistency matters more than exact measurements.
Kneading technique for ciabatta isn’t your typical push-and-fold routine. Use the stretch and fold method instead.
Every 30 minutes for the first two hours, wet your hands and stretch one side of the dough up and fold it over. Do this four times, rotating the bowl each time.
Step 3: Bulk Fermentation
This is where patience pays dividends. Your dough hydration should be around 75% – it’ll feel sticky and alive. That’s exactly what we want for those signature air pockets and open crumb structure.
First rise takes 3 to 4 hours at room temperature. I usually start this after breakfast cleanup. The dough should nearly double in size and feel jiggly when you poke it.
Pro tip: If your kitchen runs cold (like mine does in winter), stick the bowl in the oven with just the light on. Creates the perfect proofing environment.
Step 4: Shaping Less is More
Traditional bread shaping doesn’t apply here, Ciabatta means “slipper” in Italian, and it should look rustic, not perfect.
Turn your dough onto a well-floured surface. Don’t punch it down – we want to preserve those gas bubbles. Gently stretch it into a rectangle, then cut into three equal pieces.
Each piece gets shaped into a rough oval using bench scrapers or your hands.
The key is minimal handling. Place them on a floured cloth or parchment paper, seam-side down.
Step 5: Final Proof
Cover with a damp towel and let them rise for 45-60 minutes.
They’re ready when they pass the poke test – gentle finger pressure leaves an indentation that slowly springs back halfway.
Meanwhile, get your baking stone or heavy baking sheet heating at 475°F (245°C). Toss a metal pan on the bottom rack – we’re creating steam injection for that perfect crust.
Step 6: Baking (Where the Magic Happens)
Transfer your loaves onto parchment paper (easier than wrestling with a peel).
Slide them onto your hot stone, then immediately toss a cup of hot water into that metal pan. Close the oven door fast – that steam is crucial for oven spring.
Bake 25-30 minutes until they’re golden brown and sound hollow when tapped. Internal temperature should hit 200°F (95°C) if you want to be precise.
The crust formation happens in those first 15 minutes, so resist opening the door no matter how good it smells.
Step 7: Cooling (The Hardest Part)
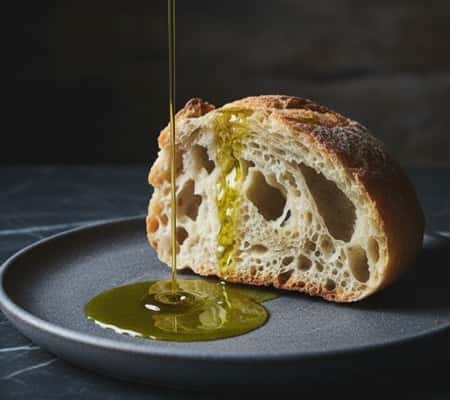
This kills me every time, but proper cooling is essential. Those loaves need at least an hour on a wire rack before cutting.
The crumb structure is still setting, and cutting too early turns your masterpiece into a gummy mess.
I usually time this so they’re ready for late lunch. The anticipation makes that first slice even better.
Troubleshooting
Dense bread: Usually means insufficient fermentation time or dead yeast. Check your yeast with a quick foam test before starting.
Flat loaves: Your gluten network needs more development, or you overproofed. Watch for that jiggly, alive feeling during bulk rise.
Tough crust: Too much flour during shaping, or your oven ran too hot. Steam is your friend for tender crusts.
Final Thoughts
Making ciabatta taught me something unexpected about bread baking – it’s not about controlling every variable, it’s about learning to work with them.
Your kitchen temperature, your flour brand, even your tap water will affect the outcome. That’s not a bug, it’s a feature.
Each loaf tells the story of that specific Saturday morning. Maybe the kids distracted you during the second fold, or you got impatient with the final proof.
Those imperfections become part of the bread’s character, and honestly, they usually taste better than the “perfect” ones anyway.
The real victory isn’t achieving bakery-level consistency – it’s creating something with your own hands that brings your family together around the dinner table.

