Whenever I dive into DIY Clay Plant Pots for Indoor Gardening, I always feel like I’m giving my plants their own little personality upgrade.
Clay craft is simple, calming, and honestly quite addictive once you start shaping that first clay pot.
And if you’re someone who loves clay decor that actually looks good sitting on a living-room shelf, you’re in the right place.
These ideas aren’t complicated or expert-level; they’re fun, practical projects you can finish in one cozy afternoon.
Ready to get your hands messy and make something that actually looks store-bought? Let’s roll.
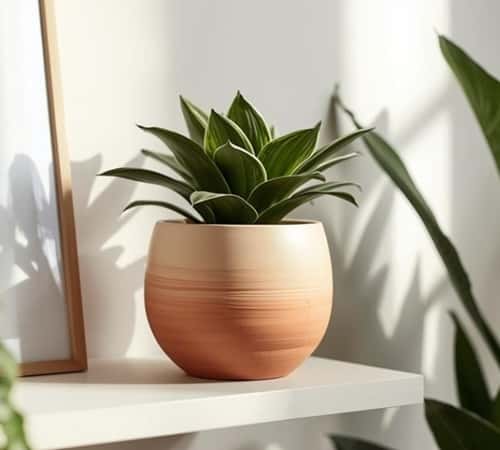
1. Speckled Minimalist Pot
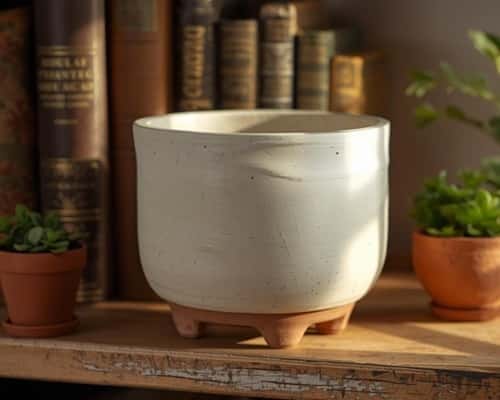
If you want something clean and modern without trying too hard, this speckled pot hits the sweet spot. Just grab air-dry clay, roll a smooth cylinder, and gently pinch the rim so it looks handmade but intentional.
Once it dries, paint it in off-white and flick black acrylic paint using a toothbrush. The speckles look artistic even if your painting skills are, well, “developing.”
Try adding tiny feet at the bottom – just three clay balls flattened a bit. Makes it look designer without costing designer money.
2. Terracotta Pinch Pot With Leaf Imprint
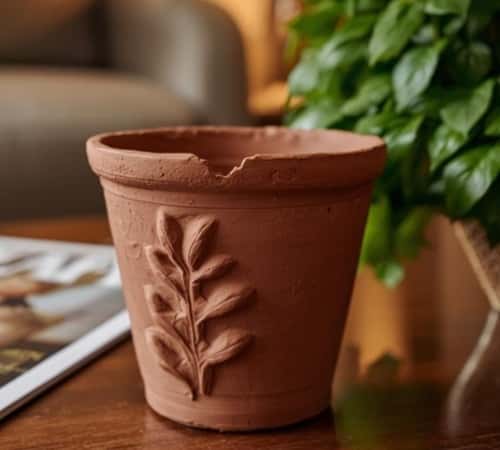
Pinch pots are the easiest clay craft on earth. Even kids nail it. Roll a ball of air-dry clay, press your thumb into the center, and slowly pinch the walls upward.
Find a real leaf – fern, money plant, anything – and press it gently onto the pot’s exterior. Peel it off and admire the imprint like you’re some clay wizard.
After drying, you can paint it earthy terracotta or keep it natural white for a softer vibe. You can even rub a little brown paint into the leaf grooves to highlight the details.
3. Two-Tone Color Block Pot
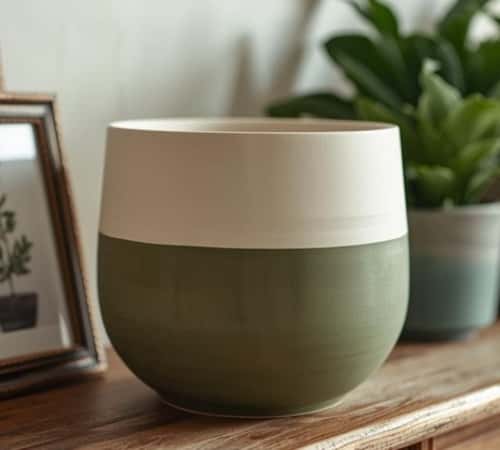
This one always turns out trendy even if you rush through it. Shape a standard clay pot – nothing fancy.
Once it dries, pick two colors that look good together. I love pairing muted shades like clay-pink with charcoal grey or olive green with cream.
Tape a straight line across the pot and paint one half. Let it dry fully (patience is tough, I know).
Remove the tape and paint the other half. Suddenly the pot looks like it came from a design studio instead of your dining table.
Want an extra kick? Add a thin gold stripe right on the dividing line. Instant glam.
4. Carved Geometric Pattern Pot
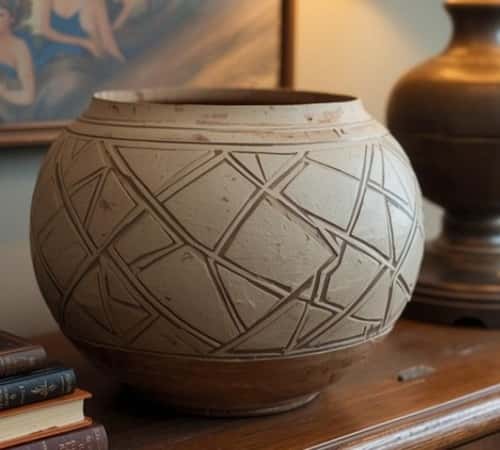
This one feels fancy but is actually beginner-friendly.
After shaping your pot, grab a blunt butter knife or a wooden skewer and carve simple geometric lines – triangles, chevrons, or repeating stripes. Don’t overthink it. The unevenness makes it look artisanal, not wrong.
Once dry, paint the pot in a matte neutral shade. Then do a light wash of darker paint and wipe it off.
The carved grooves stay dark, giving it that “wow” texture you see in boutique pottery.
Perfect for snake plants or small succulents that deserve a stylish home.
5. Mini Footed Pot With Twisted Rope Rim
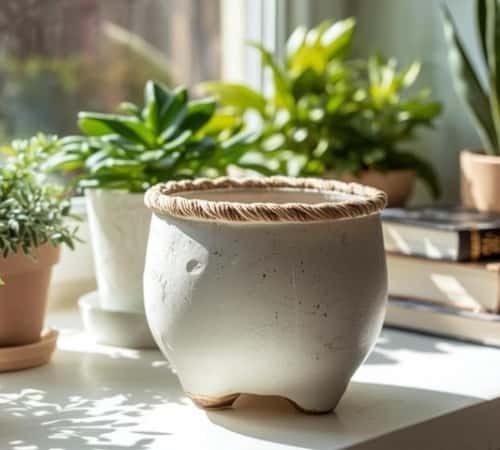
Want to make a pot that looks far more complicated than it really is? Here you go. Form a small bowl-shaped pot and attach three equal-sized clay feet.
Then roll two thin clay snakes, twist them together like a rope, and wrap this around the rim. Press lightly so it attaches but keeps the rope texture.
After drying, paint it a soft chalky white or pastel shade. The rope detail steals the show anyway. Perfect for succulents or those tiny plants you bought just because they looked cute.
6. Rustic Textured Pot Using a Fork
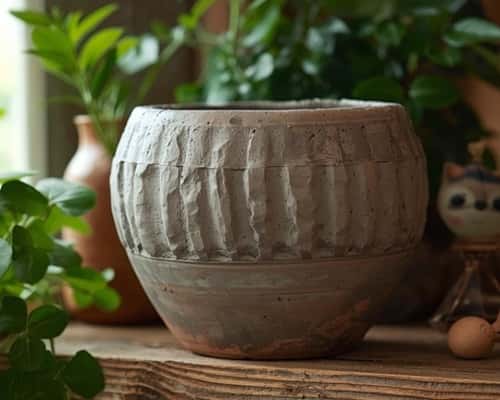
If you don’t feel like carving neat designs, here’s the lazy-but-genius hack: use a fork. After shaping a simple clay pot, drag the fork lightly across the surface in random directions. Instant rustic texture. No symmetry required.
Once it dries, brush on a thin coat of grey or stone-colored paint. Wipe some areas with a damp cloth so the highs and lows show naturally.
This technique makes even the simplest clay pot look like something from a boutique store that charges way too much.
Pop in a trailing pothos, and suddenly your shelf looks artsy without trying too hard.
7. Marbled Clay Pot (Zero Painting Needed)
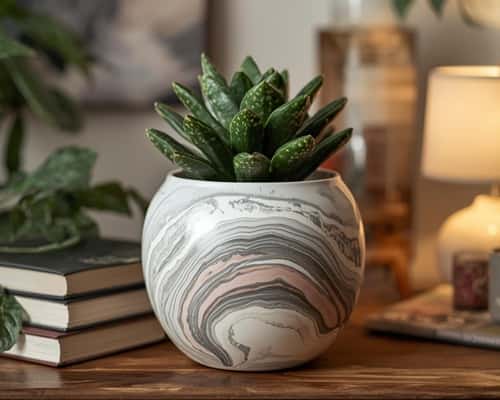
If painting stresses you out, go for marbling. Mix two or three clay colors – white, grey, and pastel pink work beautifully.
Twist the colors lightly, fold once, twist again. Don’t overmix or you’ll lose the marbling.
Shape your pot as usual. The pattern reveals itself as you smooth the surface. Every pot looks different, which is honestly the fun part.
This is one of the easiest clay decor projects because the clay does all the work for you. Great for gifting too – no one needs to know it took 10 minutes.
8. Clay Pot With Tiny Cutout Holes
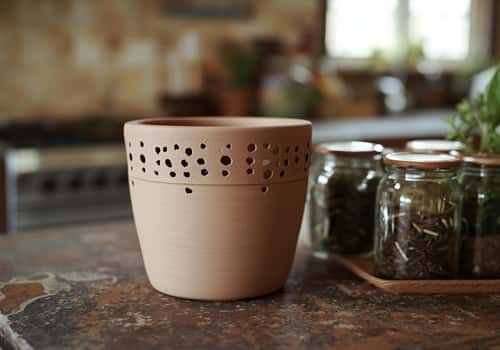
This one has a breezy, airy vibe. Roll your clay into a pot shape, then use a drinking straw or pen cap to punch out small holes around the top half. Keep them random or line them up – both look good.
Just don’t poke the holes too close together or you’ll weaken the structure. After drying, paint the pot matte white or soft sand-beige.
The light passing through the holes gives it a delicate look even though the process is ridiculously simple. Perfect for small indoor herbs or baby succulents.
9. Ombre Gradient Clay Pot
Ombre looks fancy, but it’s basically just blending paint in slow motion.
Once your clay pot is dry, pick two or three shades of the same color family – think light blue to navy or peach to terracotta.
Start with the lightest color at the top. Before it dries, add the next shade slightly below and blend the boundary where the colors meet. A wide, soft brush helps with the gradient.
The result looks modern, artsy, and way more complicated than it really is. Place this pot where it gets attention because it deserves it.
10. Stamped Clay Pot Using Everyday Objects
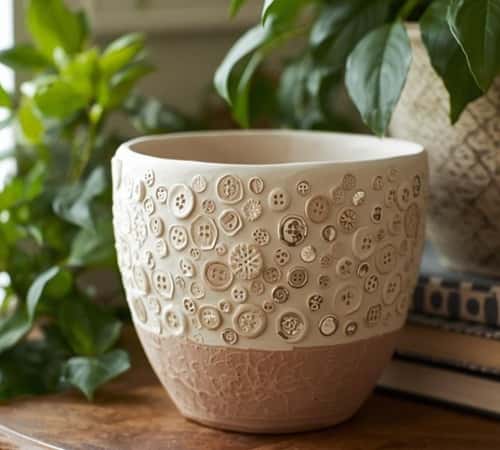
This one is a creativity playground. Once your clay pot is shaped, grab random items – buttons, bottle caps, bangles, coins, LEGO bricks – anything with texture. Press them into the clay to create repeating or scattered patterns.
Paint the pot after drying. Light colors work best because they highlight the tiny stamped details. You can even do a metallic wash (bronze or gold) if you want a subtle shine.
It’s the easiest “designer” effect you’ll ever pull off, and every pot ends up completely unique. Plus, it’s weirdly satisfying to stamp things into soft clay.
Final Thoughts
If you’ve made it this far, here’s one thing I’ve learned from crafting simple clay pots: the magic isn’t in perfection, it’s in experimentation.
Clay gives you room to try, adjust, and redo without feeling intimidated.
And once you start noticing how easy these small builds are, you’ll automatically start customizing them – maybe a different rim, a new texture, or a quirky color you never dared to try.
What really elevates clay craft is the confidence that comes with practice. So keep a small box of tools, some leftover clay, and a few sample paints ready.
Whenever inspiration strikes, you can whip up a clay pot that suits your home, your style, and your plant’s personality.


