Transform ordinary clay into extraordinary treasures with these 14 DIY clay trinkets that look remarkably professional.
From hanging flower vases to adorable animal figurines, these handcrafted creations add whimsical charm to any space while showcasing your creativity.
Whether you’re a seasoned crafter or complete beginner, these projects use accessible materials like air-dry, polymer, and oven-bake clay to create miniature masterpieces that rival store-bought versions.
The best part? Each project offers endless customization possibilities, allowing you to personalize colors, textures, and details to match your style.
What Are Clay Trinkets?
Clay trinkets are charming little creations molded from various types of clay, such as air-dry, polymer, or oven-bake clay. They can be shaped into a variety of forms, from simple hearts and stars to intricate animals and abstract designs. Once shaped, they can be painted, glazed, or left in their natural state, depending on the desired aesthetic.
Types of Clay Used
- Air-Dry Clay: Ideal for beginners and kids, this clay hardens when exposed to air, eliminating the need for baking. It’s perfect for lightweight trinkets and can be painted after drying.
- Polymer Clay: This versatile clay requires baking in a home oven to harden. It’s excellent for detailed work and comes in a wide range of colors.
- Oven-Bake Clay: Similar to polymer clay, it needs to be baked to set. It’s great for creating durable trinkets that can withstand handling.
Here are 14 Best handpicked DIY Clay Trinkets that you must try.
1. Hanging Flower Vases Clay Trinkets
Credit: ashadeofteal.com
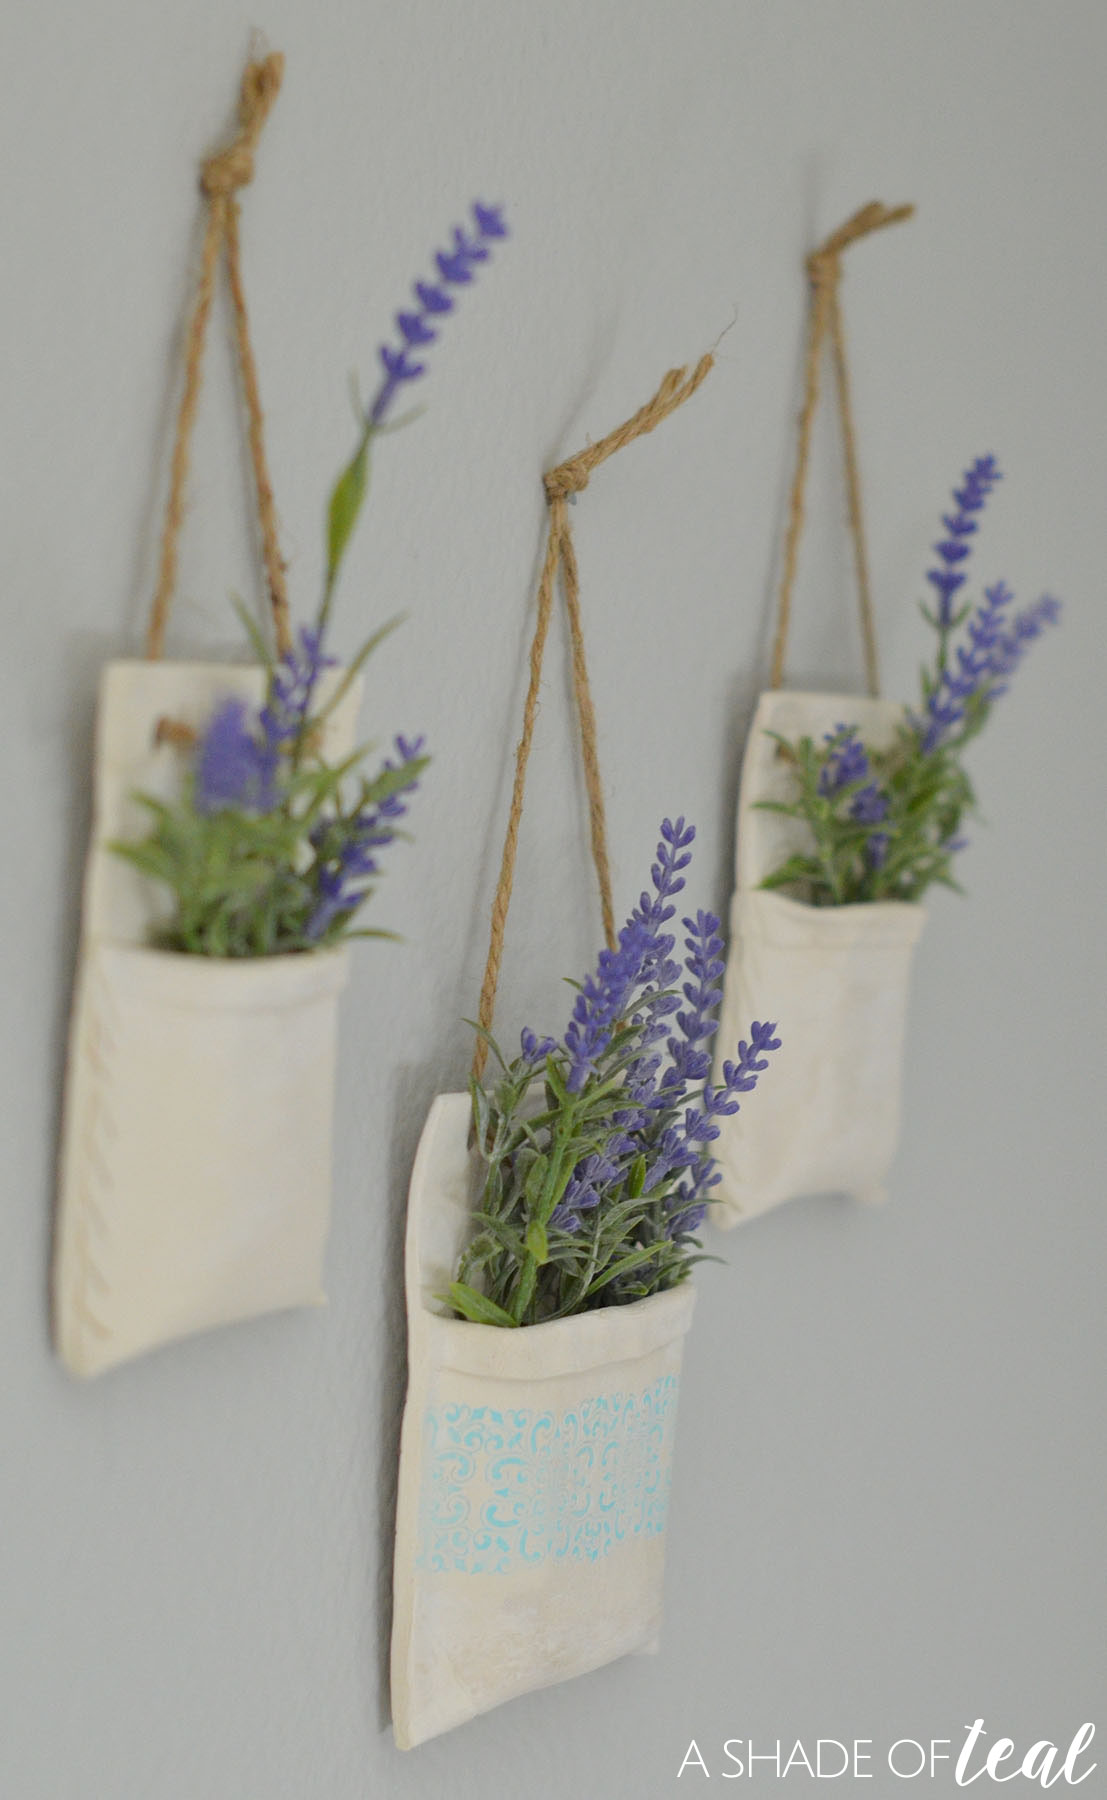
Transform plain air-dry clay into charming hanging flower vases with this beginner-friendly DIY project.
Inspired by Fixer Upper’s wall vases, these minimalist beauties are perfect for adding a touch of spring to any space.
Roll out your clay, stamp or embellish it creatively, then shape and fold it into a pocket design.
Once dried, thread string through small holes at the top, and voila – your custom vase is ready to hang.
Whether you opt for faux lavender or fresh blooms, they’re versatile enough for any room. For a step-by-step guide (plus tips on avoiding common pitfalls), head over to A Shade of Teal .
2. Polymer Clay Frog By Fimodiy
Credit: fimodiy.com
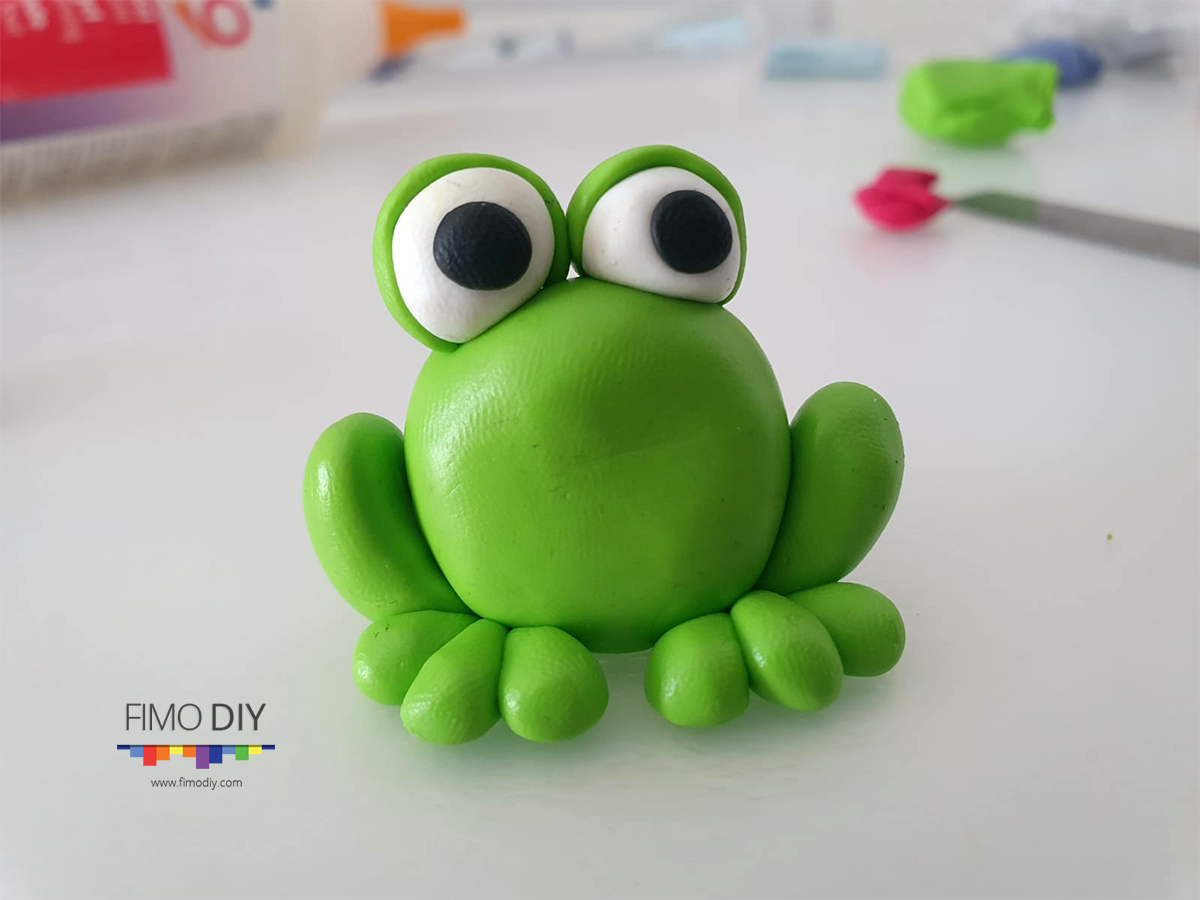
Create an adorable polymer clay frog with this fun and straightforward DIY tutorial.
Perfect for beginners, this project lets you flex your molding skills while crafting a charming figurine.
Using just four colors of polymer clay (green, white, black, and red), along with basic tools like a clay shaper and cutter, you’ll shape the body, legs, eyes, and tongue step by step.
Need a trick to hold pieces together? Liquid clay works wonders if your material is old or stiff.
Finish off with a cheeky smile and vibrant tongue for personality. Ready to hop into creativity? Follow the full instructions here
3. Polymer Clay Fairy Door Trinkets

Credit: woojr.com
Add a touch of magic to your home with this whimsical Polymer Clay Fairy Door Tutorial.
Perfect for beginners, this project lets you create a charming, customizable fairy door that can match your decor or celebrate holidays like Christmas or Halloween.
Using polymer clay in shades of brown, green, gold, and gray, you’ll craft a marbled wood-grain door, textured stones, and lush grass details.
Add decorative hinges and a handle for extra flair, then bake it to perfection.
Whether placed on bookshelves, walls, or baseboards, these tiny doors bring enchantment to any space. Ready to create your own? Find the full tutorial here.
4. Resin Alphabet Clay Trinkets Set Without Resin By HandMade Charlotte
Credit: handmadecharlotte.com
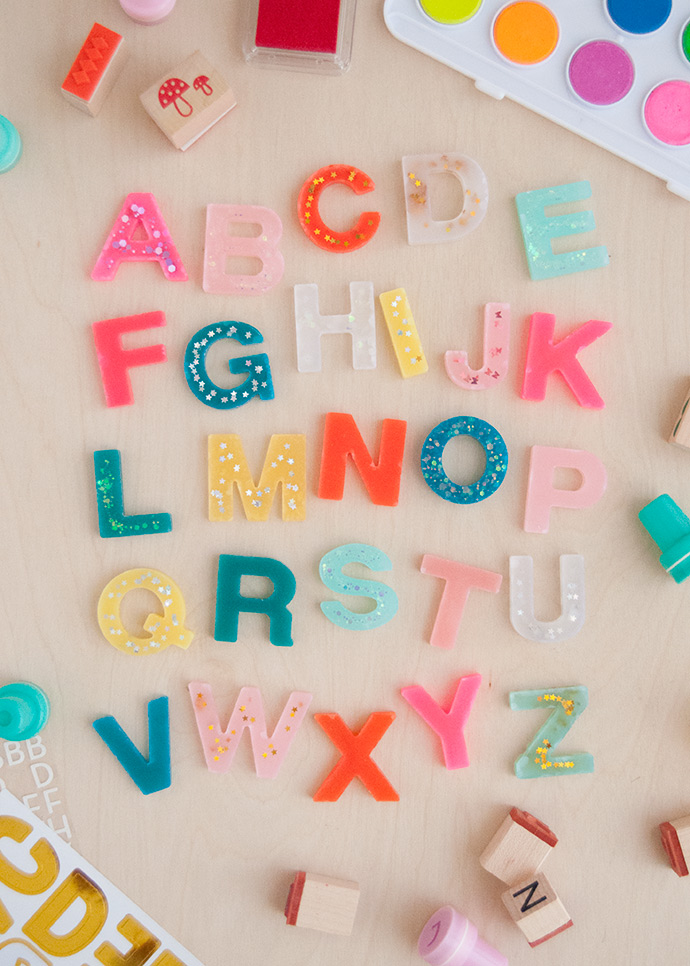
Create a dazzling resin-like alphabet set without the hassle of traditional resin using Liquid Sculpey.
This beginner-friendly craft is perfect for making colorful, glittery letters that double as both decor and educational tools for kids.
Simply mix Clear Liquid Sculpey with add-ins like alcohol ink, chalk pastels, or glitter to customize your colors, then pour into oven-safe silicone molds and bake.
Experiment with vibrant hues and shimmering effects to match your style – or create personalized sets for learning activities.
Worried about bubbles or uneven edges? Tips for perfecting your process are included. Dive into this fun project by checking out the full tutorial here.
5. DIY Polymer Clay Cactus Trinkets
Credit: patchworkcactus.com
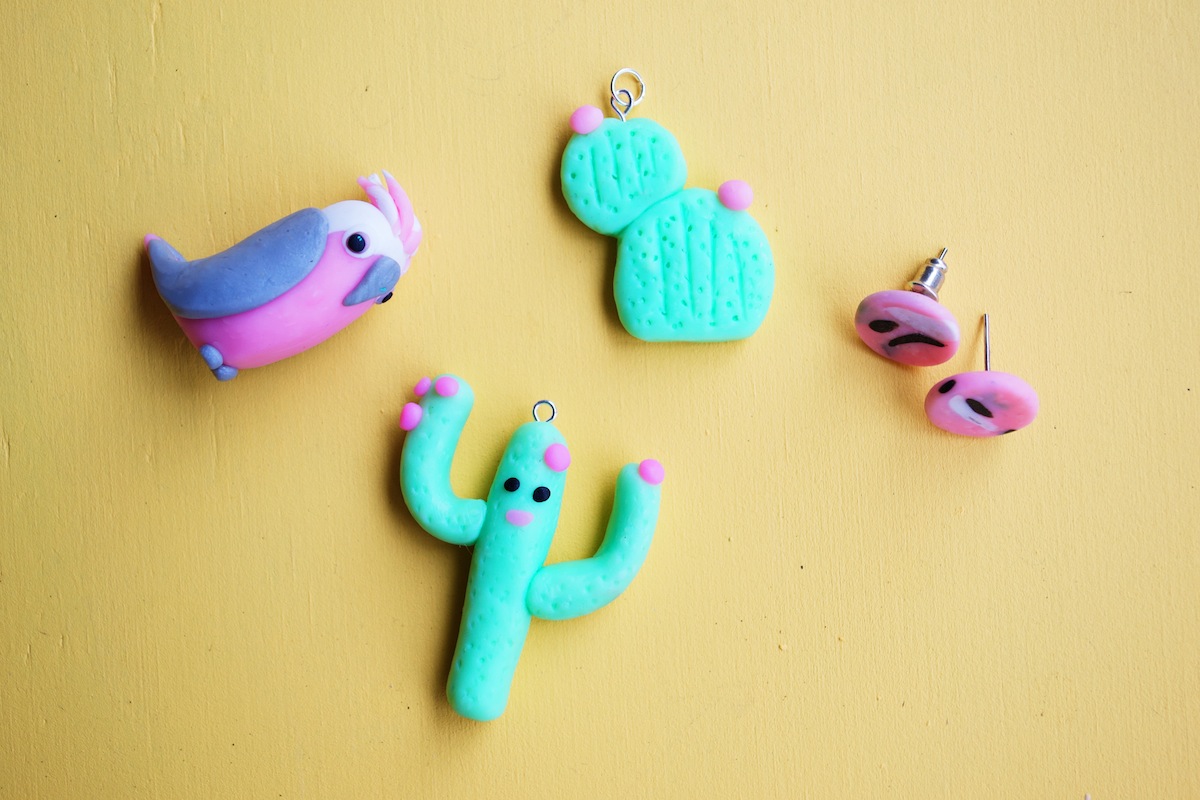
Bring a playful twist to your jewelry collection with this DIY Polymer Clay Cactus Jewelry tutorial.
Perfect for crafting enthusiasts, this project lets you create adorable cactus earrings and necklaces using vibrant polymer clay.
Mix and match colors, shape tiny cacti, and add charming details like pink flowers or quirky faces.
The process is fairly simple: Just roll, mold, and bake your designs at 170°C for 15 minutes.
You can choose between two methods for attaching earring backs, or craft a cactus necklace by embedding eye pins before baking.
It’s a fun, budget-friendly way to make statement pieces that are full of personality. Want to make these DIY Polymer Clay Cactus Trinkets? Find the full tutorial here.
6. Marbled Polymer Clay Hearts For Valentines Day

Credit: solarlivingsavvy.com
Celebrate Valentine’s Day with these adorable marbled polymer clay hearts, a craft perfect for all ages.
Inspired by Alisa Burke’s doodle hearts, this project adds a creative twist with a marbled effect and playful arrow accents.
Using 3-4 colors of Sculpey clay, twist and fold the clay to create unique patterns, then shape them into hearts and bake according to package instructions.
Add extra flair with hologram glitter paint or customize arrows from bright cardstock to glue onto toothpicks.
These charming hearts are versatile, fun, and full of personality – ideal for gifts, decorations, or kids’ crafts. Check out the full tutorial of this Marbled Polymer Clay Hearts here to get started.
7. DIY Polymer Clay Dragon By Silicone Mould Addicts
Credit: siliconemouldaddicts.com
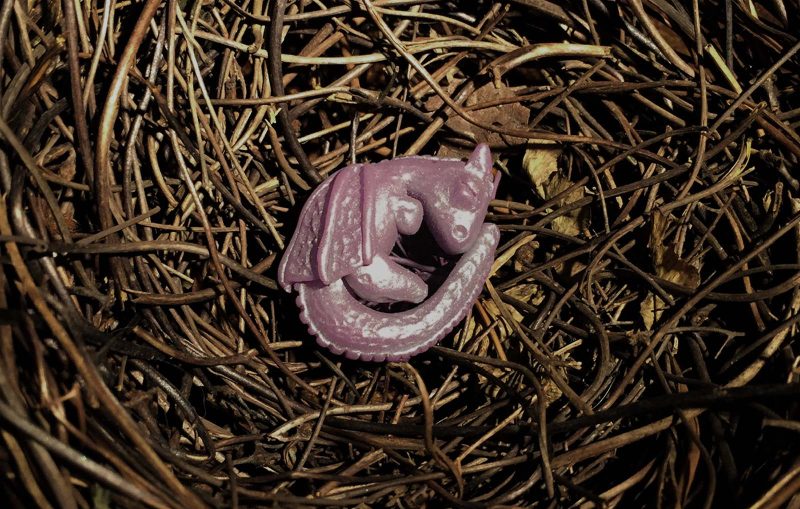
Unleash your creativity with this enchanting tutorial on crafting a polymer clay baby dragon.
Perfect for dragon enthusiasts and crafters of all skill levels, this project guides you through sculpting a charming sleeping dragon step by step.
Using soft, easy-to-work-with SuperSculpey clay, you’ll shape the body, tail, legs, wings, and intricate details like horns, eyes, and a textured spine.
Add color with powders before baking for a magical finish.
Bake at 275°F for 15-20 minutes, and voila – your mythical masterpiece is ready.
Pair it with a matching dragon egg pendant for extra flair. Ready to create? Find the full tutorial here.
8. Mushroom Fairy House – Visually Appealing Clay Trinkets Idea
Credit: craft.ideas2live4.com
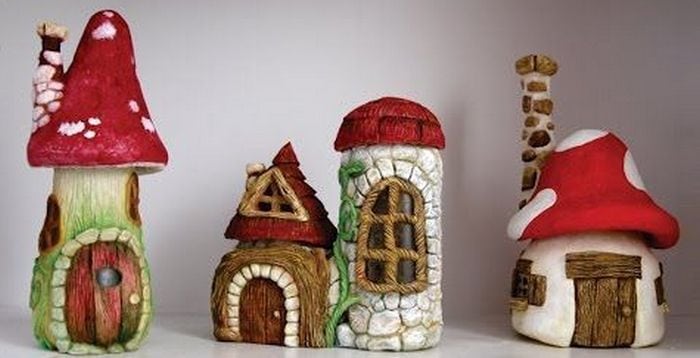
Transform ordinary jars into enchanting Mushroom Fairy Houses with this creative and eco-friendly DIY project.
Perfect for home decor, gifts, or storage, these whimsical creations bring magic to any space.
Using simple supplies like an empty jar, tinfoil, air-dry clay, and watercolors, you’ll sculpt a mushroom-shaped fairy house complete with intricate carvings and charming details.
Add glow-in-the-dark paint or LED lights for a mesmerizing nighttime glow, and incorporate natural elements like pebbles, twigs, or moss for an authentic woodland touch.
This beginner-friendly craft is also a fun activity to share with kids, you can find the full tutorial here.
9. Polymer Clay Horse Craft
This is an extremely visually appealing craft that almost guarantees to catch anyone’s attention.
Here’s a full step-by-step video walkthrough of this tutorial.
10. Mushroom Frog House Clay Trinket Idea
This adorable miniature mushroom fairy house is a delightful example of how polymer clay can bring whimsical charm to everyday objects.
Crafted with soft pastel colors and intricate details, it’s the perfect blend of creativity and functionality.
The delicate pink mushroom roof, charming wooden door, and playful frog companion make this piece feel like a tiny slice of enchanted nature.
Whether used as a trinket dish or a decorative accent, it adds a touch of magic to any space.
Inspired by this enchanting design? Discover more creative ideas and tutorials from the talented artist behind it here.
11. Leaf Clay Dish Trinket

Credit: thebestideasforkids.com
Celebrate the beauty of fall with this creative Leaf Clay Dish project, perfect for older kids and teens.
Using air-dry clay and real leaves (like hydrangea or maple), you’ll imprint nature’s design into clay to craft a stunning dish.
Whether shaped into a bowl or a decorative tray, these handmade treasures can be painted in festive autumn hues or metallic shades like rose gold and bronze, then sealed for durability.
Use them as ring dishes, key holders, or even soap dishes with a waterproof sealant. It’s a fun, customizable craft that doubles as a heartfelt gift.
For full instructions to create this leaf clay dish project, visit The Best Ideas for Kids.
12. Adorable Elephant Polymer Clay Figure
Credit: polymerclay.craftgossip.com
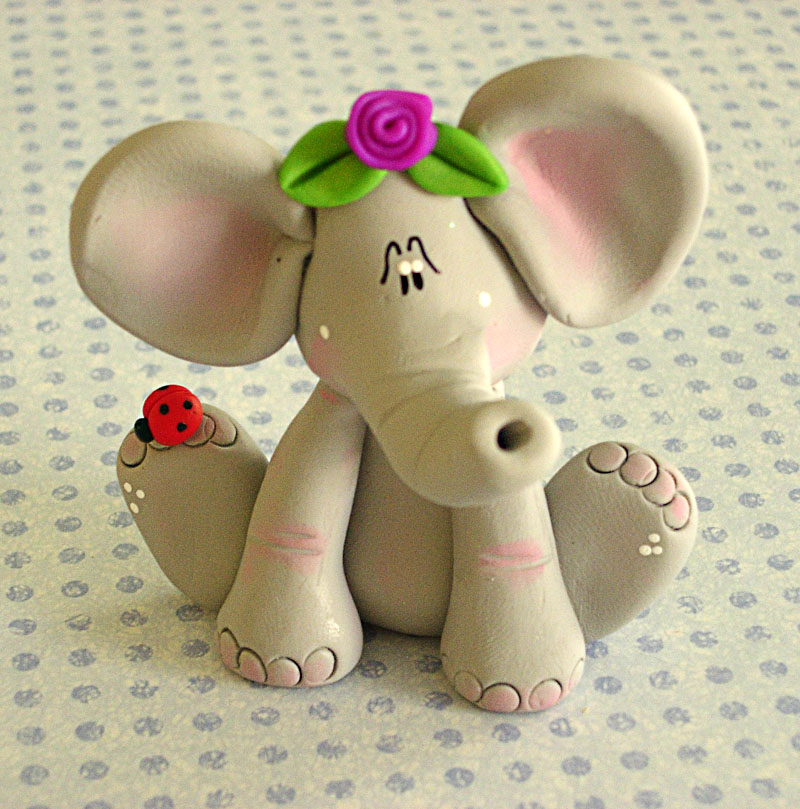
Bring a touch of charm to your crafting with this adorable polymer clay elephant tutorial shared by Elaine Robitaille at polymerclay.craftgossip.com.
This simple yet delightful project is perfect for beginners and offers endless opportunities for personalization.
Add whimsical details like butterflies, bowties, or glasses to make your elephant truly unique.
Whether it’s a gift for someone special or a keepsake for yourself, this little figurine is sure to steal hearts.
Hop over to Polymer Clay Craft Gossip for the full deep dive.
13. Cute Clay Trinkets
This adorable photo features a whimsical polymer clay creation that looks like a mini ice cream sundae.
At the center is a charming, cartoonish bear figurine with large, expressive eyes and a tiny pink nose, perched atop a bed of fluffy “whipped cream.”
The bear is surrounded by small pink polka dots, adding to its playful and sweet aesthetic.
A cheerful pink horn-like detail on top gives it an extra touch of magic, making it look like a unicorn-inspired treat.
The entire setup is nestled in a pastel pink cup, creating a delightful and enchanting miniature dessert scene.
If you’re inspired to create your own magical clay trinket, check out the full video walkthrough here for step-by-step instructions.
14. Super Cute Air Dry Clay Ghost Tray DIY

Credit: mygoldenthimble.com
Whip up a delightful Air Dry Clay Ghost Tray that’s equal parts cute and functional – perfect for holding trinkets, candies, or jewelry.
This beginner-friendly project uses air-dry clay, acrylic paints, and a few simple tools to craft a charming ghost-shaped tray.
Roll out the clay, shape it into a wavy-edged ghost, and pinch the edges to form a shallow bowl.
Once dry, paint on an adorable face with black acrylics and add blush for extra sweetness.
Seal it with glue or a clear coat for durability.
Whether you’re decorating for Halloween or just love handmade crafts, this tutorial has you covered (Get all the details here).
Final Thoughts
Beyond their decorative appeal, creating clay trinkets offers surprising therapeutic benefits.
The tactile process of working with clay engages multiple senses, activating different areas of your brain while reducing cortisol levels – the primary stress hormone.
Studies show that repetitive hand movements during crafting release dopamine, creating a natural sense of accomplishment and well-being.
For beginners, starting with simple air-dry clay projects builds foundational skills that transfer to more complex creations.
To extend the lifespan of your finished pieces, consider using a water-resistant sealer for air-dry clay or liquid clay to strengthen delicate parts in polymer clay projects.


