Every spring I start thinking about simple diy garden projects that make my garden look a little more personal.
One thing I keep seeing everywhere is cornstarch clay plant markers. They’re easy, cheap, and honestly fun to make.
These little plant tags help you remember what you planted, especially when seedlings all look the same.
Ever planted basil and cilantro and then forgot which is which? Yeah… same here.
In this guide I’m sharing 12 beginner-friendly ideas for cornstarch clay plant markers that you can make at home using simple tools.
Some ideas use stamping tools, others rely on hand carving. None of them require fancy skills.
Let’s get our hands messy.
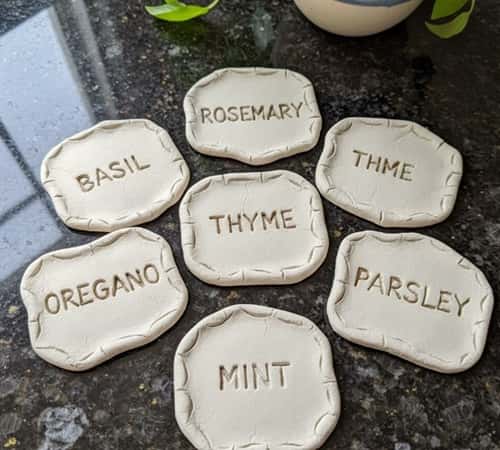
1. Classic Stamped Cornstarch Clay Plant Markers
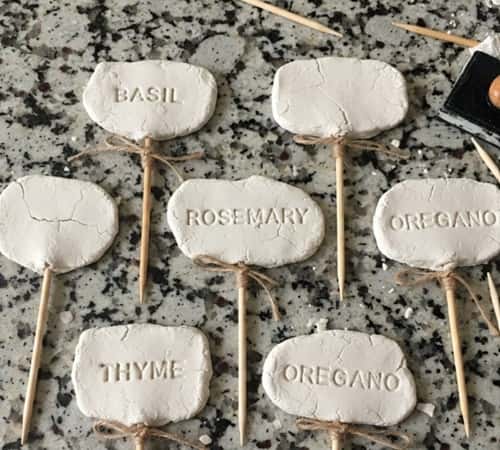
This is the easiest starting point for anyone trying cornstarch clay craft for the first time.
What you need
- 1 cup cornstarch
- 2 cups baking soda
- 1¼ cups water
- Saucepan
- Rolling pin
- Drinking straw
- Letter stamping tools or alphabet stamps
- Toothpick or wooden stick
Step-by-step process:
- Add baking soda, cornstarch, and water into a saucepan.
- Heat on medium and stir constantly.
- The mixture thickens quickly and starts looking like mashed potatoes.
- Remove from heat once it forms a dough ball.
- Let it cool slightly. Don’t rush this step, hot dough burns fingers quick.
- On a level surface, knead the dough until it is smooth.
- Roll the dough about ¼ inch thick.
- Cut long rectangles using a butter knife.
- Use letter stamps to press plant names like “Mint” or “Rosemary”.
- Make a hole at the bottom with a straw.
- Insert a wooden stick or skewer.
- Air dry for 24 to 48 hours.
Now you’ve got simple garden labels that look handmade in the best way.
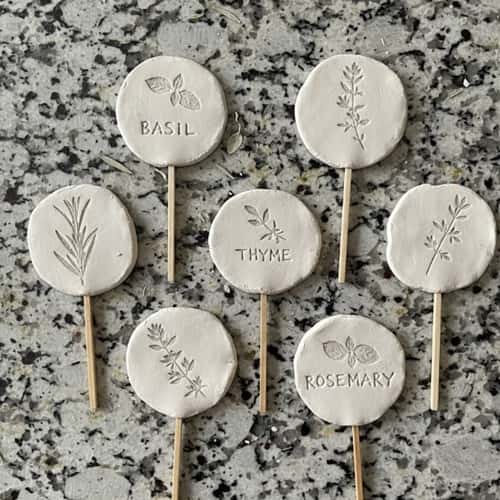
2. Leaf-Imprinted Clay Plant Tags
Nature already makes the best textures. Why not steal them?
These plant markers get their patterns from real leaves.
Supplies:
- Fresh leaves (fern, mint, parsley work great)
- Cornstarch clay dough
- Rolling pin
- Knife
- Wooden sticks
Steps:
- Roll out your cornstarch clay to about ¼ inch thickness.
- Place a real leaf on the clay surface.
- Press gently using your fingers or rolling pin.
- Remove the leaf slowly. You’ll see a detailed imprint. Pretty cool right?
- Cut around the imprint into a tag shape.
- Scratch the plant name using a toothpick.
- Attach a stick to the bottom.
- Let it dry fully.
Sometimes the imprint doesn’t come out perfect but that’s the charm of handmade plant tags.
3. Painted Garden Labels

If plain clay looks too dull, paint fixes everything.
These plant labels add color to your garden beds.
Materials
- Cornstarch clay tags
- Acrylic paint
- Small brush
- Optional paint primer
Instructions:
- Make basic clay tags using the first method.
- Let them dry completely first.
- Apply a thin coat of paint primer if you want brighter colors.
- Paint the entire tag using acrylic colors.
- Write plant names using a thin brush or marker.
- Seal with clear varnish if you like.
Paint sometimes bleed a little on clay, but thats normal.
These colorful garden labels stand out among green plants.
4. Rustic Hand-Carved Clay Plant Markers
Supplies
- Cornstarch clay
- Toothpick or wooden skewer
- Butter knife
Steps:
- Roll clay into long oval shapes.
- Flatten gently with fingers.
- Use a toothpick to carve plant names.
- Draw tiny leaves or vines around the words.
- Attach a clay stem at the bottom so it can stick into soil.
- Dry for two days.
This one feels very raw and honest. Some letters may look weird but that makes it special.
A little crooked sometimes, but thats handmade life.
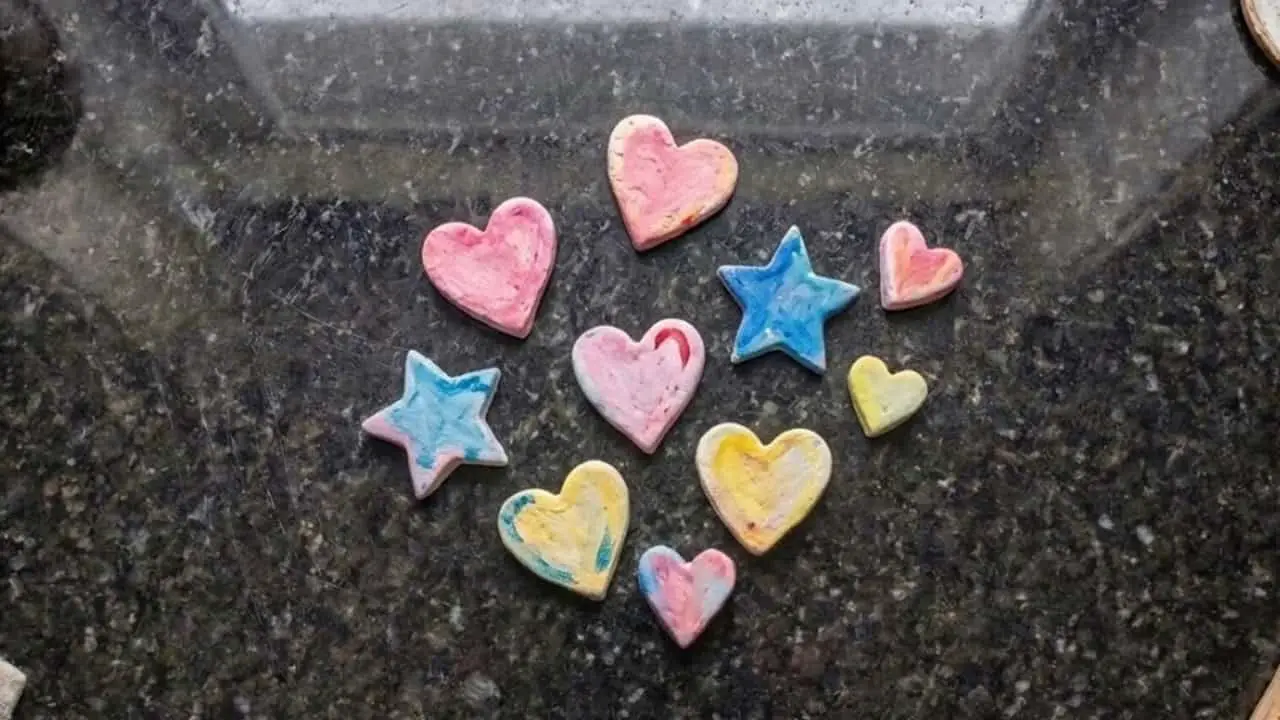
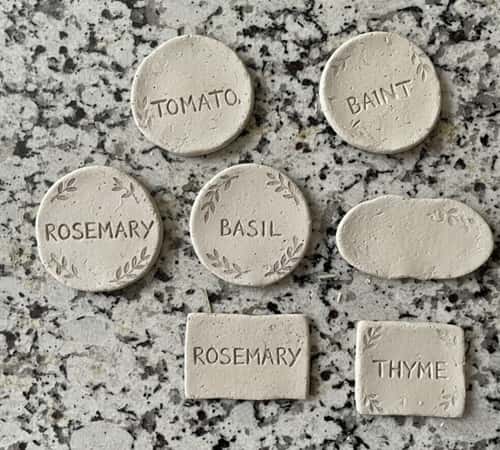
5. Pebble-Style Clay Plant Markers
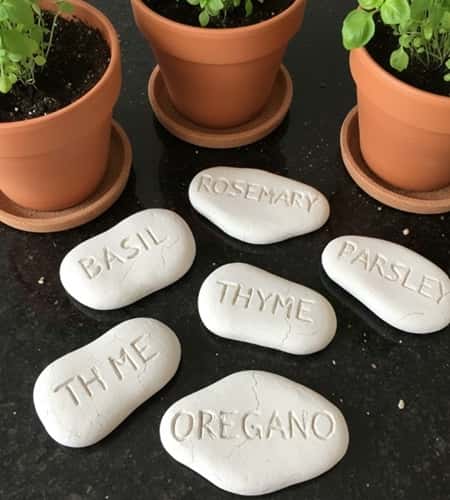
What you need
- Cornstarch clay
- Spoon
- Toothpick
- Acrylic paint
Instructions:
- Roll clay into round balls.
- Flatten slightly to create pebble shapes.
- Smooth edges using a wet finger.
- Carve plant names on top.
- Push halfway into soil after drying.
These work nicely for plant tags in herb containers.
Sometimes the clay crack while drying but it still works fine.
6. Hanging Plant Labels
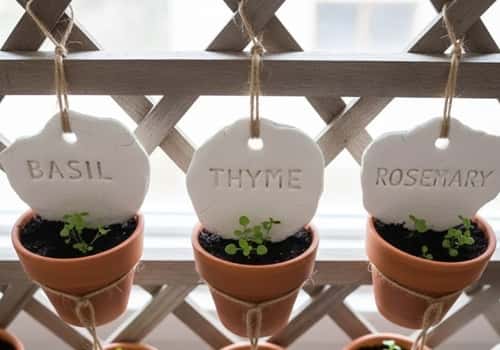
Some plants grow in pots or vertical planters.
So hanging plant labels makes sense.
Materials
- Clay dough
- Straw
- Twine string
- Letter stamps
Steps:
- Roll clay and cut oval shapes.
- Stamp plant names.
- Make two small holes near the top.
- Thread twine through holes.
- Tie around plant pots.
Very useful for balcony gardens actually.
These small garden labels move gently in the wind, looks nice honestly.
7. Mini Chalkboard Clay Plant Tags
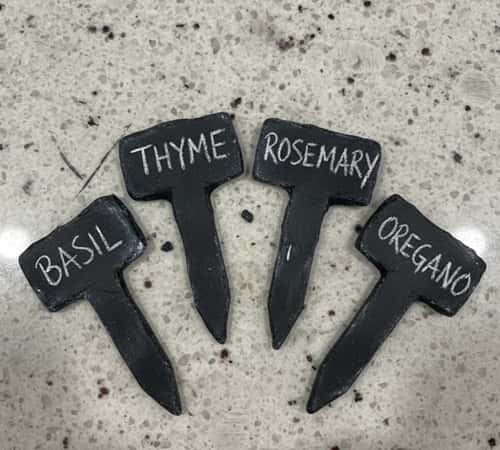
Supplies
- Cornstarch clay markers
- Black chalkboard paint
- Chalk
Steps:
- Make flat clay rectangles.
- Let them dry fully.
- Paint center area with chalkboard paint.
- Write plant names using chalk.
- Stick into soil.
If you replant often, chalk labels are useful.
The chalk sometimes smudge after rain but thats okay.
8. Embossed Pattern Plant Markers
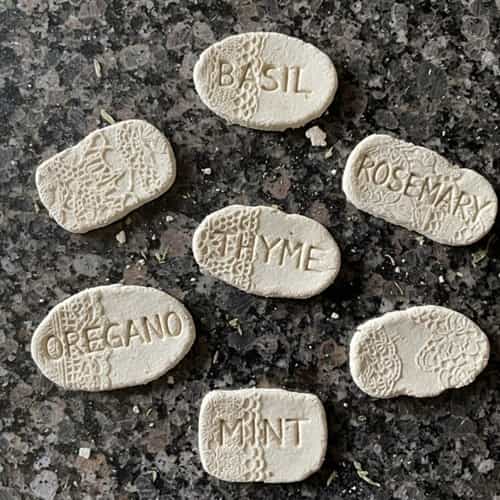
Materials
- Cornstarch clay
- Lace fabric or textured cloth
- Knife
- Toothpick
Steps:
- Roll clay flat.
- Place lace fabric over it.
- Press gently using a rolling pin.
- Remove fabric to reveal pattern.
- Cut tag shapes.
- Carve plant names.
These patterned plant markers look surprisingly decorative.
Honestly, I didnt expect them to turn out this nice.
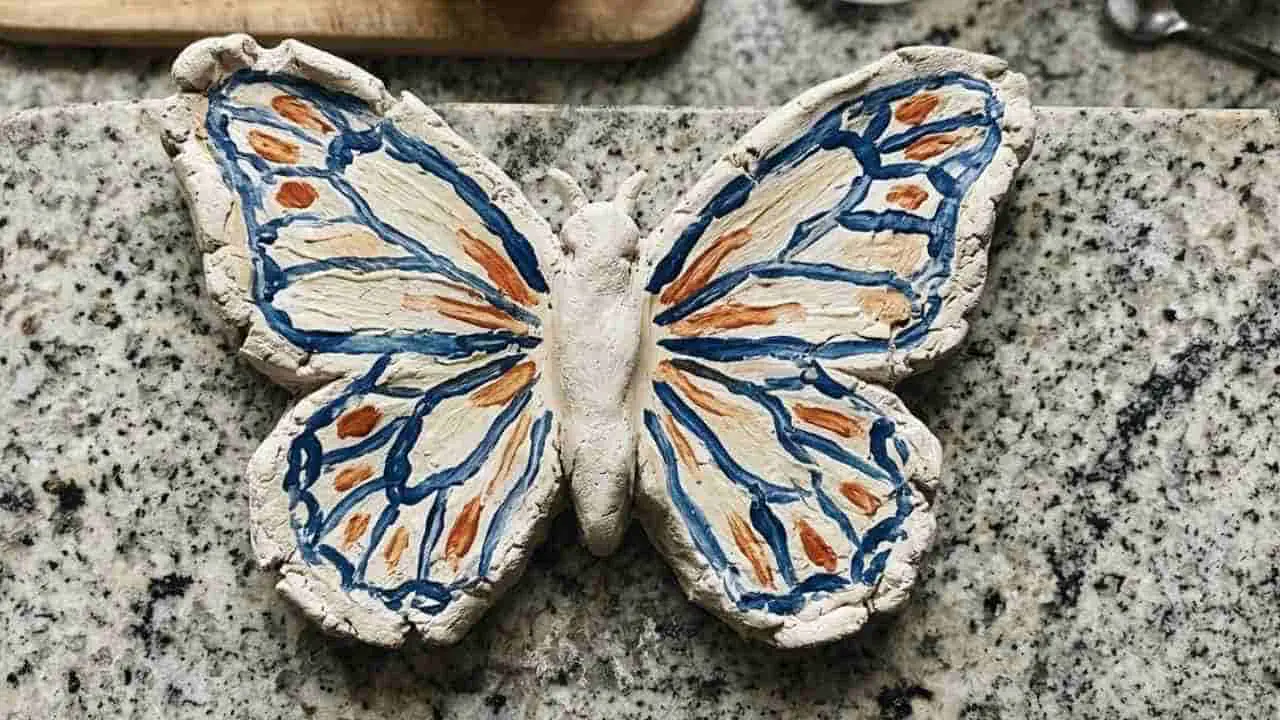
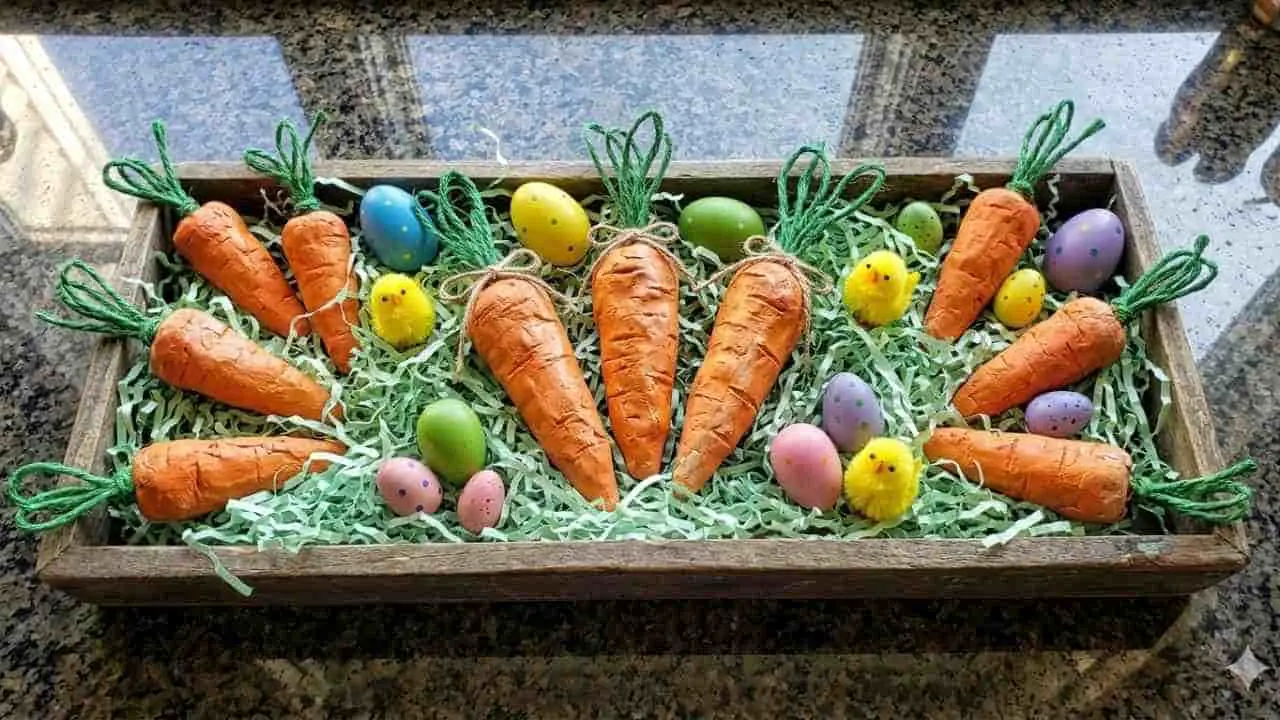
9. Cartoon Vegetable Plant Tags

Materials
- Cornstarch clay
- Acrylic paint
- Fine brush
Steps:
- Shape clay into carrot, tomato, or chili shapes.
- Dry completely.
- Paint them using bright colors.
- Write plant name on the back.
They look playful and make great handmade plant tags.
Kids love this one, although paint may get messy.
10. Minimalist Herb Plant Markers

Materials
- Clay dough
- Knife
- Skewer
Steps:
- Roll clay into long thin rectangles.
- Scratch plant names lightly.
- Smooth edges with fingers.
- Attach skewer at the back.
These minimalist plant markers fit small herb gardens nicely.
Too simple maybe… but simple works sometimes.
11. Engraved Border Garden Labels
Supplies
- Clay dough
- Toothpick
- Rolling pin
Steps:
- Roll clay flat.
- Cut rectangular tags.
- Write plant name in center.
- Add tiny dots or lines around border using toothpick.
- Insert wooden stick.
This creates decorative garden labels without much effort.
Border lines might come out uneven but thats okay.
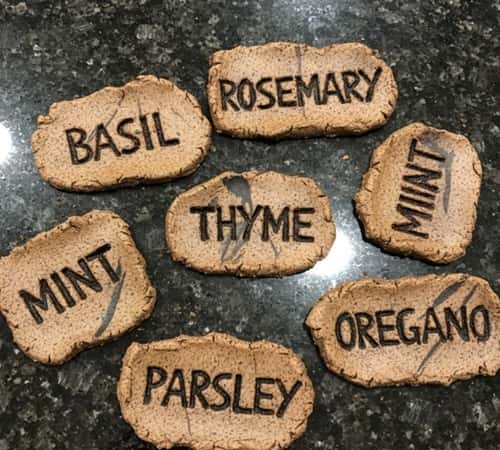
12. Rustic Farmhouse Plant Markers
Materials
- Cornstarch clay
- Coffee powder
- Toothpick
- Skewer sticks
Steps:
- Mix a little coffee powder into clay dough.
- This gives a natural brown tint.
- Roll into thick tags.
- Carve plant names deeply.
- Attach stick before drying.
The color turns warm and earthy after drying.
It looks aged even when its brand new.
Final Thoughts
One interesting thing about cornstarch clay plant markers is how forgiving the material is. Unlike ceramic clay, this dough lets beginners experiment without pressure. A mistake isn’t wasted material… just knead again and start over.
These little plant tags also solve a real gardening problem. When seedlings pop up, they all look confusingly similar.
Good plant markers remove that guessing game completely.
And honestly, projects like this sit right between gardening and cornstarch clay craft, which makes them perfect for slow weekends.
You end up with something useful, slightly imperfect, and very much yours.