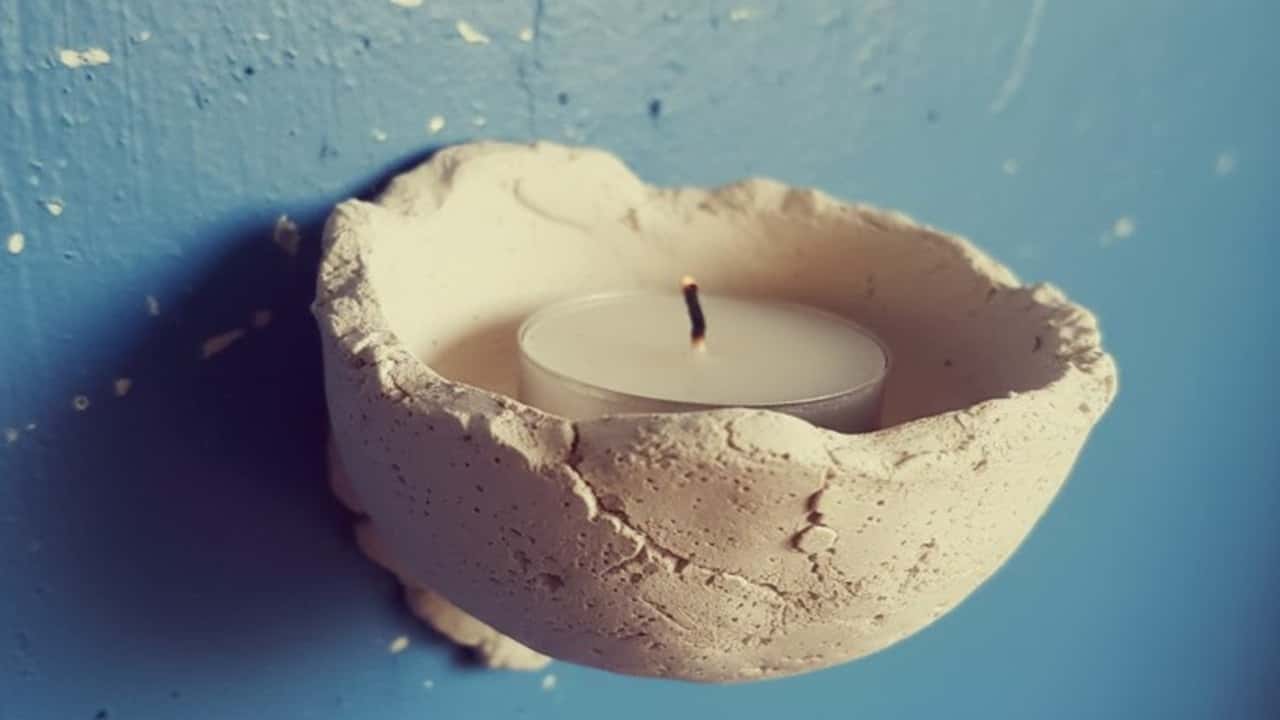
Are you a fan of crafting clay sculptures or using it for your art projects? If so, you’re in for a treat!
Creating clay at home is not only fun but also economical. But what’s even better? Children adore playing and shaping clay into imaginative figures.
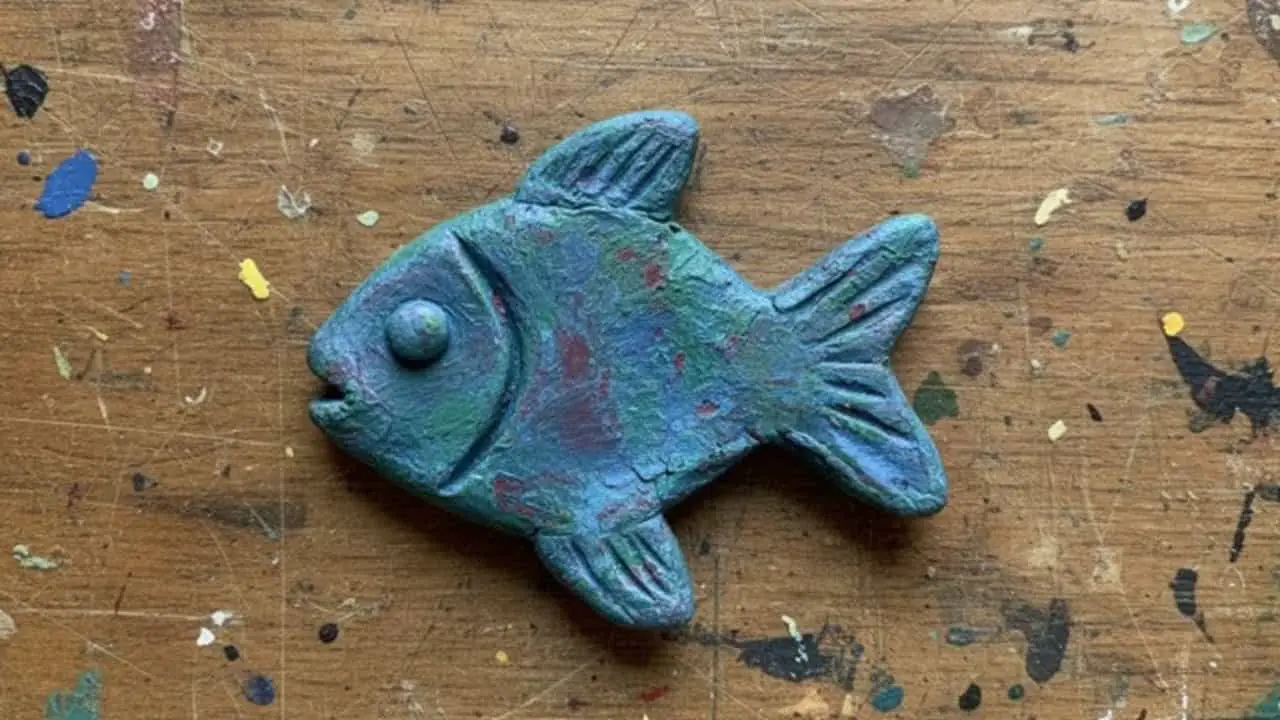
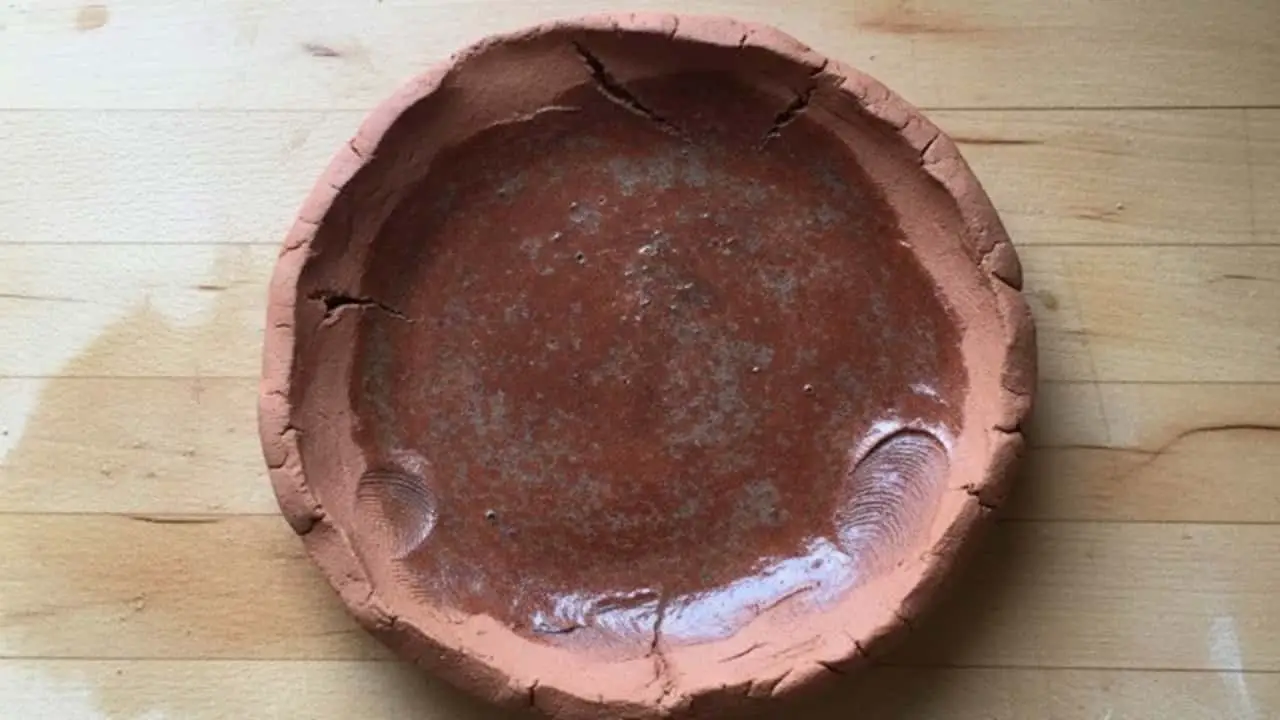
Cornstarch clays are perfect for crafting imprints and for flat cut shapes making them ideal for creative endeavors with kids.
As someone who loves to indulge in homemade crafts and DIY Ideas, I’ve found a nice idea to create clay myself.
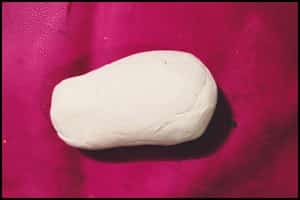
Let’s get started with the clay making process by taking a look at the list of items needed first.
Step 1: Elements Used To Make DIY Homemade Clay Using Cornstarch
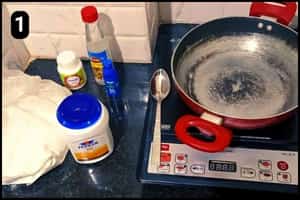
- Corn Starch: I’ve used corn starch as the main ingredient of the homemade clay.
- PVA glue: Required to mix with the cornstarch (More on that later).
- Oil: You can either use vegetable oil or coconut oil to add to the mixture. It is mainly because of the fact that it doesn’t evaporate like water and hence remains malleable even when dry.
- Vinegar: I’ve added 2 spoons of distilled vinegar to the solution as an alternative to water for softness.
- Fevicryl White Paint: To get that bright and white color I’ve used a small amount of white fevicryl.
- Nonstick Pan: To cook the mixture into a container, nonstick pans are recommended for a smooth process.
- Gas Stove or Induction: To cook the mixture I’ve used an electric induction on low heat settings, however you can use a gas stove on low flame.
- Spatula: To saute the mixture I’ve used a regular spoon, however, you can use a wooden spatula or a large spoon.
Step 2: Adding Cornstarch to the container
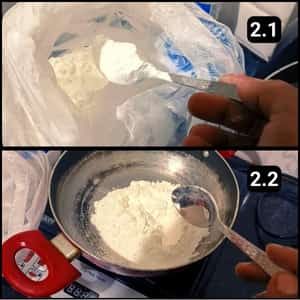
First, I added a few spoons of cornstarch to the non-stick pan.
As I used a regular spoon, I put about 4 spoons of cornstarch into the pan.
Step 3: Adding PVA glue
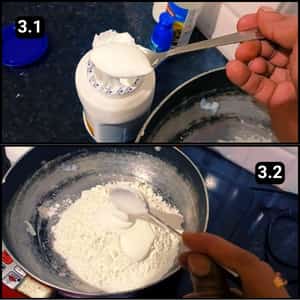
The quantity of PVA glue will vary depending on the amount of cornstarch.
You can mix equal or close to equal parts of cornstarch and glue to the pan.
Let them settle for a while before mixing them together.
Step 4: Add Vinegar and Oil
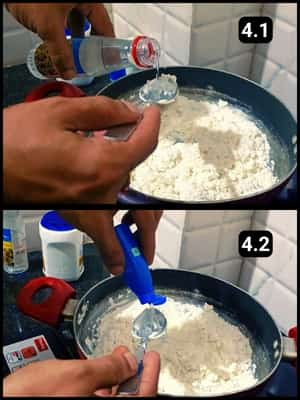
To break the cornstarch particles and transform it into a smooth paste I would say you can add 2 spoons of white vinegar.
It’s also a substitute for using water in the overall solution.
Next, mix 2 tablespoons of coconut oil. That being said, you can also use vegetable oil as an alternative.
It will help reduce the stickiness of the clay.
To make it even brighter or white you can add a 1 spoon white fevicryl color (However, it’s optional).
Step 5: Start mixing them

Now, when you have all the elements added to the pan, it’s time to mix them well.
Keep stirring the solution until it turns into a thick paste.
Initially, it will appear tough to move the spatula to mix them, but as you continue with the process it will turn into a thick paste.
Make sure there are no lumps before you start with the cooking process.
Step 6: Power on the Induction
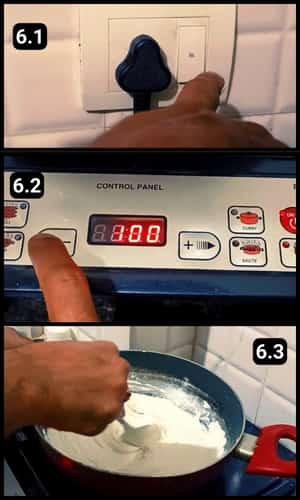
I have used an electric induction to cook the clay mixture, however, you can also use a gas stove.
Make sure to cook it on a low flame and keep stirring the mixture.
Do not allow it to settle while cooking it.
Step 7: Inspect the status
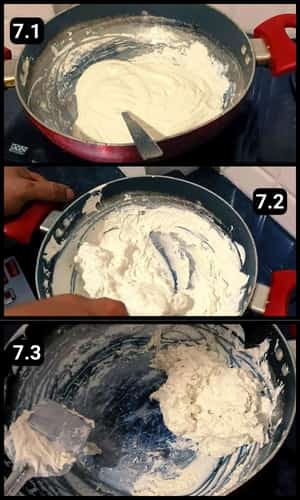
While the mixture will continue to stay in a smooth paste at the initial stages, you’ll soon realize that within a few minutes it’s turning hard.
Finally, when the mixture starts coming off the pan’s surface it means the gas needs to be turned off.
Step 8: Turn off the Induction
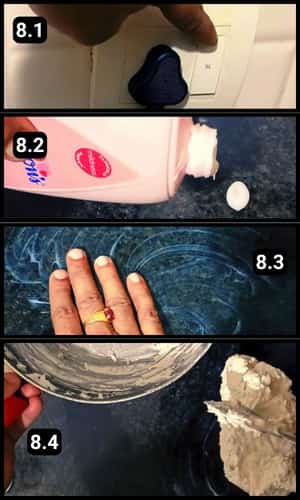
At this point you’ll realize that the clay lump looks cooked well which also means it’s time to work out on the dough i.e. the kneading process.
First, I turned off the electric induction and waited for a couple of mins before transferring the dough to the surface for kneading.
Next, I applied lotion to the surface of the kitchen to prevent the clay from sticking.
Finally, I transferred the cooked dough from the pan to the greased surface for kneading.
Note: I’ve used a baby lotion (you can also use petroleum jelly or other body lotions to grease the surface).
Step 9: Kneading the dough
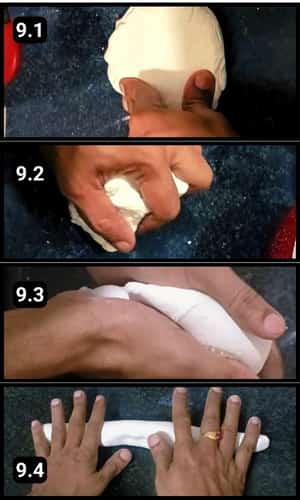
Before kneading the clay dough make sure to grease your palms.
Greasing the surface and your hands will ensure the dough does not stick to them.
Start kneading it for about 5 to 10 minutes until it turns into a plain dough.
Roll the dough into a ball and roll it flat to check if there’s any sign of cracks.
Step 10: Testing the Clay
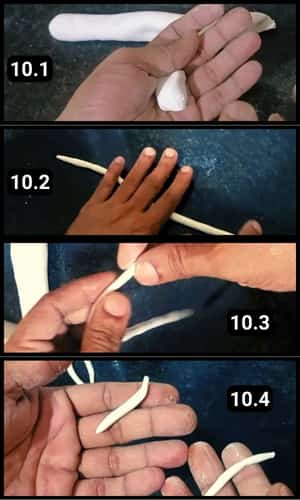
- Assess the clay’s malleability: Check if the clay is soft and smooth enough to be easily worked with and molded into your desired shapes.
- Roll it out: Flatten the clay by rolling it out with a rolling pin or your hands until it reaches the desired thinness.
- Break it into pieces: Gently break the rolled-out clay into smaller pieces to test its consistency.
- Evaluate the breakage: Observe how the clay breaks. If it separates smoothly without any cracks or rough edges, it indicates that the clay is well-conditioned and suitable for your art projects.
Step 11: Storing the Clay Dough
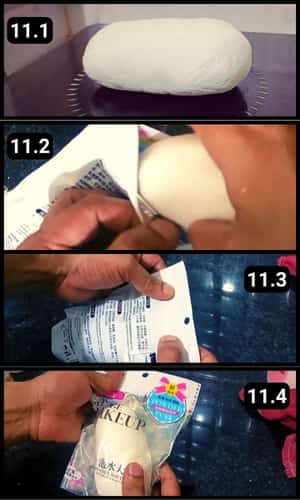
To preserve the quality of the clay lump, storing it in an airtight container or a plastic bag is crucial.
For my homemade clay, I opted for an airtight plastic bag as a storage solution.
By storing the clay in airtight containers, it’s possible to extend its lifespan for weeks, allowing ample time for future projects.
Video Walkthrough of DIY Homemade Clay Using Cornstarch
Final Thoughts
Creating homemade clay using cornstarch is not only a budget-friendly option but also a fantastic activity to engage in with your children. Plus, it also ensures that you won’t run short of clay while working with it.
Additionally, it will help you save some pennies compared to readily available clay in the market.
And I’ve shared a video walkthrough of DIY homemade clay using cornstarch above for your reference.
By following these simple steps, you can craft your own clay for various art projects:
- Ingredients Selection: Ensure you have all the necessary ingredients ready, including cornstarch, PVA glue, oil, vinegar, and optional white fevicryl paint.
- Mixing Process: Mix the ingredients thoroughly in a nonstick pan until a thick paste forms. Cooking it on low heat is essential to achieve the right consistency.
- Kneading and Testing: After cooking, knead the dough until smooth and test its malleability and consistency.
- Storage: Store the clay in an airtight container to preserve its quality for future use.
Homemade clay not only saves money but also allows for customization according to your preferences.
Experiment with different colors and textures to unleash your creativity.
Note: Make sure to use the homemade clay within a few weeks of making or else it may harden.
Frequently Asked Questions
How long did it take to make the DIY clay using cornstarch?
It took about 30 minutes to make the diy clay with all the materials ready.
Can I use this DIY Cornstarch clay for sculpting detailed figures?
Yes, you can use this clay for sculpting detailed figures. Its smooth texture allows for intricate detailing, making it suitable for various art projects.
How long does this DIY homemade cornstarch clay last?
When stored properly in an airtight container, this homemade clay can last for several weeks, maintaining its quality and consistency for future projects.
Can I add other colors to this cornstarch clay besides white?
Absolutely! You can customize the color of the clay by adding food coloring, acrylic paint, or other pigments to achieve your desired shades. The reason I added white color is because it allows me to color it with any color of my choice later.
What if my clay turns out too dry or too sticky?
Adjusting the proportions of cornstarch, glue, oil, and vinegar can help achieve the desired consistency. If it’s too dry, add a bit more oil, if it’s too sticky, add more cornstarch.
Can I store leftover cornstarch clay scraps for future use?
Absolutely! Store leftover clay scraps in an airtight container or plastic bag to prevent them from drying out. You can rehydrate them with a bit of water if they become too dry before use.

