Valentine’s Day is just around the corner, and what better way to show your affection than with a homemade surprise? Imagine whipping up a playful, DIY Valentine’s Day treat that says “I care” in the most personal way.
As someone who loves getting crafty, I recently turned a simple hair clip and a few craft supplies into a heartfelt goodie.
I’m thrilled to walk you through each step, complete with photos to guide you.
So, without wasting any time, let’s dive right into it and get a little creative.
Step 1: Gather your supplies
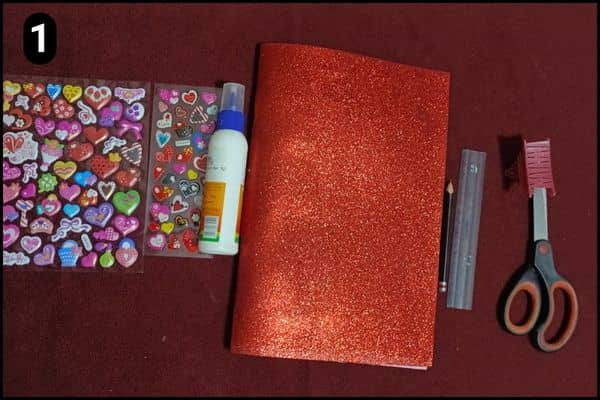
Things that I have used to craft the DIY Hair Clip Valentine’s goodie are listed below:
- An old Hair-Clip: I have used an old hair clip for this particular DIY project.
- Glitter paper: A red colored glitter paper will be used for a heart shaped cut out. However, you can use other colors and designs.
- Pencil & Ruler: Pencil for drawing shapes and marking the lengths required for the craft.
- Scissor: To cut shapes and figures you will need a scissor.
- Stickers: I have bought a few stickers to paste them inside the clip. You can also place a small teddy or a tiny heart softie.
- Glue: It’s required to stick the heart shaped cutout over the hair Clip’s mouth.
Grab them all and follow the below steps to craft your DIY valentine’s day surprise goodie.
Step 2: Mark the clip width
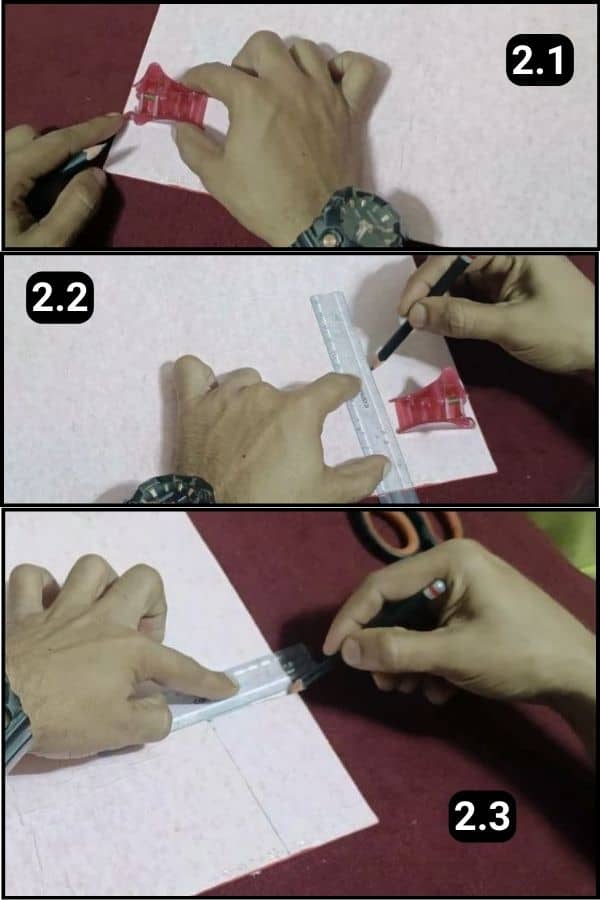
I have marked the width of the clip using a scale ruler and a pencil.
Make sure to use the reverse side of the glitter paper to draw a heart shape.
Also remember the size of the paper needs to be equal to or larger than the hair clip.
The idea is to hide the clip behind the cutout or it won’t look as creative as you desired (more on that below).
Step 3: Cut the marked portion

As you can see in the image above, I have cut the marked portion using a scissor with accuracy.
I have used the corner of the paper to avoid wasting the entire sheet.
Now, we’re moving on to shaping it just right.
Step 4: Fold, Draw, and Cut
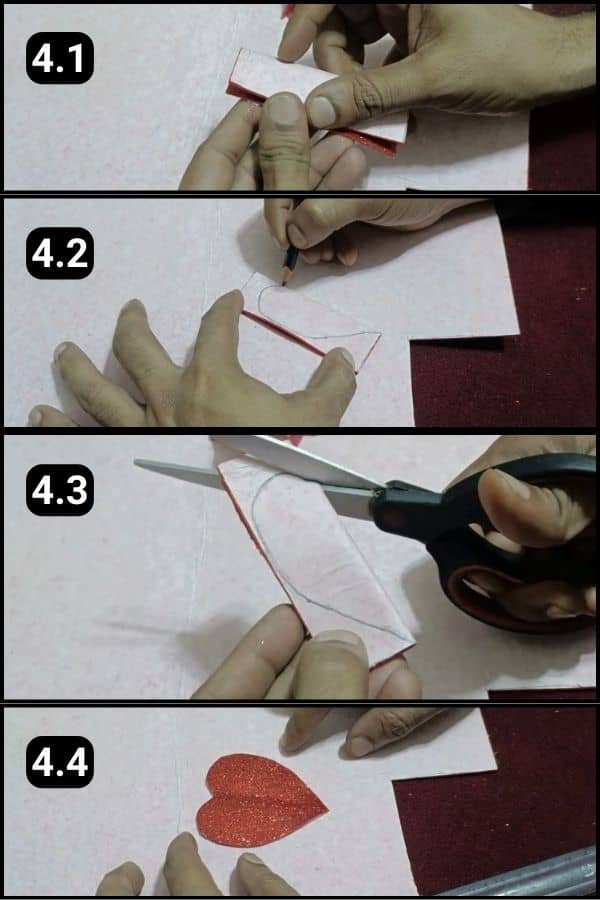
Next up, I folded the paper right down the middle, as you can see in image 4.1, making sure to press along the fold for a crisp edge. Getting that fold just right is key.
Then, with a steady hand, I drew a half-heart directly on the fold.
This little trick meant that when I cut along the line, I ended up with a perfectly symmetrical heart.
I took my time with the scissors, knowing that rushing could ruin the shape. And voila, the result was a beautifully shaped heart, ready to steal the show.
Step 5: Aligning the Hair Clip
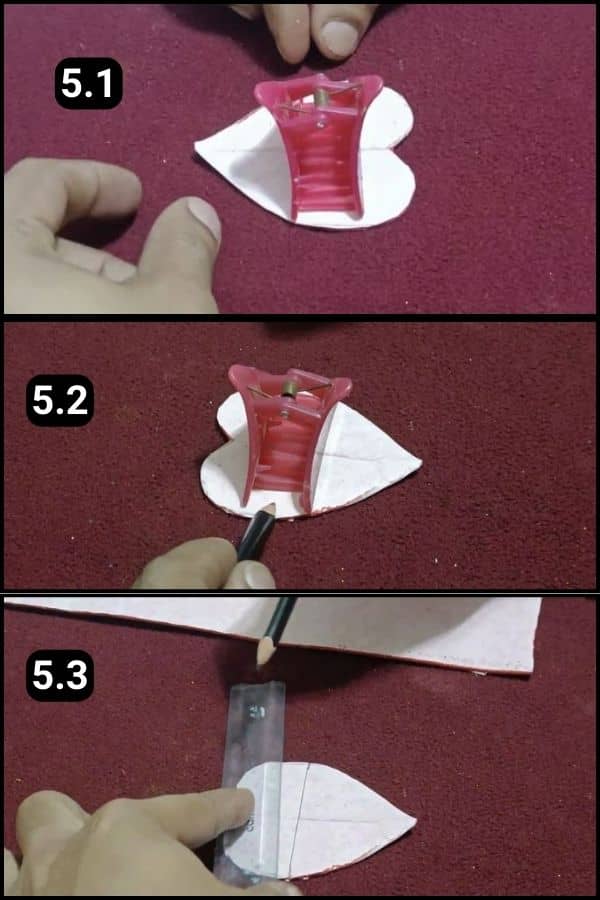
I placed the heart with its blank side facing up, just like in image 5.1.
Then, I carefully positioned the hair clip over the cutout, making sure it was perfectly centered.
To ensure accuracy, I marked the center points at both ends of the clip right on the cutout.
With a pencil and ruler in hand, I connected these points with a straight line.
Step 6: Cut it into half
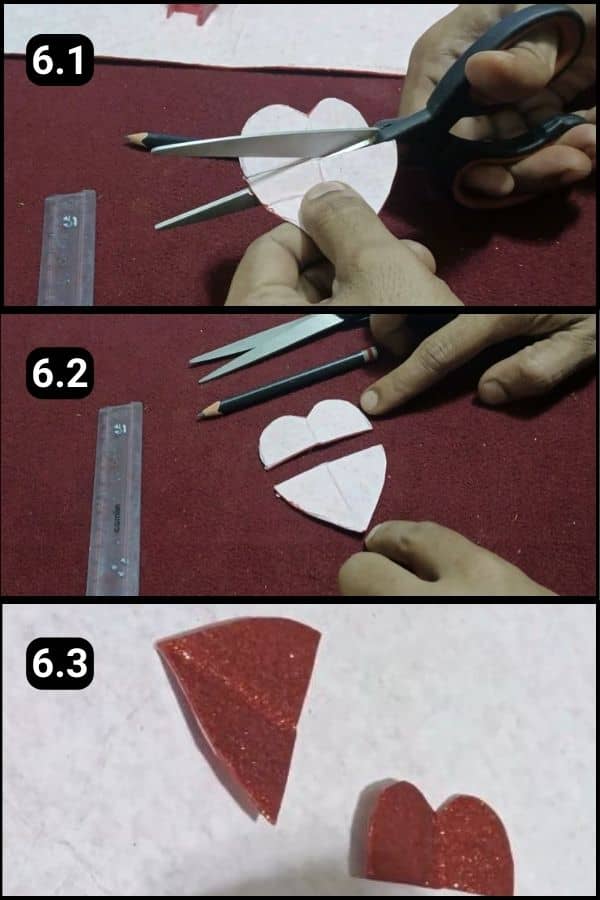
Using scissors, I split the heart shape into two pieces.
Now, they are ready to be attached to the hair clip.
Step 7: Place a tiny heart inside the Clip
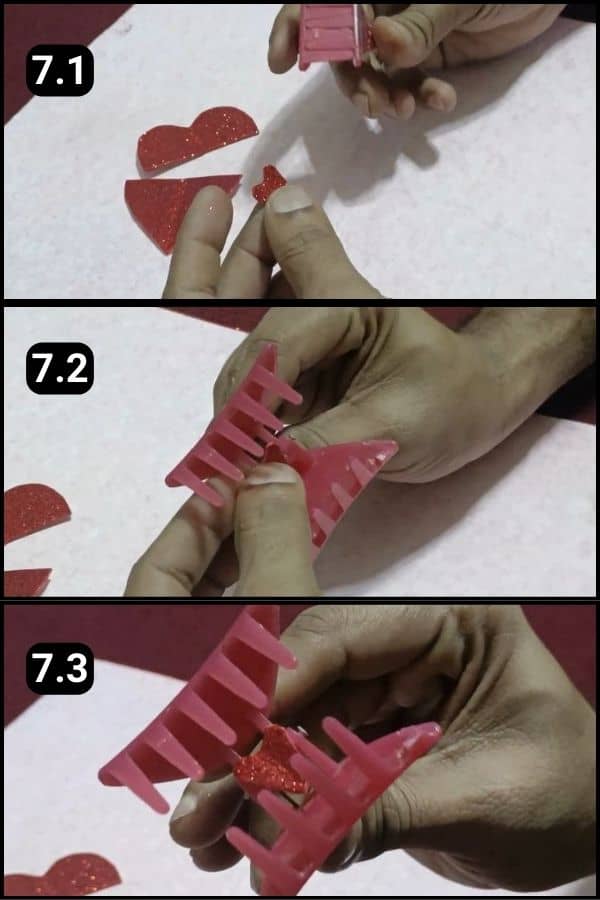
Next, I positioned the heart within the clip’s grasp, ensuring it sat at the center, becoming visible each time the clip’s mouth opened.
I didn’t stop there, I also experimented with adding stickers, a miniature teddy, a rose, and even a tiny heart-shaped softie.
It was all about trying out different embellishments to see which ones captured the look I loved the most.
Step 8: Fixing the cutout over the Clip
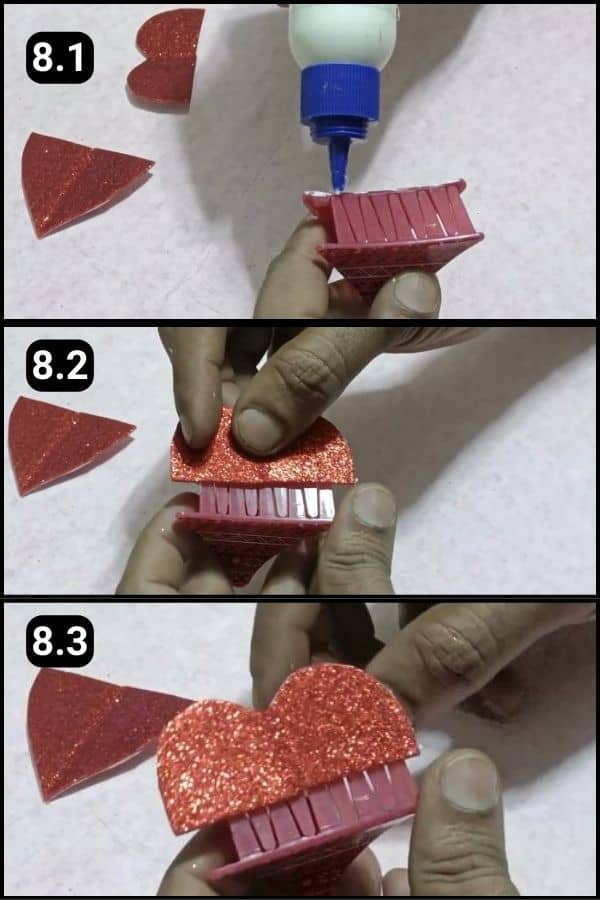
I dabbed glue along the edges of the hair clip to secure the first half of the heart cutout in place.
The top part of the heart was positioned to neatly cover half of the clip’s teeth.
For a clear guide, you can glance at images 8.2 and 8.3.
Then, I moved on to cover the remaining teeth with the bottom portion of the cutout, ensuring a snug and pretty fit.
Step 9: Place the other half
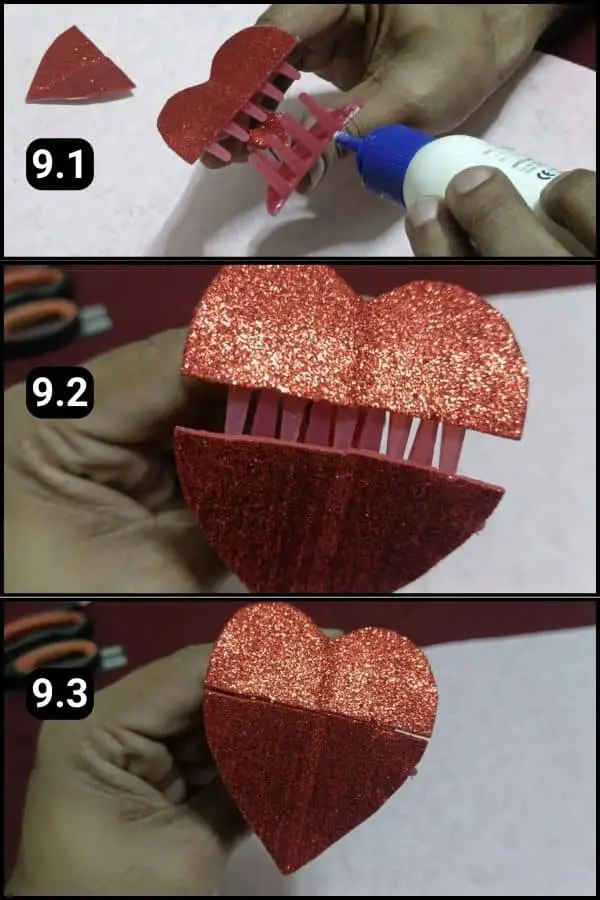
Just like I did with the top part, I applied glue to the clip’s bottom edges next.
Then, I carefully attached the other half of the cutout, making sure it aligned well.
I let it dry for a bit to ensure everything stayed in place.
And there you have it, as shown in images 9.2 and 9.3, our craft is complete and ready to charm!
Step 10: Perform a quick test
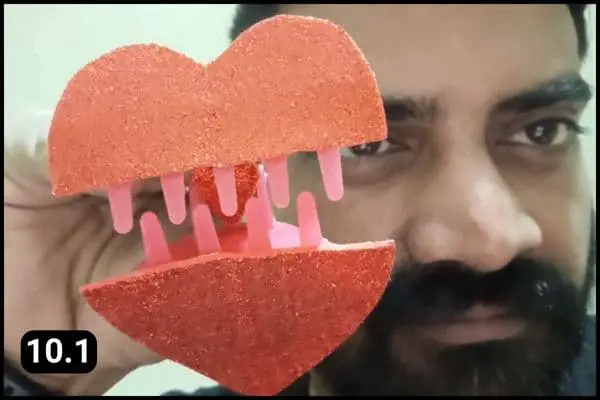
See how simple and amazing it looks as you flip the hair clip.
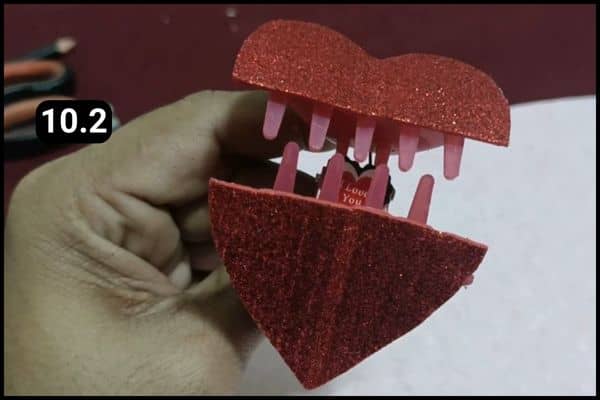
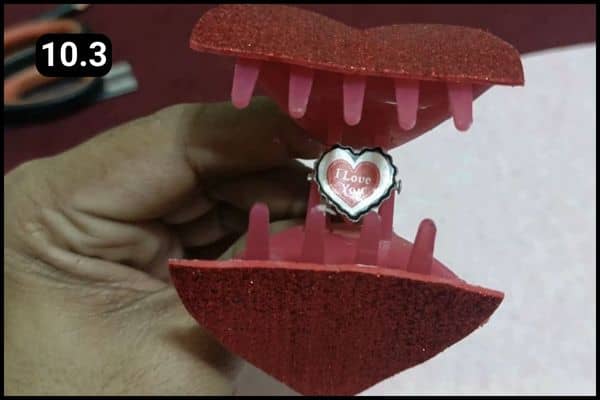
You can paste different stickers and elements inside the clip.
Use stickers with your desired message printed on them and paste them inside the clip.
For Complete video hand holding, watch the below video:
Final Thoughts
With just a handful of supplies and about 10 minutes of your time, you can create a charming little surprise that’s bound to make Valentine’s Day extra special.
This craft stands out for its simplicity, making it perfect even if you’ve just stumbled upon this idea a day before the celebration.
The beauty of handmade gifts lies in their ability to weave lasting memories filled with love and affection.
This is one of the easiest crafts you’ll ever make, but the impact it has? Absolutely immeasurable.
Remember, it’s the thought and personal touch that count, transforming simple gestures into treasured keepsakes.
I hope this project inspires you to explore more DIY crafting adventures.
Frequently Asked Questions
Is there a specific type of glue recommended for this craft?
A strong, quick-drying adhesive is best for this project to ensure the decorations stay attached to the clip. Craft glue, hot glue, or even super glue can work well. Just make sure it’s suitable for the materials you’re using, especially if you’re working with heavier decorations.
I don’t have glitter paper. What should I use?
Use a card paper or an origami paper and cut the heart shape. Apply glitter color over the shape for a shining effect.
Can I customize this craft for other occasions besides Valentine’s Day?
Absolutely! This craft is versatile and can be adapted for any occasion. Simply change the colors, shapes, and decorations to fit themes like birthdays, anniversaries, or even seasonal holidays. The possibilities are endless.
What other decorations can I add to personalize the hair clip?
Besides stickers, consider adding small jewels, beads, feathers, or even personalized charms to make the clip truly unique. You can also layer different shapes and materials or use themed decorations to tailor it to the recipient’s interests.


