Ever stared at a tiny red-and-black bug and thought, “I could wear that”? Weird thought, but here we are.
This ladybug clay brooch tutorial is for anyone who’s never touched air dry clay before and still wants something that looks handmade, not homemade-and-embarrassing.
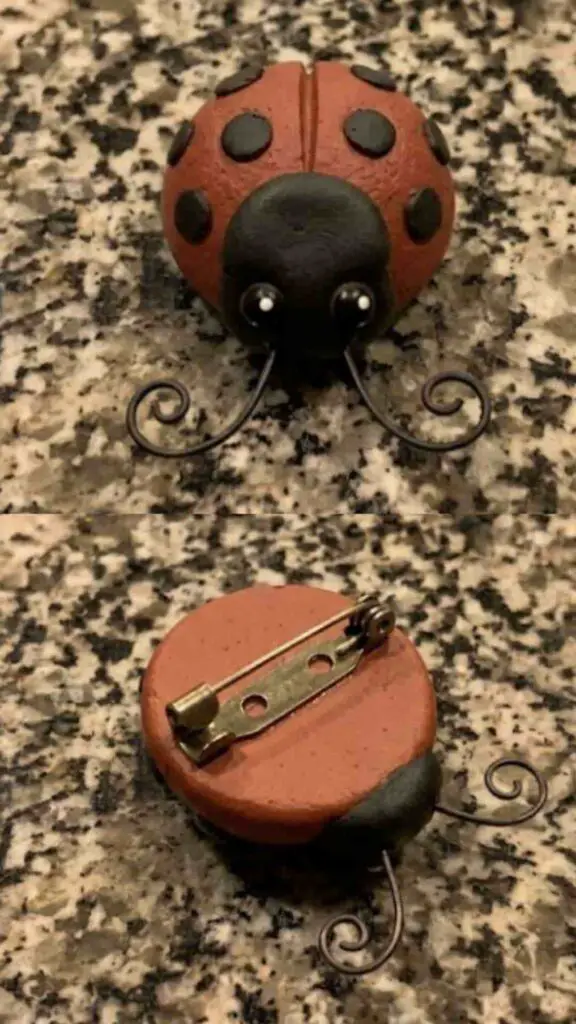
We’re keeping this beginner friendly, no kiln, no fancy tools. Just clay, patience, and maybe a toothpick.
By the end you’ll have a wearable decorative pin crafted from molding clay that you can actually pin on a jacket. Grab your clay. Let’s get those hands dirty.
Choose Your Air Dry Clay Type
Regular Air Dry Clay | Cornstarch Clay | Homemade Clay
Affiliate Disclaimer: Some of the links in this post may be affiliate links, which means I may earn a small commission if you choose to make a purchase through them – at no extra cost to you. I only share products that genuinely fit this project and can help make your ceramic mug clay craft process easier and smoother. Your support helps keep ideas like this coming.
Things You Will Need To Make Ladybug Clay Brooch
- Air dry clay (red, black, and white – small blocks are enough)
- A rolling tool or even a smooth glass bottle
- A toothpick or fine sculpting tool
- A brooch pin backing (craft stores sell these cheap)
- Strong glue, something like E6000 works great
- Acrylic paint (optional, for extra shine on details)
- A clean flat surface, wax paper helps too
Clay craft doesn’t need to be expensive, honestly. Most of this stuff you probably already has lying around the house.
Instructions To Make Clay Ladybug Brooch
Step 1: Condition Your Clay
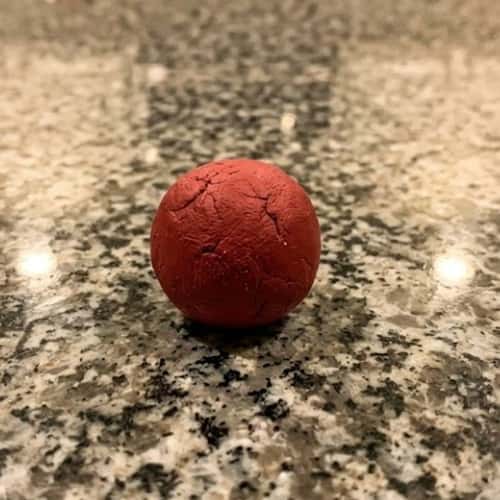
Take your red clay first. Knead it between your palms for a solid two to three minutes, until it goes soft and stops cracking at the edges.
This step matter more than people think – skip it, and your clay lady bug will crack later while drying. Cold hands? Rub them together first, warmth helps the clay soften faster.
Step 2: Shape the Body
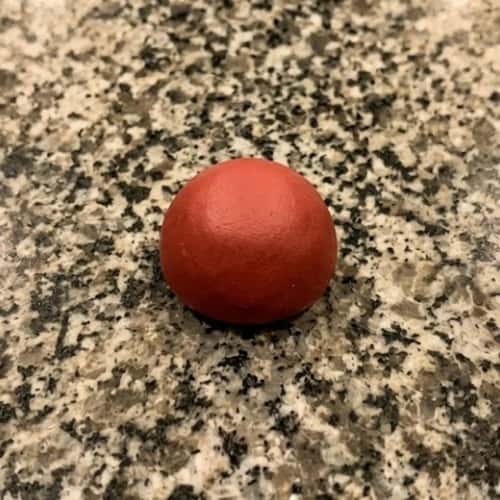
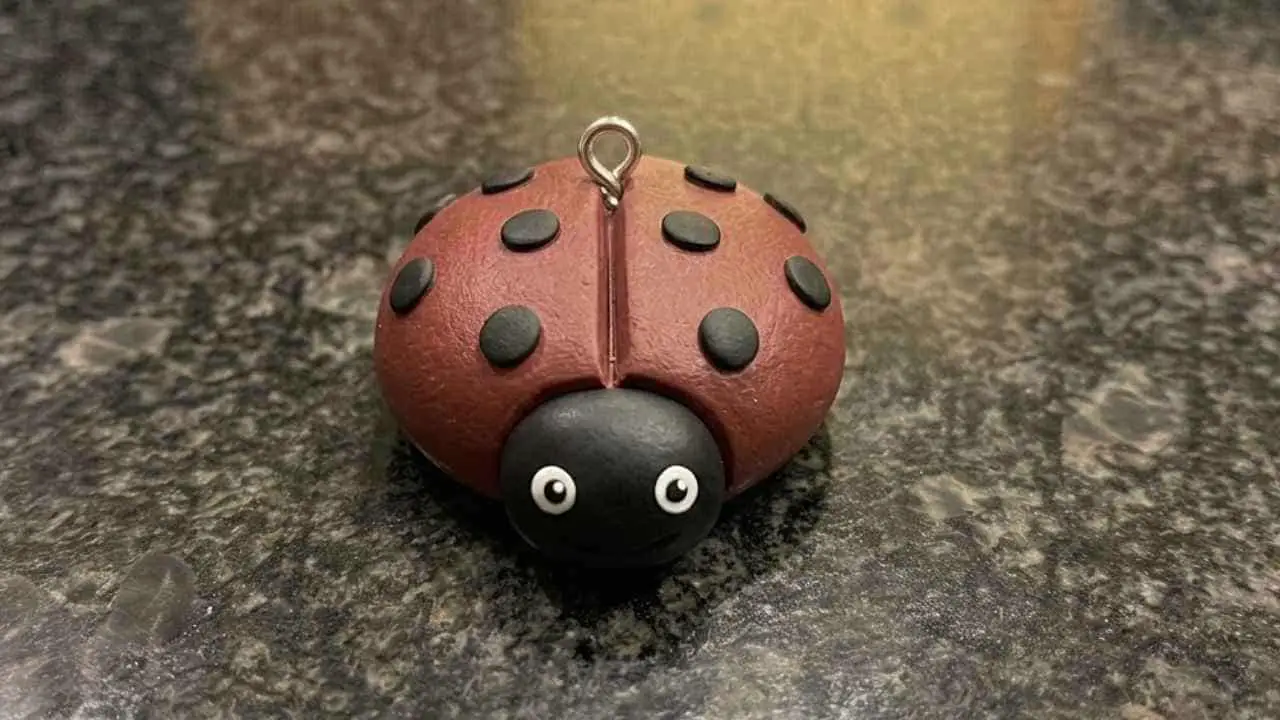
Roll your conditioned red clay into an oval-ish dome shape, like a half-egg.
Flatten the bottom slightly so it sits flat instead of rolling around your table.
This dome is basically the whole foundation of your ladybug clay brooch, so don’t rush it, take your time here.
Step 3: Add the Black Head
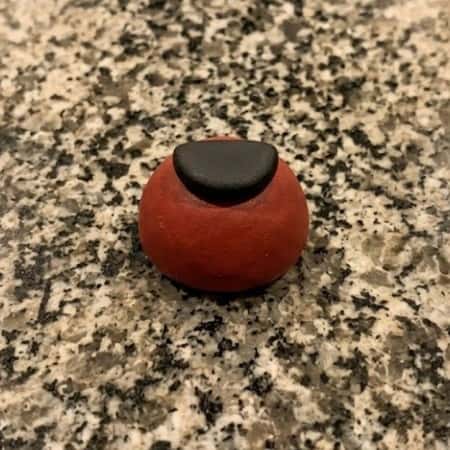
Pinch off a small piece of black clay, roll it into a tiny ball, then flatten it slightly into a half circle.
This becomes the ladybug’s head when you fasten it to one end of your red dome.
Press gently so it fuses, don’t just balance it there or it’ll pop off during drying.
Step 4: Draw the Center Line
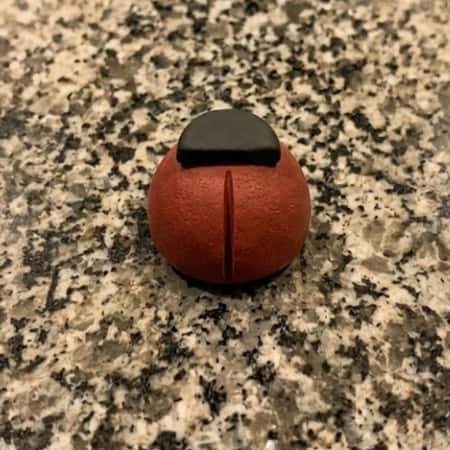
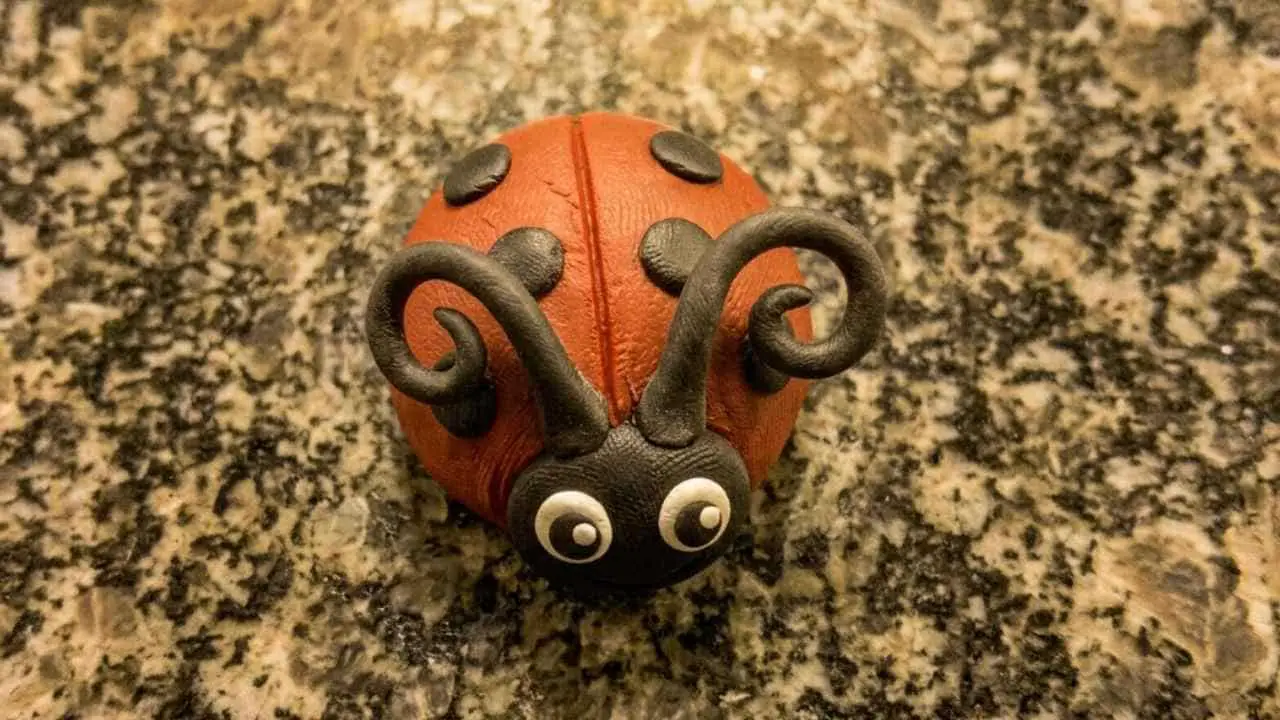
Using your toothpick, carefully etch one line straight down the middle of the red dome, starting right where the black head ends.
This line is what separates the two wing shells, its basically the most iconic part of any diy ladybug. Go slow, you can always deepen it later.
Step 5: Add the Black Spots
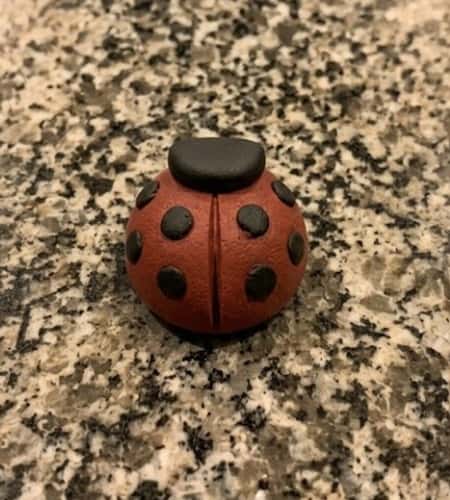
Roll tiny, tiny balls of black clay – seriously, smaller than a rice grain – and press them onto the red dome in a scattered pattern.
Three or four spots per side usually looks balanced, but who’s counting, right? This is where your ladybug clay brooch really starts coming to life.
Step 6: Eyes and Antennae
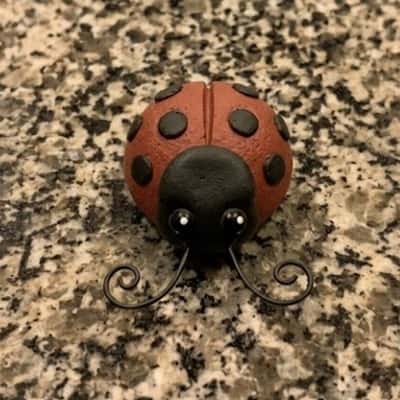
Add two miniature white dots near the head for eyes, then two tiny black dots on top of those for pupils.
For antennae, roll two thin black threads of clay and curve them gently outward from the head.
This is fiddly work, honestly, so use your toothpick tip to place them precisely.
Step 7: Let It Dry
Set your ladybug on wax paper somewhere flat and undisturbed.
Drying time depends on thickness, but usually 24 to 48 hours does the job.
Don’t rush this part by using a hairdryer or oven, air dry clay needs, well, air. Patience is basically the secret ingredient nobody talks about.
Step 8: Attach the Brooch Pin
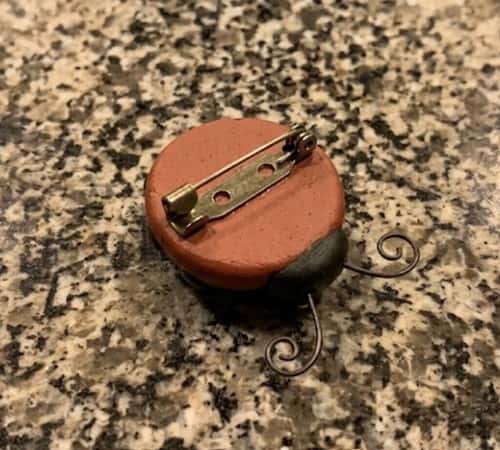
Once fully dry and hardened, flip your ladybug over.
Apply a decent amount of strong glue to the back, then press the brooch pin backing firmly into place.
Hold it for about a minute so it sets properly. Let it cure for a few more hours before wearing, just to be safe.
Final Thoughts
What’s interesting about clay craft like this isn’t really the ladybug itself, its the transferable skill underneath.
Once your hands understand how to condition clay, build a dome, and etch clean lines, you can basically make anything shaped like a rounded body with details on top i.e. beetles, mushrooms, even tiny fruits.
That’s the real value here, not just one finished brooch sitting on your shelf.
Air dry clay is forgiving too, mistakes can usually be smoothed over before it sets.
So don’t aim for perfect on your first try. Aim for finished. The polish comes with your third or fourth attempt, not your first.