Ever wondered How to make paper squishes that are soft, cute, and surprisingly satisfying to squeeze? You’re in the right place.
This paper craft doesn’t need fancy tools or expensive supplies, which is probably why kids keep coming back to it.
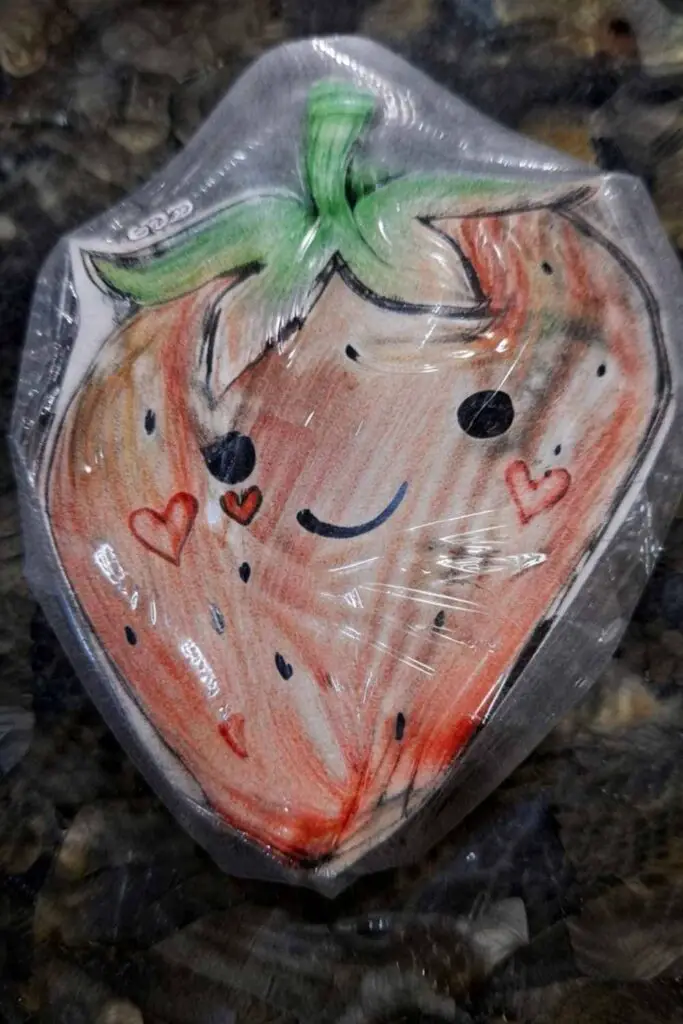
I love this project because every squishy ends up looking a little different, and that’s the fun part.
Ready to make something adorable with just paper, tape, and stuffing? Let’s turn a flat drawing into a squishy toy you’ll actually want to keep.
Trust me, it looks harder than it really is.
Supplies Needed To Make Paper Squishes
Before you start, gather everything in one place. It makes the whole project smoother.
- White printer paper (80 to 100 GSM works best)
- Colored markers or alcohol markers
- Pencil
- Black fine-tip marker
- Clear packing tape (wide tape works easier)
- Scissors
- Polyester fiberfill (toy stuffing)
- Small ruler
- Eraser
- Optional: glitter pens or colored pencils for tiny details
Tip: Avoid thick cardstock. It doesn’t squish nicely after stuffing.
Step 1: Sketch Your Paper Squishy Character
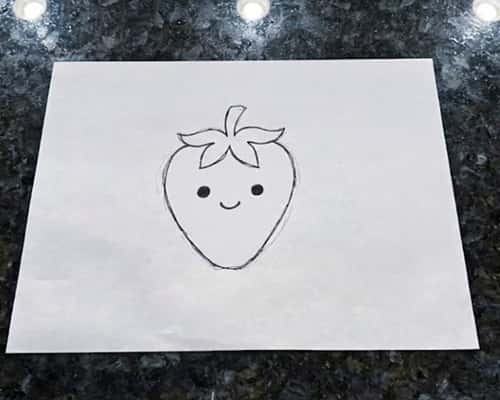
This is where your squishy starts getting its personality.
Take one sheet of printer paper and lightly fold it in half without making a sharp crease.
Open it back up. That center line helps you keep both sides balanced.
Now draw a simple shape in pencil.
A rounded milk carton, smiling avocado, sleepy cloud, strawberry, toast slice, or chubby cat all work great.
Don’t make it too skinny because narrow shapes leave almost no room for stuffing.
Keep the corners rounded instead of pointy. Rounded edges survive squeezing much better.
Once the outline looks right, go over it with a black marker. Let the ink dry for a minute before coloring.
Here’s something people skip way too often. Leave a white border about ¼ inch around the drawing.
You’ll cut around this later, and it gives the tape enough area to seal properly.
Don’t overthink the face. Two oval eyes, tiny blush circles, and a smiling mouth instantly make it look adorable.
Mine looked slightly crooked, but honestly it still turned out cute.
Step 2: Color Like You’re Making the Finished Toy
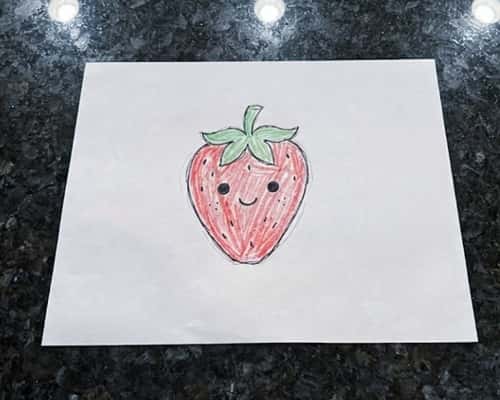
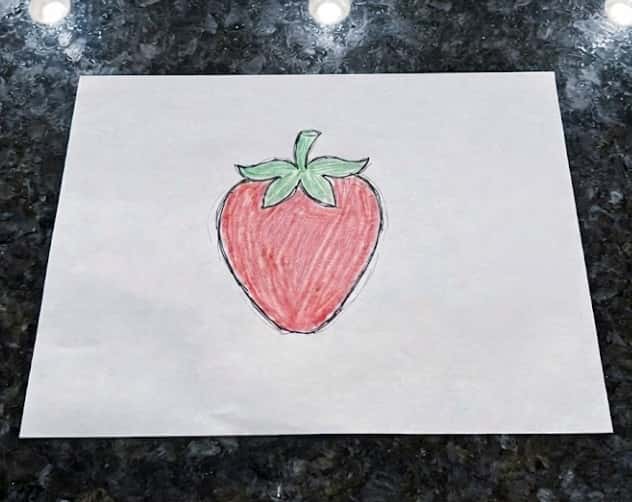
Now comes the fun part.
Color both the front and back before adding any tape.
If you wait until later, the colors won’t blend as nicely.
Use light strokes first. Then slowly build darker shades around the edges. Even simple marker shading makes the squishy feel more alive.
Want your strawberry to look extra cute?
Add tiny white dots for seeds. Color the leaves with two shades of green instead of one. Draw little pink cheeks under the eyes.
A white gel pen works great for shiny highlights, but don’t worry if you don’t have one.
Flip the paper over and draw the exact same strawberry again. It doesn’t have to be identical.
In fact, mine wasn’t exactly matching and nobody notices after its stuffed.
Double-check that both strawberries are roughly the same size before moving on.
Small differences are completely okay.
Step 3: Cover Everything with Clear Tape
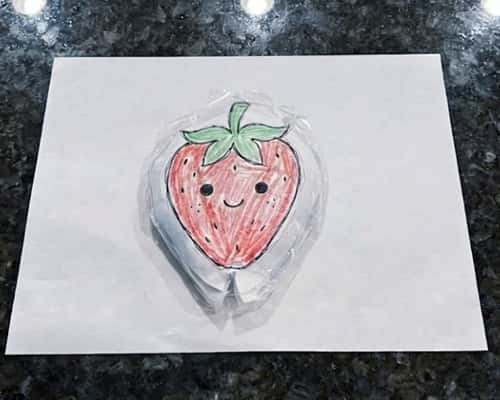
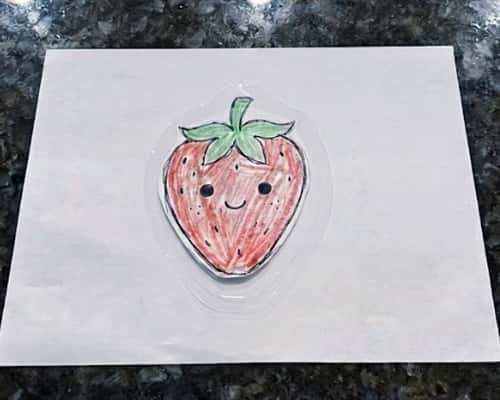
This step changes everything.
Clear packing tape gives the paper strength and creates that smooth squishy surface.
Lay one strawberry face-up on the table.
Start applying strips of packing tape from the top edge toward the bottom. To ensure there are no gaps, slightly overlap each strip.
Rub each strip gently using your fingers or the side of a ruler to push out air bubbles.
Flip it over.
Tape the back exactly the same way.
Repeat with the second strawberry.
Tiny wrinkles aren’t the end of the world. Actually, they makes the toy feel handmade instead of factory perfect.
Now carefully cut around each taped strawberry, leaving about a ¼-inch taped border outside the black outline.
Don’t cut directly on the drawing.
That border becomes the sealing edge later.
Hold both pieces together.
Check whether the edges line up nicely. Trim only if one side sticks out much more than the other.
Step 4: Seal the Edges Carefully
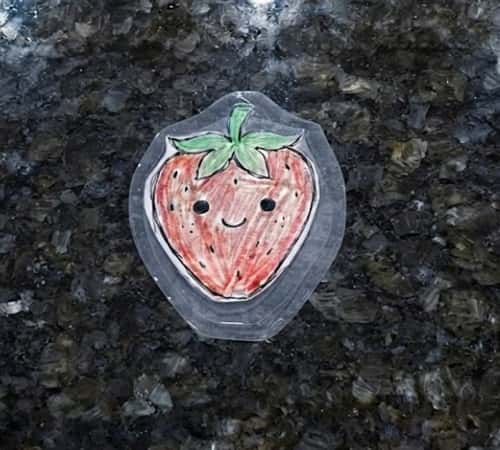
This is the part that turns flat paper into a pocket.
Place both strawberry pieces face-to-face.
Hold them together with small pieces of tape if they slide around.
Next, use narrow strips of clear tape to wrap around the outer border.
Press half of the tape onto the front.
Fold the remaining half over the edge onto the back.
Work slowly around the strawberry.
Curved sections need shorter tape pieces. They hug the shape much better than one long strip.
Leave about a 1½-inch opening at the bottom.
Don’t seal it yet.
That opening is where the stuffing goes later.
Run your fingers all around the taped edge.
If you notice tiny gaps, cover them now. Even a small hole lets stuffing sneak out after lots of squeezing.
It feels like you’re making a tiny pillow. Pretty cool, isn’t it?
Step 5: Stuff the Paper Squishy Until It Feels Soft
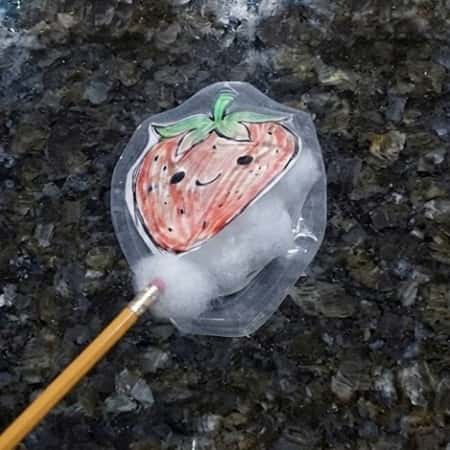
Now your flat paper craft finally starts looking like a real squishy.
Pull apart a small piece of polyester fiberfill. Don’t push in one giant ball because it creates hard lumps.
Fluff it first using your fingers so the fibers stay airy.
Use a pencil eraser, chopstick, or the back of a paintbrush to gently guide the stuffing into the corners.
Start with the leafy top of the strawberry, then work your way toward the bottom.
Pause every few minutes and squeeze the squishy lightly.
Too firm?
Take a little stuffing back out.
Too flat?
Add another pinch.
You’re looking for that soft “marshmallow” feeling where the toy slowly springs back after you press it.
It dont need to be packed full.
Keeping a little empty space inside helps the squishy recover better after every squeeze.
Step 6: Close the Opening and Shape the Squishy
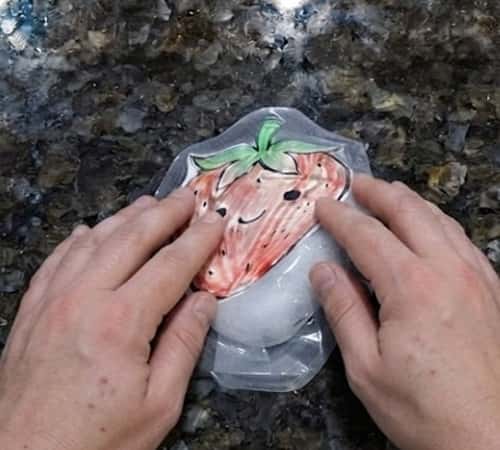
You’re almost done.
Flatten the remaining loose stuffing near the opening so nothing gets caught inside the tape.
Cut one piece of clear packing tape slightly longer than the opening.
Seal it carefully while pressing the tape tightly against both sides. Rub across the seam several times so the adhesive sticks properly.
Now gently massage the entire strawberry using your fingertips.
Move the stuffing around until every corner feels evenly filled.
Notice one side looking puffier?
Just press the stuffing toward the thinner area.
This little adjustment makes a surprising difference.
Give the edges one last inspection. If you spot even the tiniest opening, cover it with another small strip of tape before moving on.
Step 7: Test the Squish and Add Personal Touches
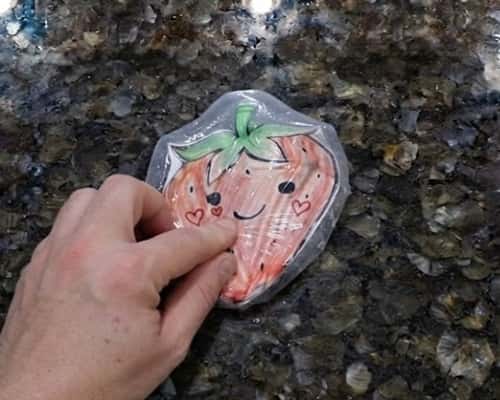
Time for the most satisfying part.
Give your paper squishy a slow squeeze.
Watch how it compresses.
Then let go.
A properly stuffed paper squishy should slowly puff back into shape instead of bouncing instantly.
If yours feels too stiff, carefully reopen one taped edge, remove a little stuffing, and seal it again.
Want to make your own paper squishes even more unique?
Try adding tiny accessories with permanent markers.
Draw little freckles.
Add tiny hearts.
Write a funny message on the back.
Give your strawberry a tiny bow, sunglasses, or sleepy eyebrows.
This turns a simple kids craft idea into something completely personal.
It’s amazing how a tiny doodle changes the whole personality of the squishy.
Step 8: Keep Your Paper Squishy Looking Great
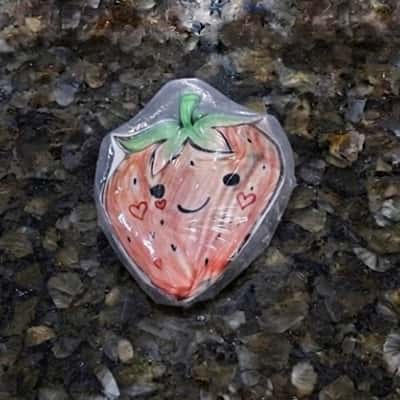
Finished doesn’t mean forgotten.
Although paper squishies are surprisingly durable, they’ll last much longer with a little care.
Store them somewhere dry.
Avoid leaving them inside hot cars because the tape adhesive can soften.
If the surface collects fingerprints, wipe it gently using a barely damp microfiber cloth.
Never soak the squishy in water.
Paper and water are not good friends.
Making several at once is actually a smart idea.
Create different fruits, animals, desserts, or cartoon faces using the exact same technique you just learned.
Before long, you’ll have a whole collection made from simple supplies instead of expensive toys.
This is one of those easy DIY crafts that keeps getting more creative every time you make another version.
Whether you’re looking for fun paper crafts for kids, classroom craft ideas, or an afternoon DIY project, this one checks every box without needing special equipment.
Quick Tips Before You Make Another One
Once you’ve made your first paper squishy, you’ll probably notice little things that make the next one even better.
- Draw chunky, rounded shapes because they are easier to stuff.
- Wide clear packing tape creates fewer seams than narrow tape.
- Use fluffy fiberfill instead of tissue paper for a softer squeeze.
- Keep faces simple so they’re easy to redraw on matching front and back pieces.
- Test the squishy before sealing every edge permanently.
- Don’t overstuff. Softer almost always feels better.
- Experiment with themes like breakfast foods, pets, sea animals, holiday characters, or school supplies to keep every paper craft fresh and exciting.
Final Thoughts
Learning How to make paper squishes isn’t really about copying one perfect design.
It’s about discovering how a few ordinary materials can become something playful through small creative choices.
Every wrinkle in the tape, every slightly uneven smile, and every handmade detail gives your squishy its own personality.
That’s something a factory-made toy can never quite match.
As your confidence grows, you’ll naturally start inventing your own characters instead of following templates.
Before you know it, today’s simple kids DIY project becomes tomorrow’s favorite rainy-day tradition, classroom activity, or thoughtful handmade gift.
The best craft isn’t always the neatest one… it’s the one that makes someone smile the moment they squeeze it.