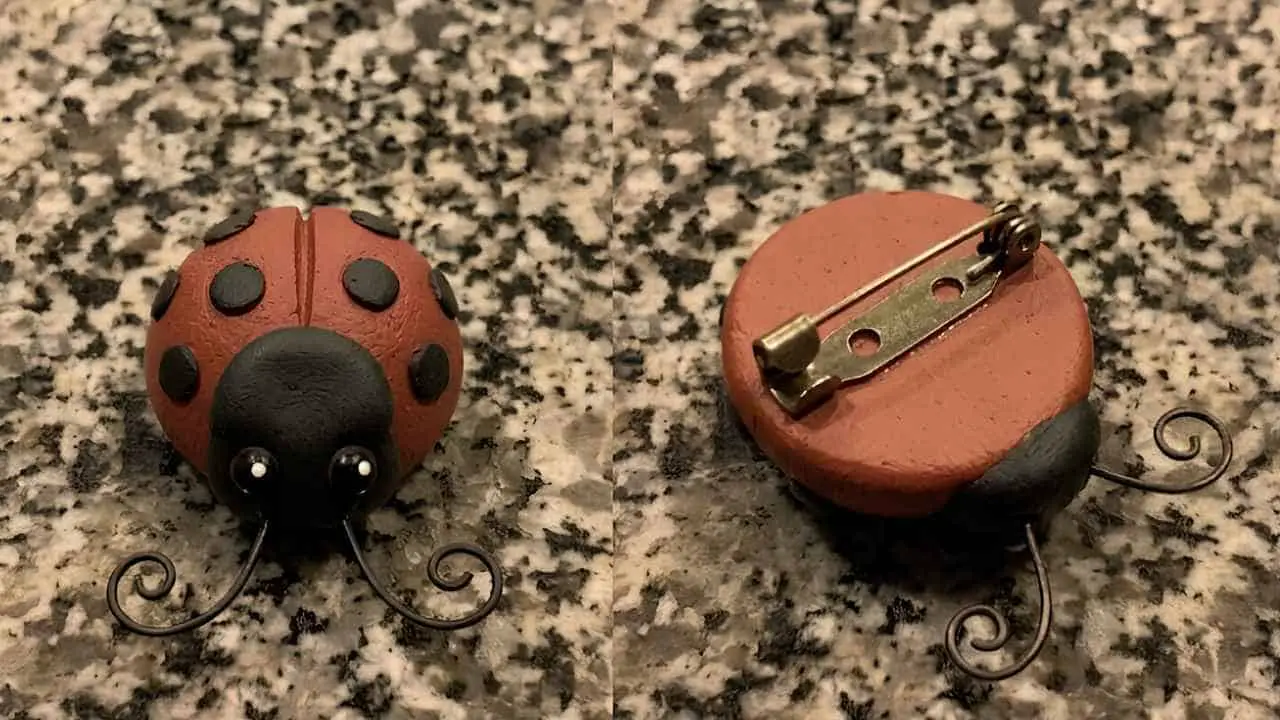
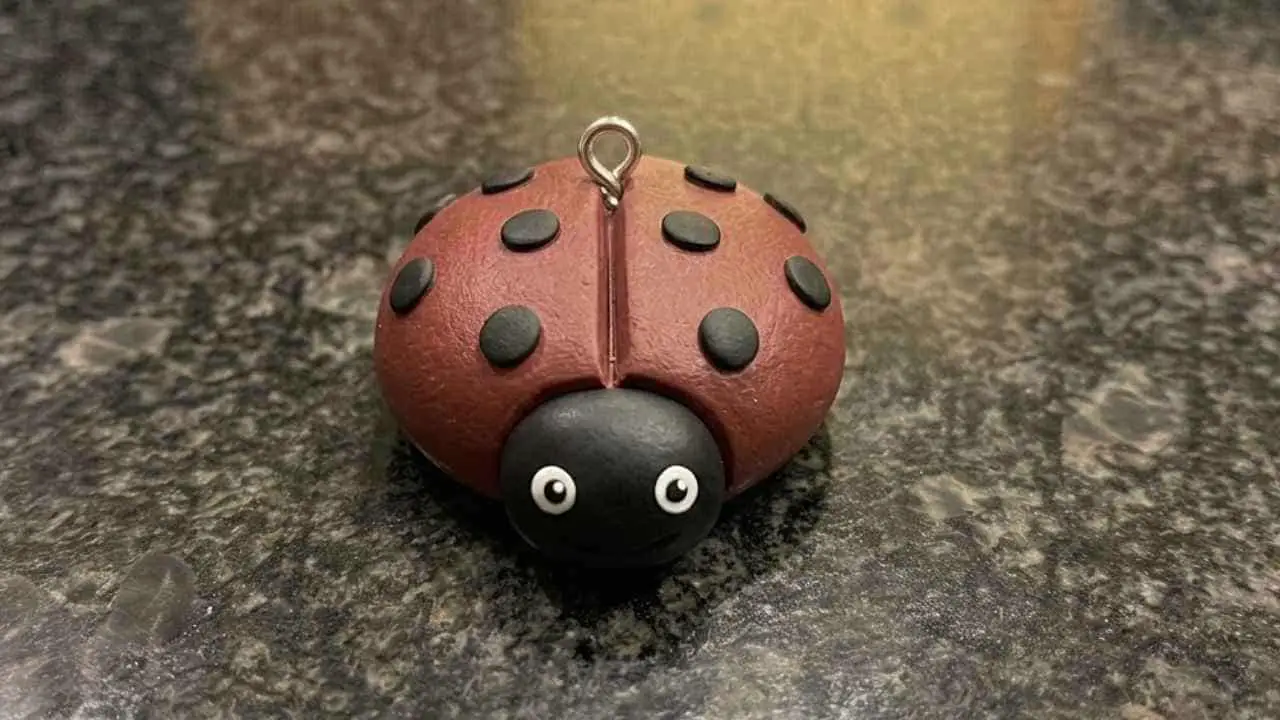
Ever stared at your blank fridge and thought it needs a little personality? That’s exactly where a clay ladybug magnet comes in.
This isn’t your average round-blob-with-dots tutorial, we’re adding texture, a slightly lopsided charm, and a beginner-proof method using polymer clay that actually works the first time.
You don’t need fancy tools or years of sculpting experience, just clean hands and about thirty minutes.
By the end, you’ll have a little homemade clay lady bug magnet sitting on your fridge, looking proud of itself, dots and all.
Choose Your Polymer Clay Type
→ Sculpey | FIMO Soft | Regular ←
Affiliate Disclaimer: Some of the links in this post may be affiliate links, which means I may earn a small commission if you choose to make a purchase through them – at no extra cost to you. I only share products that genuinely fit this project and can help make your ceramic mug clay craft process easier and smoother. Your support helps keep ideas like this coming.
Why This Clay Ladybug Craft Actually Stands Out
Most tutorials rush you through a perfect, symmetrical bug.
But real ladybugs aren’t perfect, they wobble a little, their spots are uneven, and that’s the charm we’re chasing here.
This clay lady bug project leans into that imperfection on purpose.
Think of it less like a factory mold and more like a doodle you can hold.
It’s a simple polymer clay idea, sure, but the little detailing tricks (like pressing texture into the wings before baking) is what separates it from the hundreds of look-alike tutorials floating around.
Things Needed To Make Clay Ladybug Craft
- Red polymer clay (any oven-bake brand, such as Fimo or Sculpey)
- Black polymer clay
- White polymer clay (tiny amount, for the eyes)
- A clean tile or glass surface to work on
- A toothpick or clay sculpting tool
- A small round cutter or bottle cap (optional, for shaping)
- Small round magnets (6mm–10mm works great)
- Strong glue (E6000 or superglue)
- Baking sheet lined with parchment paper
- Oven
Instructions To Make Clay Ladybug Magnet
Step 1: Condition Your Clay
Take a golf-ball sized chunk of red clay and start kneading it with your fingers.
This warms up the clay and makes it soft and workable, cold clay just crack and crumble, so don’t skip this.
Roll it, fold it, roll it again. You’ll feel it go from stiff to smooth in maybe two or three minutes.
Do the same, in smaller amounts, for your black and white clay.
Step 2: Shape the Body
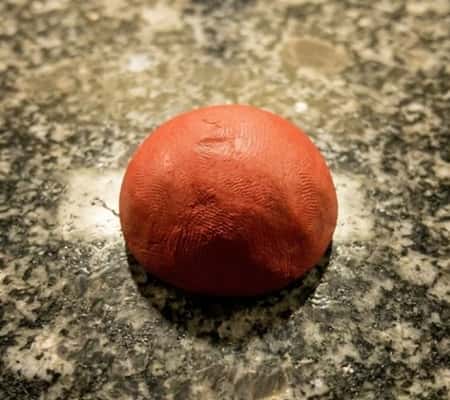
Roll the red clay into a ball, then gently flatten one side against your work surface so it forms a dome – kind of like a tiny igloo.
This dome shape is the base of your entire clay ladybug magnet, so take your time here.
Press down evenly so it doesn’t tilt to one side (unless you want that slightly quirky look, which honestly, adds character).
Step 3: Add the Head
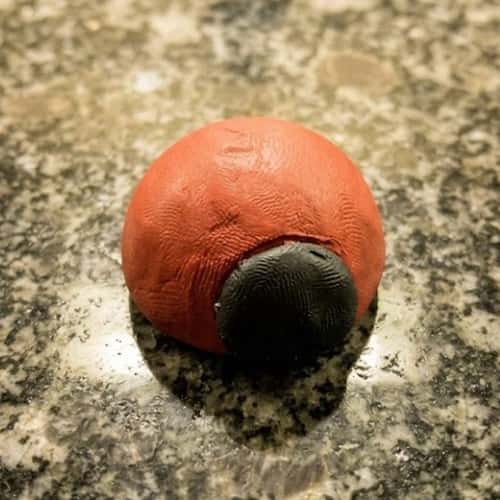
Roll a small ball of black clay, about a quarter the size of your red dome, and flatten it slightly.
Attach it to the front edge of the red dome, pressing gently so the seam blends in.
This little black bump is the head, and it should sit right at the front edge, not on top.
Step 4: Draw the Center Line
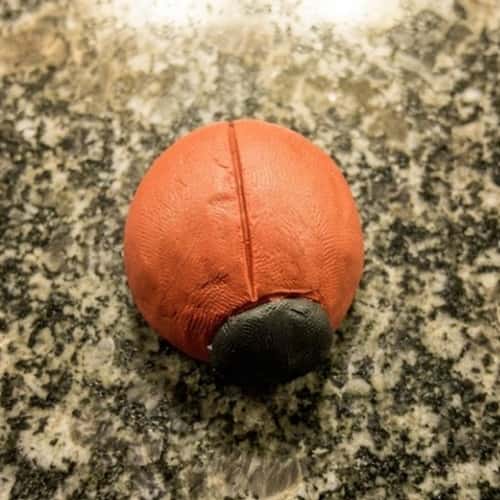
Using your toothpick, gently press a line down the middle of the red dome, from the top of the head to the back end.
This line splits the ladybug’s wings, which is what turns a plain red bean shape into something instantly recognizable.
Don’t press too hard or you’ll cut clean through the clay.
Step 5: Add the Spots
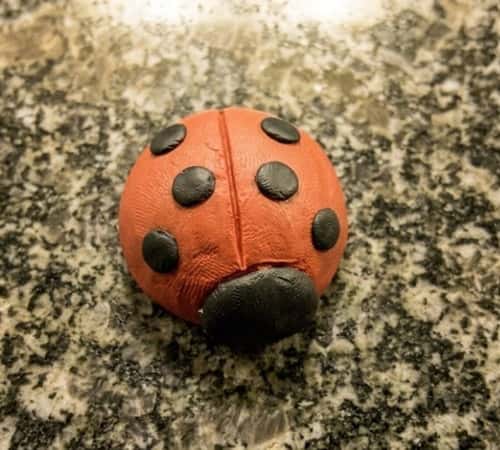
Roll tiny pea-sized balls of black clay, five or six of them, uneven sizes are fine (actually preferred).
Press them gently onto the red wings on either side of the center line.
Don’t line them up too perfect, real ladybug spots are scattered and a little random, and that randomness is what make this craft feel handmade instead of store bought.
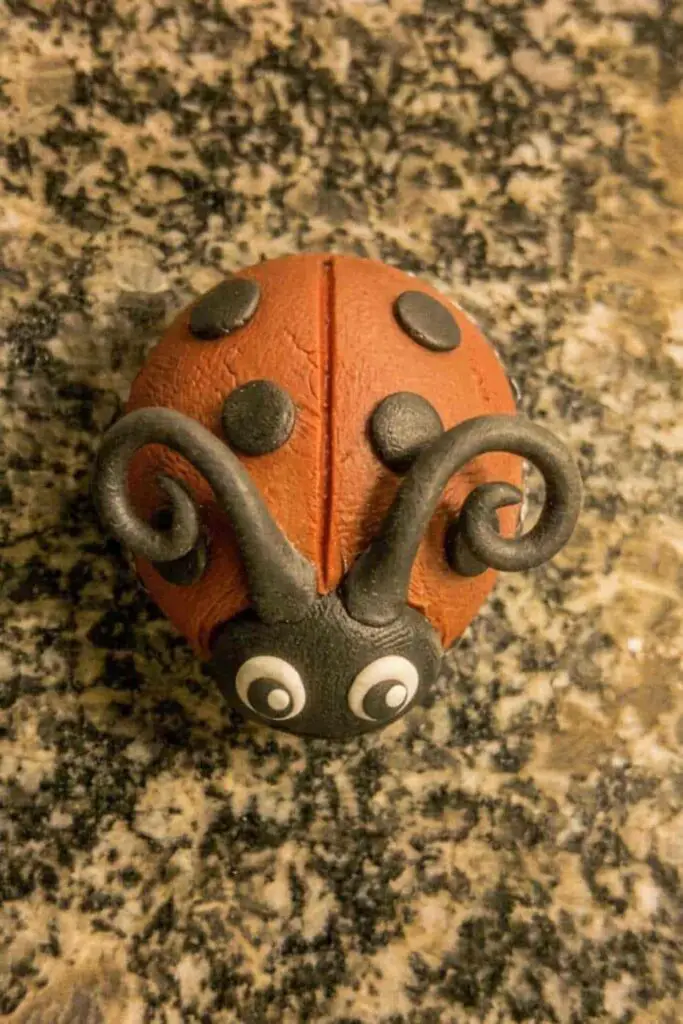
Step 6: Add the Eyes and Antennae
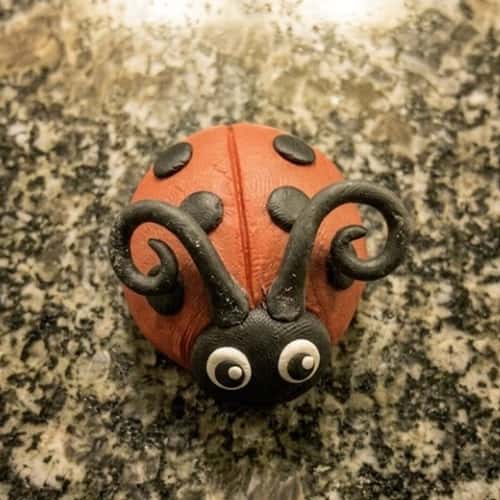
Take two tiny dots of white clay and press them onto the black head, near the top.
If you want, add a smaller black dot on top of each white one for pupils.
For antennae, roll two thin black strands and curve them gently off the top of the head.
This step is optional but it does add a lot of personality to your polymer clay ladybug.
Step 7: Bake the Clay
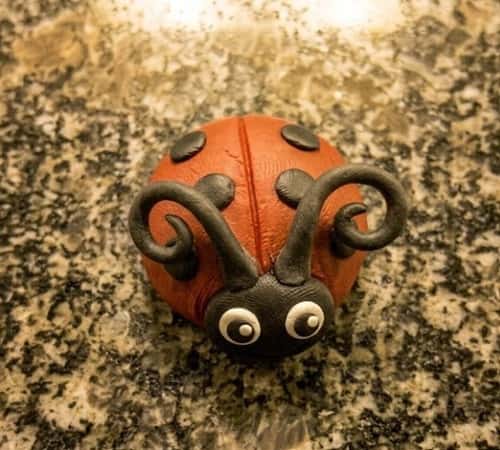
Place your ladybug on a parchment-lined baking sheet and bake according to your clay brand’s instructions, most polymer clays bake around 265 to 275°F for 15 minutes.
Every oven behaves a little differently, so keep an eye on it toward the end.
Once done, let it cool completely on the tray, don’t touch it while warm, it’s softer than you’d think straight out of the oven.
Step 8: Attach the Magnet
Flip your cooled ladybug over.
Add a small dab of strong glue to the flat bottom and press your magnet firmly onto it.
Hold for about thirty seconds so it sets.
Let it cure fully, ideally overnight, before sticking it anywhere important, because rushing this step is how magnets fall off inside your fridge and you never find them again.
Step 9: Admire Your Finished Clay Ladybug Magnet
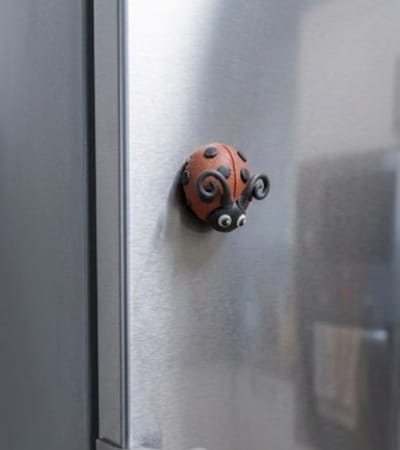
And there it is, your very own oven baked clay ladybug, ready to hold up a grocery list or a kid’s drawing.
This whole project turns basic craft supplies into one of those cute diy polymer clay magnets you’ll actually want to show off.
Final Thoughts
What makes this project worth doing isn’t just the finished ladybug, it’s what it teaches your hands.
Patience is more important with polymer clay than accuracy, and once you’re at ease sculpting one bug, you’ll find that you’re drawn to small mushrooms, bees, or snails.
There’s something genuinely satisfying about turning a lump of clay into homemade clay magnets that outlast almost anything else you’ll craft this year, they don’t fade, don’t wilt, don’t need refilling.
Keep a small stash of conditioned clay wrapped in plastic between projects, it saves you a step next time.
Small crafts like this one are also a quiet way to slow down for twenty minutes, which honestly, most of us could use more of.