So your kid wants a pig, but you’re not about to adopt a real one, right? An air dry clay pig craft is basically the next best thing, and honestly, it’s more fun than it sounds.
No kiln, no oven, no weird chemical smell – just clay, water, and whatever patience you’ve got left after a long day.
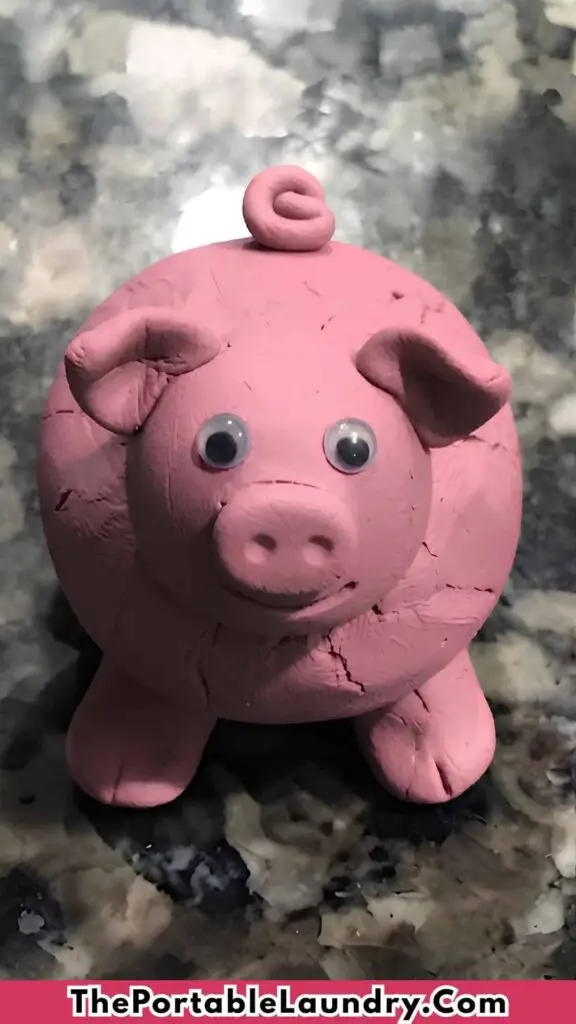
This project works great as a farm animal craft, a rainy-afternoon activity, or even a little preschool craft for tiny hands still learning to squish and roll.
Grab some clay off your shelf, because we’re turning it into a chubby, stubby-legged little piggy. Ready? Let’s get messy.
Choose Your Air Dry Clay Type
Standard Air Dry Clay | DAS Air Hardening Modeling Clay
Affiliate Disclaimer: Some of the links in this post may be affiliate links, which means I may earn a small commission if you choose to make a purchase through them – at no extra cost to you. I only share products that genuinely fit this project and can help make your ceramic mug clay craft process easier and smoother. Your support helps keep ideas like this coming.
Things Needed To Make Air Dry Clay Pig Craft
Here’s what you’ll need lying around (most of it you probably already own), and honestly, this counts as one of the easier kid activities you can set up without a special trip to the craft store:
- Air dry clay, white or terracotta, about a fist-sized ball per pig
- A rolling pin – or, just use a smooth glass jar, works fine
- A plastic knife or a small clay-sculpting tool, whatever you got
- A toothpick or skewer for the fun tiny details
- A small bowl of water for smoothing seams
- Wax paper or a plastic mat, so the clay doesn’t stick to your table
- Pink or red acrylic paint plus a small brush, only if your clay isn’t already pink
- Googly eyes, optional, but kids loves them
Step 1: Get Your Clay Ready
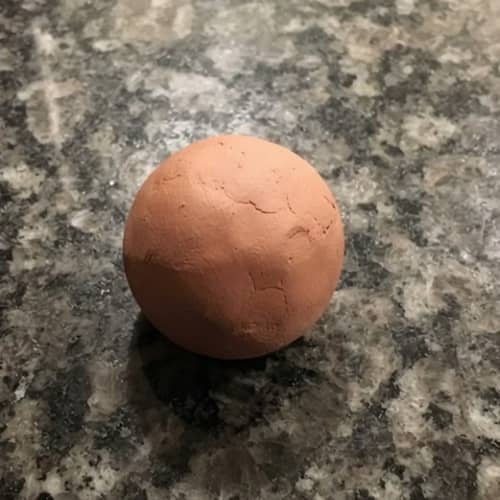
Before anything shapes into a snout or an ear, you gotta warm the clay up first.
Unlike polymer modeling clay, air dry clay doesn’t need an oven, just time, air, and a bit of elbow grease.
Cold clay cracks, and cracked clay is nobody’s friend.
Take a lump of clay roughly the size of a small apple and knead it between your palms for about two minutes. Feel it? It should turn soft, bendy, almost like dough.
If it’s crumbly, dab a little water on your fingers and work it in slowly.
This step take longer than people expect, so don’t rush your kiddo through it – a kids clay craft session is supposed to be slow and a little messy anyway.
Once the clay stops cracking at the edges, you’re ready to build your pig.
Step 2: Shape the Body
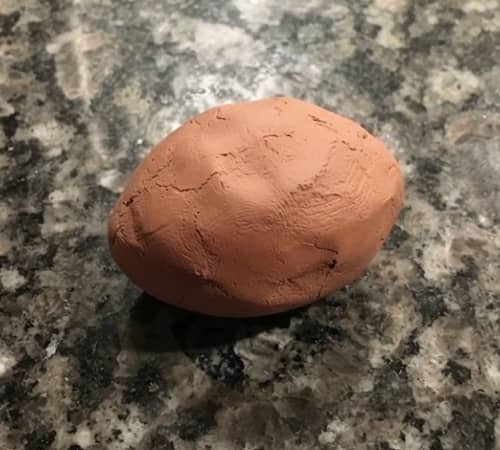
Roll your warmed clay into an oval, not a perfect circle, because ovals is what pigs actually look like. Picture a chunky little football.
Use your palms to roll it back and forth on the wax paper until one end is a touch bigger than the other, that bigger end becomes the pig’s rear.
Flatten the bottom slightly, so it doesn’t wobble once it dries.
Preparing the body is more important than most people realize because it serves as the foundation for almost all clay farm animal crafts.
Step 3: Build the Head and Snout
Animal crafts like this one live or die by the head shape, so take your time here.
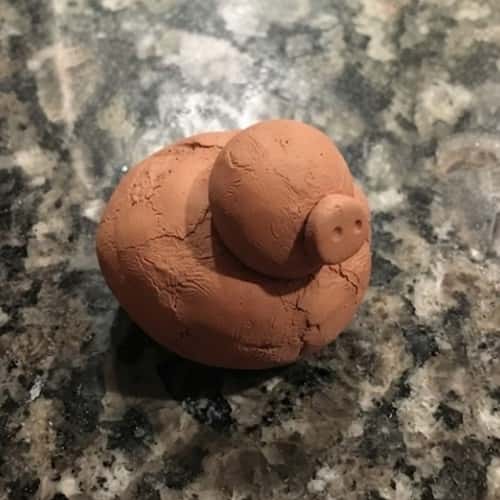
Pinch off a smaller piece, maybe a quarter of your original ball, and roll it into a small sphere for the head.
Press it gently onto the front of the oval body, using a dab of water on both surfaces so they actually stick together, otherwise it just falls off later (ask me how I know).
Now the fun part: roll a tiny cylinder about the size of a pea, flatten one end slightly, and press it onto the front of the head. That’s your snout. Use the blunt end of your toothpick to poke two little nostril dots into it. Don’t they look surprisingly real already?
Step 4: Add the Ears
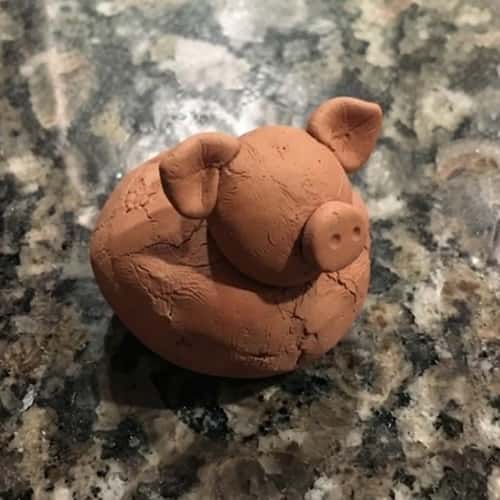
Take two small pinches of clay, roll them into little cones, then flatten each one between your fingers like a tiny leaf.
Ears are honestly what separate decent clay animals from blobby, unfinished-looking ones, so don’t rush this part.
A pig’s ears sit slightly forward and a bit floppy, not straight up like a dog’s.
Each ear should be moistened at the base before being pressed onto the head immediately behind the nose, with the tips angled downward and forward.
If they droop a little too much, that’s fine, honestly – real pigs’ ears droop too.
Step 5: Roll the Legs
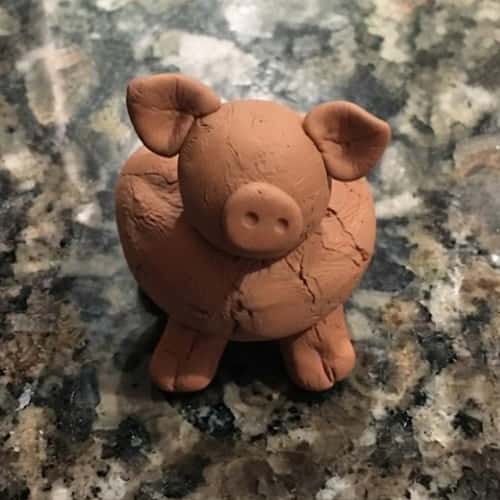
Four short, stubby cylinders, that’s really all a pig’s legs are.
Roll four small logs of clay, about the length of your pinky’s first joint, and flatten the bottom of each one slightly so the pig can actually stand once it dries.
Attach them underneath the body, evenly spaced, two toward the front and two toward the back.
Press firmly and smooth the seams with a wet fingertip so nothing cracks apart later. Wobbly? Adjust the leg lengths a bit until your pig balances flat on the granite without tipping over.
Step 6: Curl on a Tail
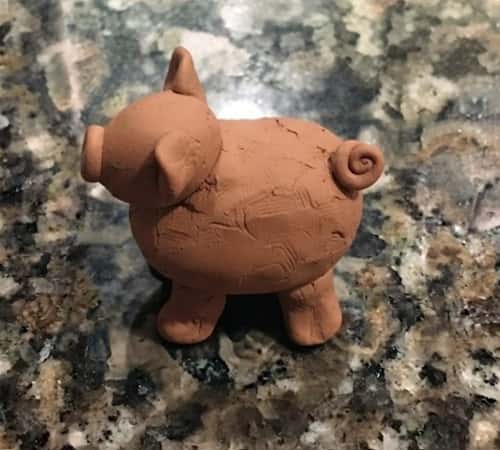
Roll a thin string of clay, thinner than a pencil, maybe two inches long.
Wrap it around your toothpick to get that classic curly-Q shape, then slide it off carefully.
Wet the flat end and press it onto the back of the pig, right above where the legs meet the body.
To be honest, this little curl is what transforms a blob into a kid-friendly, identifiable pig craft.
Kids especially loves adding this part, it feels like the finishing touch.
Step 7: Add the Face and Little Details
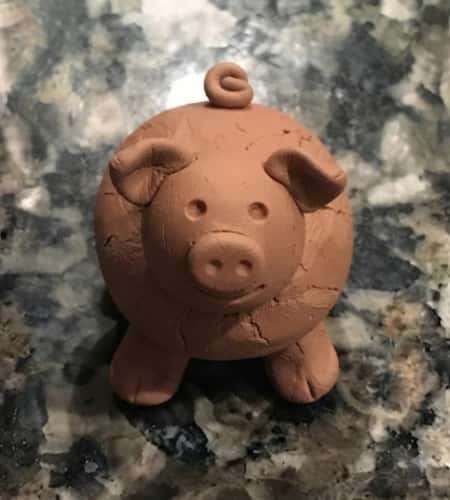
Grab your toothpick again. Poke two small indents above the snout for eyes, pressing gently – you don’t want to poke all the way through.
If you’re using googly eyes instead, press them in now while the clay’s still soft and tacky.
Add a small curved line under the snout for a smile, and maybe a couple tiny dots near the ears for texture if you’re feeling fancy.
This is the step where your air dry clay animal actually starts looking back at you, which, honestly, is a little bit magical for a kid to witness.
Step 8: Let It Dry, Then Paint
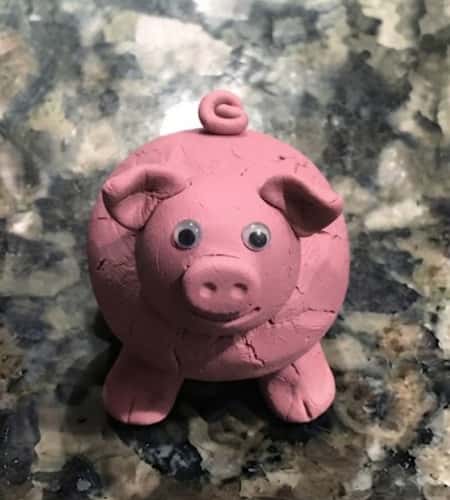
Set your pig somewhere flat and undisturbed for 24 to 48 hours, depending on how thick you built it and how humid your house is.
Don’t rush this by sticking it near a heater, that just cracks the clay.
Once it’s fully hardened and cool to the touch, and if you didn’t start with pink clay, paint it with a light pink acrylic, dabbing on a slightly darker pink for the ears and snout after the base coat dries.
Seal it with a thin coat of clear craft varnish if you want it surviving rough little hands for years.
And that’s it… your air dry clay pig craft is officially done, one finished, slightly wonky, entirely charming diy clay figurine, ready for the shelf or the toy farm.
Final Thoughts
Here’s something worth sitting with: humans have shaped animals out of clay for over 25,000 years, long before pigs were even domesticated.
So when your kid squishes this little guy into shape, they’re tapping into one of our oldest instincts, not just doing a random kids craft.
Air dry clay is forgiving in a way polymer clay isn’t, no oven needed, which makes it a genuinely independent educational craft for a five or six year old.
Keep the finished pig somewhere safe, since air dry clay stays more fragile than fired ceramic.
Wonky ears, a lopsided snout, uneven legs? That’s not a flaw. That’s proof a real kid actually made it.





