Okay so you want to make a ladybug clay charm, right? Good, because this is genuinely one of the easiest polymer clay projects you’ll ever try, and I promise your first one doesn’t need to look “Pinterest perfect” to be adorable.
In fact, the slightly lopsided ones have more charm (pun intended).
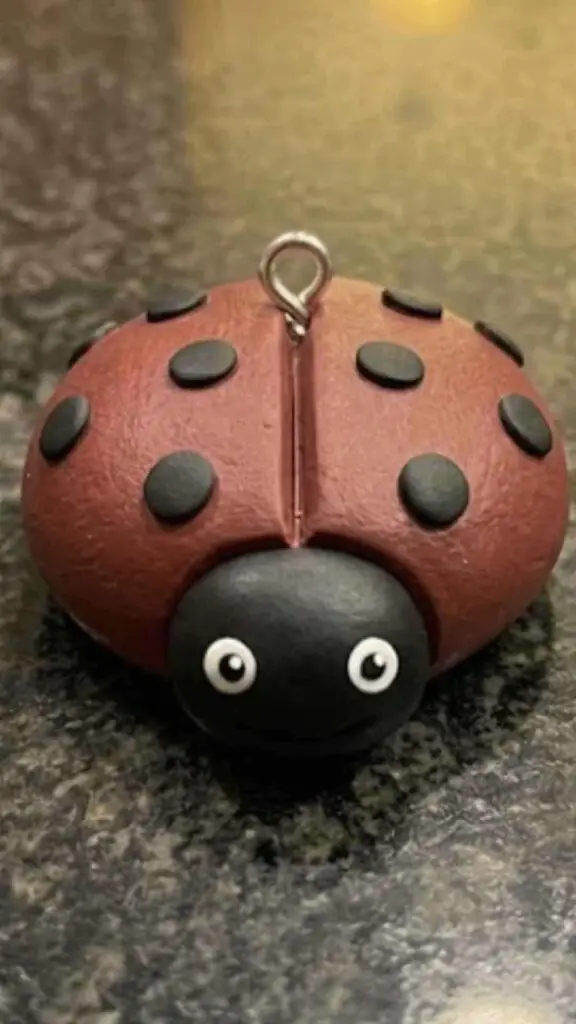
This guide skips the fluff and gives you real, beginner friendly, step-by-step instructions for a polymer clay ladybug that you can actually finish in one sitting.
No fancy tools required, just clay, patience, and maybe some music playing in the background while you work.
Why This Ladybug Clay Charm Turns Out Different Than The Rest
Most tutorials online will tell you to make it symmetrical, perfectly round, evenly spotted. But real ladybugs? They’re not perfect.
Their spots are uneven, their bodies are slightly asymmetrical, and that’s exactly the vibe we’re chasing here.
This isn’t your typical lady bug clay tutorial that pretends every charm comes out museum-ready.
We’re leaning into the handmade, slightly rustic look – the kind of charm that actually looks like it was made by human hands, not a 3D printer.
Think of it as one of those homemade clay charms with soul.
Materials Needed To Make Ladybug Clay Charm
- Red polymer clay (like Sculpey or Fimo)
- Black polymer clay
- A small ball of white clay (for the eyes, optional but cute)
- A toothpick or clay needle tool
- A rolling tool (a small acrylic rod works, or even a smooth glass jar)
- Parchment paper
- A baking tray
- Clear varnish (optional, for shine)
- A jump ring and eye pin, if you want to turn this into an actual wearable charm
You genuinely don’t need expensive tools for this.
This falls squarely into easy clay crafts territory – most of what you need is probably already in your kitchen drawer.
How To Make A Polymer Clay Ladybug Charm
Step 1: Condition Your Clay
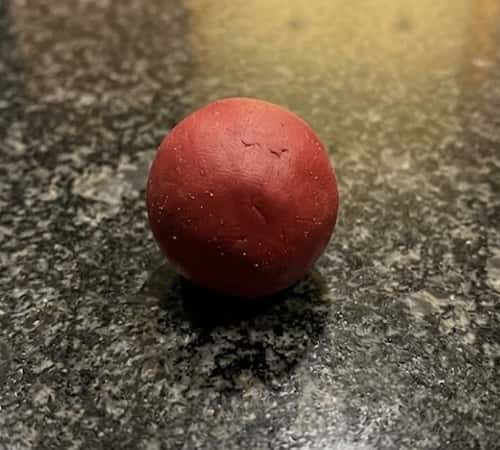
Take your red clay and knead it in your hands for a solid two to three minutes. Why? Because cold clay cracks, and warm, conditioned clay holds shape way better.
Roll it between your palms until it’s soft, pliable, and doesn’t crumble when you bend it.
Your hands might feel a little tired, that’s normal, keep going.
Step 2: Shape The Base Body
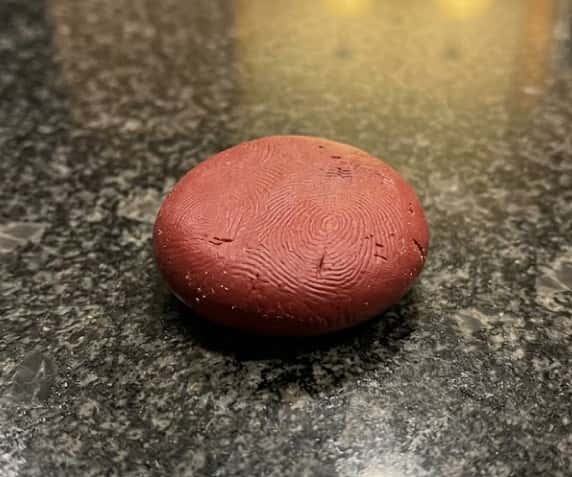
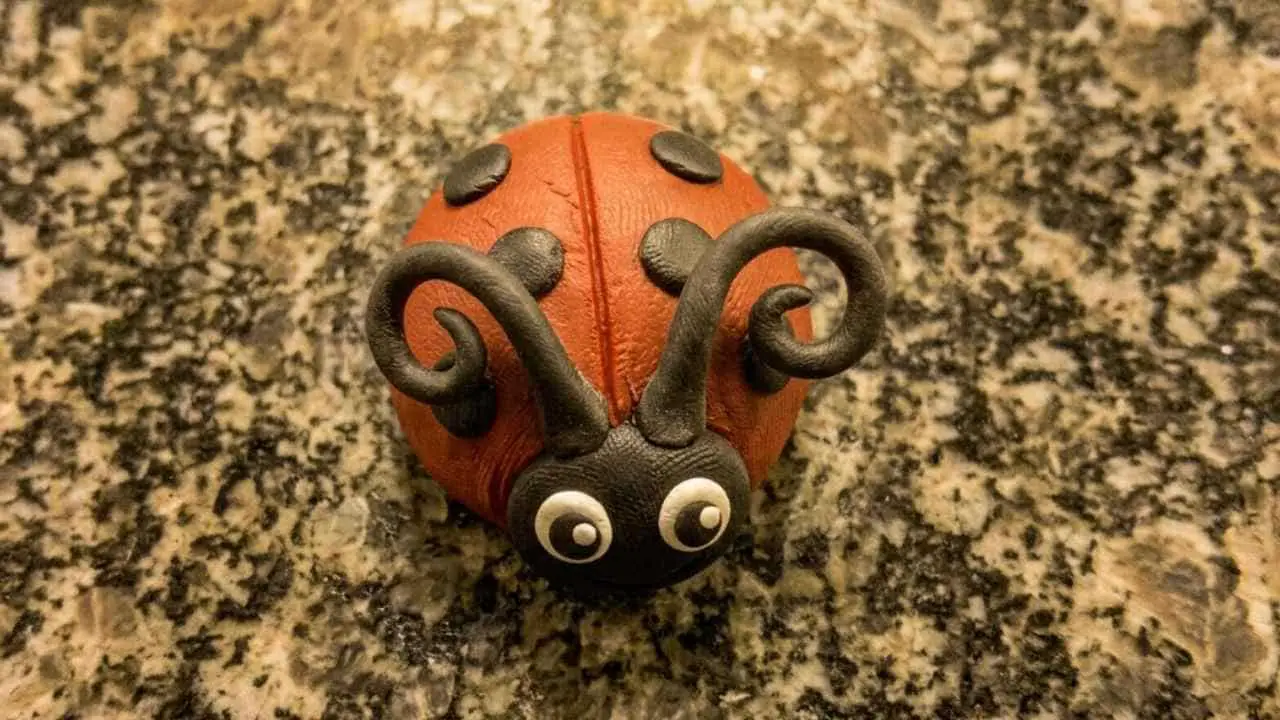
Roll your red clay into a smooth ball first, then gently press one side down against your work surface to flatten it slightly into a dome.
This dome shape is basically the whole foundation of your ladybug clay charm, so take your time here – don’t rush this part, it sets the tone for everything after.
Step 3: Add The Center Line
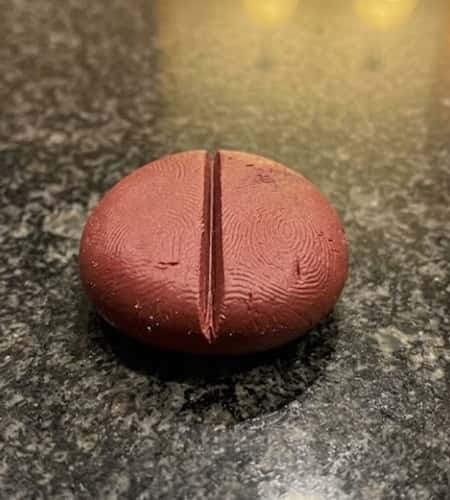
Using your toothpick, gently score a line down the middle of the dome, from the top down to the base edge.
This will separate the two wing shells later, its a small detail but it makes a big difference visually.
Don’t press too deep, a light scratch is plenty.
Step 4: Create The Head
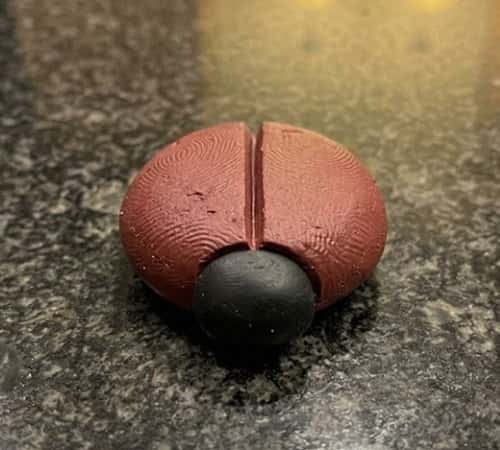
Take a small pinch of black clay, roll it into a tiny ball (way smaller than your red dome), and flatten it slightly.
Attach it to the front edge of your red dome, pressing gently so it fuses without leaving gaps.
This tiny black half-circle turns into the ladybug’s head, and to be honest, this is the stage where your charm begins to resemble a real bug rather than a blob.
Step 5: Roll The Spots
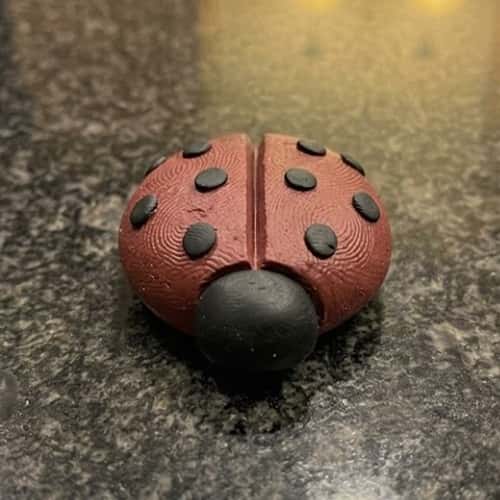
Here’s where the fun starts. Roll several tiny balls of black clay – they don’t have to be identical sized, remember we’re going for that natural look.
Press each one onto the red body in an irregular, dispersed pattern after slightly flattening it between your fingertips.
Five to seven spots usually looks right, but hey, do what feels good to you.
Step 6: Add The Eyes (Optional But Worth It)
Take two tiny dots of white clay, and press them onto the black head, near the top.
Then use your toothpick to poke a tiny black dot into each white circle for the pupil.
This step is small but it adds a surprising amount of personality, its wild how two tiny dots change the whole expression.
Step 7: Insert The Jump Ring Loop
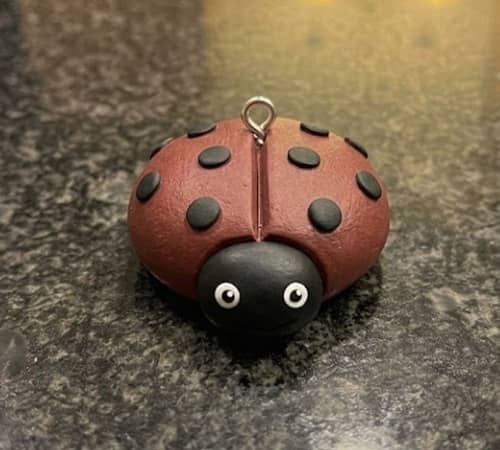
If you’re planning to wear this as a charm on a necklace or bag, now’s the time.
Take your eye pin and gently push it into the top of the ladybug’s body, right along the center seam, so it stands upright and stable.
Press the surrounding clay back around the base of the pin to secure it firmly.
Skip this step entirely if you just want a decorative clay insect craft for your desk or shelf.
Step 8: Bake It
Place your finished ladybug on a piece of parchment paper on a baking tray.
Follow your specific clay brand’s baking instructions (usually around 265 to 275°F for 15 to 20 minutes, but check your packaging because this varies).
Don’t skip preheating your oven, uneven heat can cause weird surface bubbling.
Let it cool completely on the tray once done, resist the urge to touch it too soon!
Step 9: Seal With Varnish
Once cooled, brush on a thin coat of clear varnish for extra shine and durability, this step is optional honestly but it makes those little spots pop.
Before handling, let it dry for a few hours.
Final Thoughts
What I like most about this project isn’t really the finished charm, it’s what making one teaches you about texture and proportion, lessons that carry into literally every other clay project you’ll ever attempt.
A slightly wonky ladybug clay charm, made with your own hands, will always mean more than a flawless one bought off a shelf, because it actually holds a memory of the afternoon you made it.
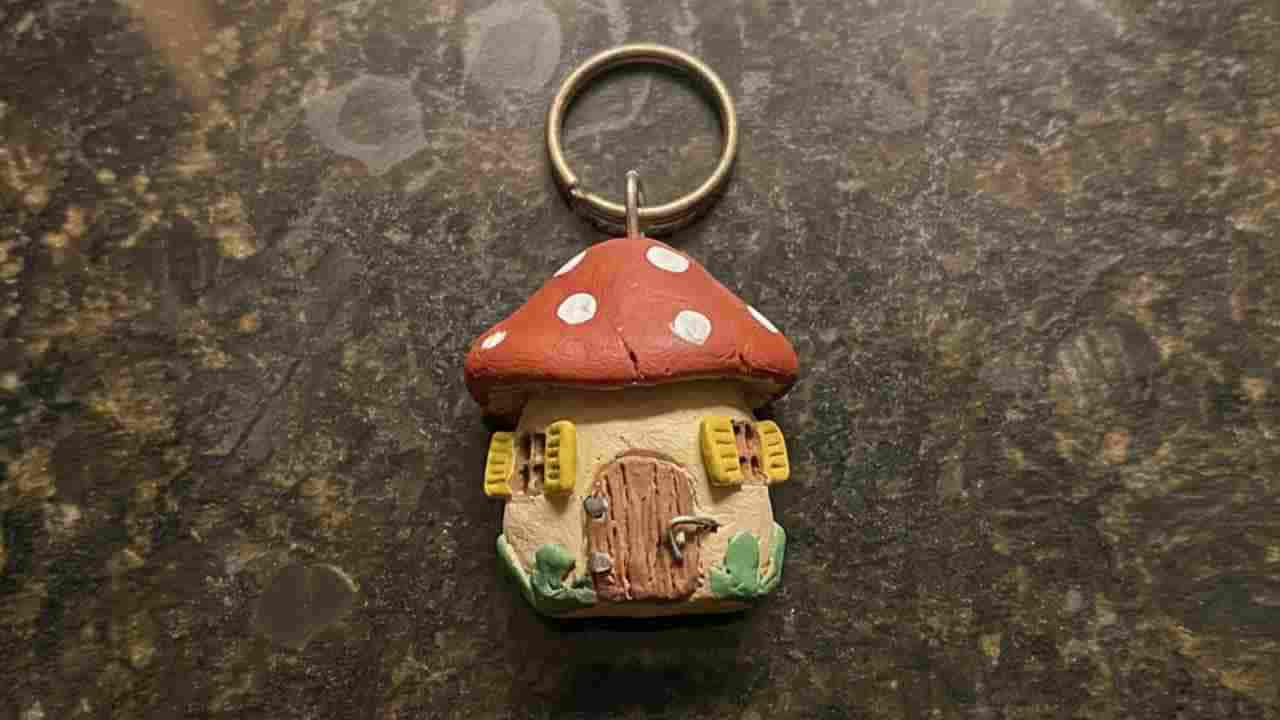
Once you’ve got this dome-and-spot method memorized, you’ll notice yourself eyeing acorns, mushrooms, and other tiny critters as your next clay adventure.
That’s really the quiet magic of DIY polymer clay charms, one small project always nudges you toward the next.