I have an honest confession to make and that is the first homemade Reese’s cup I ever tasted was made with graham crackers.
I can still recall the perfect contrast of salty, crunchy, and sweet. It wasn’t planned.
I was craving something sweet. The kids wanted chocolate.
The pantry looked half empty, but graham crackers were staring at me. So I experimented. And honestly, this recipe stuck for life.
These aren’t fancy. They aren’t bakery perfect. They’re authentically imperfect, deliciously messy, and so good it should be a secret.
The magic is in the simplicity, in other words, master melted chocolate and peanut butter, and victory is yours.
Why Graham Crackers Change Everything
Classic Reese’s cups are soft. These have texture.
That crunch from graham crackers hits different. It balances the sweetness. It makes them feel more dessert than candy.
Also, graham crackers are forgiving. Crushed uneven? Still works. Too fine? No problem.
My track record is a series of happy accidents LOL …. even my “failures” taste incredible. Take my word for it.
Ingredients Needed To Make Reese’s Cups
Nothing complicated here. No candy thermometer stress. No special tools.
For the chocolate layers
- 2 cups milk chocolate chips
- 1 tablespoon coconut oil or butter
For the peanut butter filling
- 1 cup creamy peanut butter
- ½ cup powdered sugar
- ¾ cup crushed graham crackers
- 1 teaspoon vanilla extract
- Pinch of salt
That’s it. Simple stuff. Stuff you probably already have.
Tools That Make Life Easier
- Muffin pan
- Paper cupcake liners
- Microwave-safe bowls
- Spoon or small spatula
Do you need a mixer? Nope. Your arm works fine.
Step-by-Step Recipe (Read This Slowly)
Step 1: Prep First, Always
Line your muffin pan with cupcake liners. Do not skip this.
I skipped it once and regretted everything.
Crush the graham crackers. I use a zip bag and rolling pin. Sometimes I use my hands. Don’t grind them into dust.
A coarse texture with small, rustic chunks is exactly what you want
Set them aside.
Step 2: Melt the Chocolate Base
Place the chocolate chips and coconut oil together in a microwave-safe or double-boiler-safe bowl.
Microwave in 30-second bursts. Stir between each round. Go slow, chocolate burns fast and smells sad.
When the mixture is silky and lump-free, portion out about a tablespoon of the melted chocolate into each cupcake liner. Tilt the pan slightly.
Let chocolate spread naturally. Don’t overthink it.
Pop the pan into the freezer for 10 minutes. This step matters.
This is your layer insurance policy. Skip it, and you’ll get one delicious-but-ugly blend instead of pretty stripes.
Step 3: Make the Peanut Butter Graham Filling
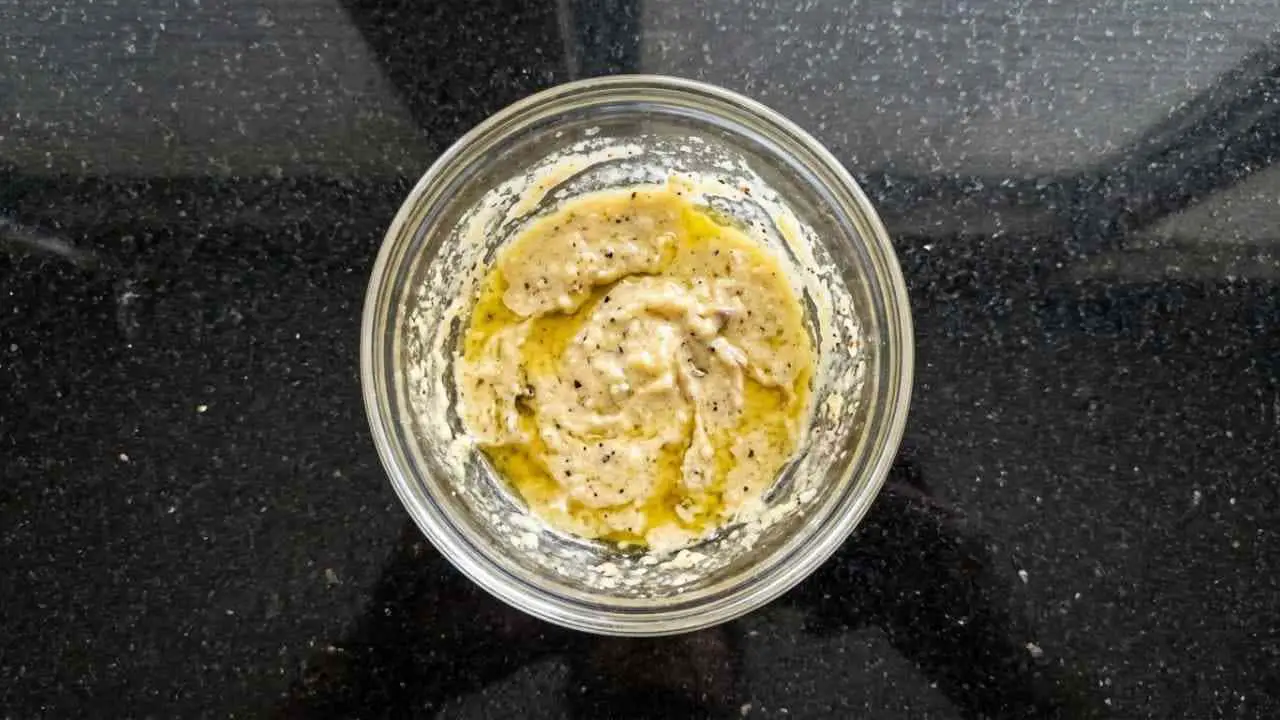
In another bowl, add peanut butter. Microwave for 20 seconds just to soften. Not hot. Just soft.
The final mix-ins are here! Add the powdered sugar for sweetness, a dash of vanilla and salt for depth, and your crushed graham crackers for that essential crunch. Stir everything together.
The texture should be thick but scoopable. Too dry? Add 1 teaspoon melted butter.
Too wet? Add more graham crumbs.
I’ve definitely been heavy-handed with the sugar before, and you know what? They were still delicious. So, don’t stress.
Step 4: Add the Filling Layer
Remove muffin pan from freezer. Portion the filling by scooping one leveled tablespoon into the center of each chocolate cup. Press it gently.
Leave space around the edges. Chocolate needs to seal it later.
If your hands get messy, you’re on the right track – consider it a badge of honor…. lol.
Step 5: Final Chocolate Layer
Re-melt chocolate if it thickened. Seal in the filling by carefully spooning a smooth layer of melted chocolate over each cup, making sure it reaches all the edges.
Tap the pan lightly on the counter. This removes air bubbles. And yes, it looks oddly satisfying.
Freeze again for 20–25 minutes. If your freezer is perpetually packed with frozen peas (like mine), the refrigerator for 45 minutes is a perfect alternative.
The Waiting Is the Hardest Part
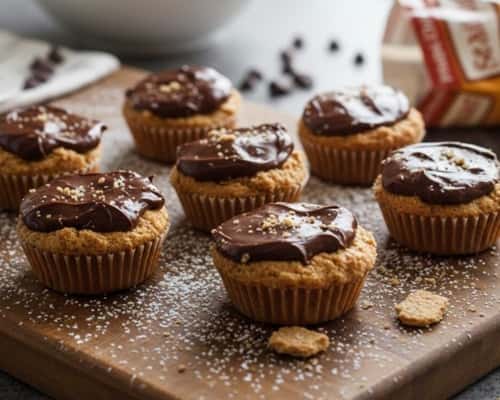
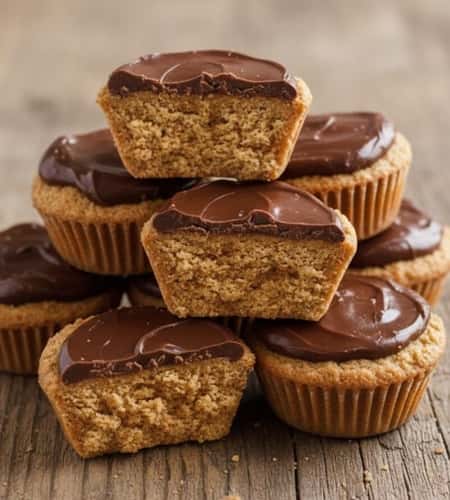
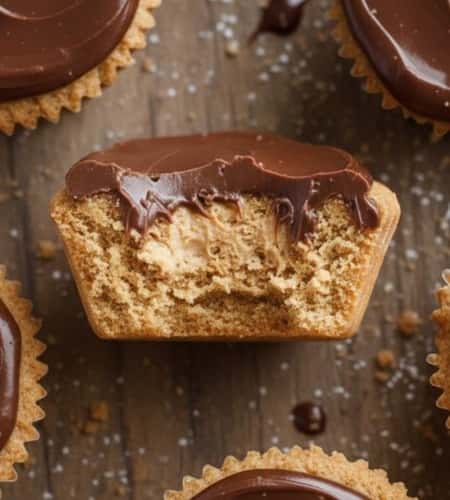
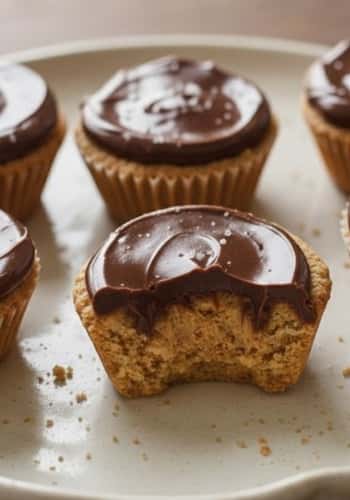
Once set, peel the liners. Look at that uneven top. That homemade look is the charm. They won’t look store-bought.
They shouldn’t look store-bought. That’s the point.
Sometimes the chocolate cracks a bit. Sometimes it doesn’t.
Taste stays perfect every single time.
Storage Tips (Learned the Hard Way)
Store in an airtight container.
For a warm kitchen, store them in the refrigerator to keep their shape. They melt faster than you expect.
They last 5 to 6 days refrigerated. In full honesty, they tend to vanish long before then in my kitchen.
You can freeze them too. Let them sit 5 minutes before eating. Cold peanut butter is still amazing, just saying.
Easy Variations You Can Try

Want it darker? Use dark chocolate.
Want it sweeter? Add honey instead of sugar.
Want crunch overload? Add chopped peanuts.
Once I added cinnamon. Kids didn’t notice. Adults loved it.
This recipe forgiving, it really is.
Common Mistakes That’s Easily Avoidable
- Overheating chocolate
- Skipping the freezer step
- Using natural peanut butter that separates too much
- Packing the filling too tight
I’ve done all of these. Still survived.
Why Kids Love This Recipe
They can help. Crushing crackers is fun. Scooping is fun.
Tasting is mandatory.
It’s less messy than baking cakes. No oven stress. No waiting hours.
And they feel proud after. That matters more than perfection.
Final Thoughts
Making desserts like this teaches patience without pressure.
You don’t need fancy tools. Forget flawless layers and perfect prose – this is about delicious fun.
Food made at home carries memories, not measurements.
Even the simplest from-scratch creation becomes a core memory when a child witnesses it.
These graham cracker peanut butter cups aren’t just a treat, they’re a little piece of homemade joy.
Ultimately, they show us that comfort food isn’t about precision. It’s about soul, and the wonderfully imperfect trail of chocolate it leaves behind.