I’ll be honest. The first time I searched for an air dry clay recipe, almost every tutorial used cornstarch.
But what if you don’t have it? Or maybe you simply want a different texture for your DIY air dry clay projects.
Good news – you actually can make a really good homemade air dry clay recipe without cornstarch.
In fact, there are a few clever substitutes that work surprisingly well.
Some create softer play clay, others make stronger craft clay for repurposed decor, tiny clay food, or holders for things like lee press on nails and nail pops. Let me walk you through the versions that actually work.
Recipe 1: Using Baking Soda & Flour Air Dry Clay
This one feels the closest to traditional homemade craft clay. It’s simple, inexpensive, and beginner friendly.
Ingredients:
- 1 cup baking soda
- ½ cup all-purpose flour
- ¾ cup water
Tools:
- small saucepan
- wooden spoon
- parchment paper or plate
Optional sculpting tools:
- Toothpicks
- rolling pin
- small metal ball stylus tool
Step 1 – Mix the Dry Ingredients
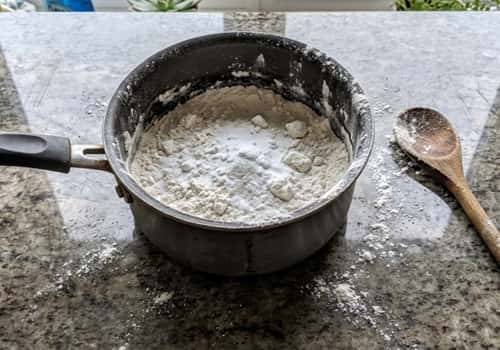
Add baking soda and flour to a saucepan.
Stir them together while they’re dry first. This step matters more than people realize because flour can clump later if you skip it.
It should look like pale powder. Nothing exciting yet.
But something good is about to happen.
Step 2 – Add Water
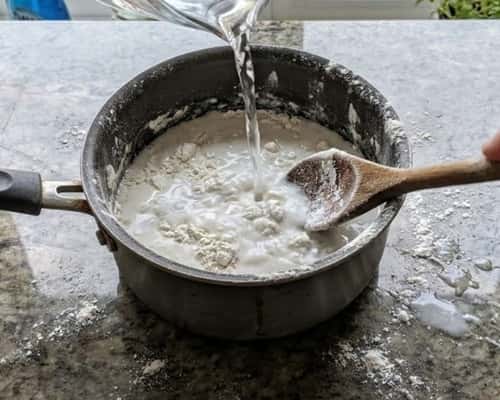
Pour ¾ cup water slowly into the pan.
Start stirring immediately. Flour absorbs water fast and lumps can appear if you wait too long.
Right now the mixture looks thin and milky. Honestly it kinda looks wrong but it isn’t.
Trust the process.
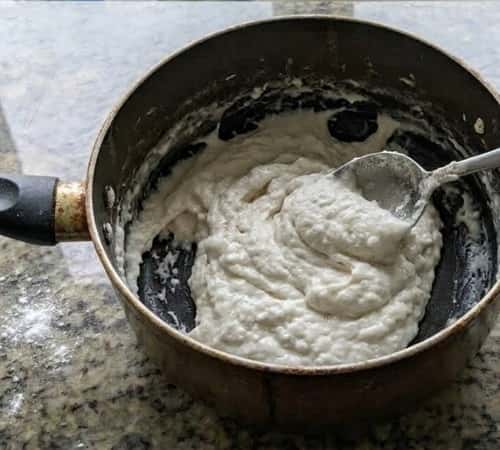
Step 3 – Cook the Clay
Place the saucepan on medium heat.
Stir constantly. Yes constantly.
After about 2 to 3 minutes the mixture thickens quickly. Suddenly it becomes doughy and begins pulling away from the pan.
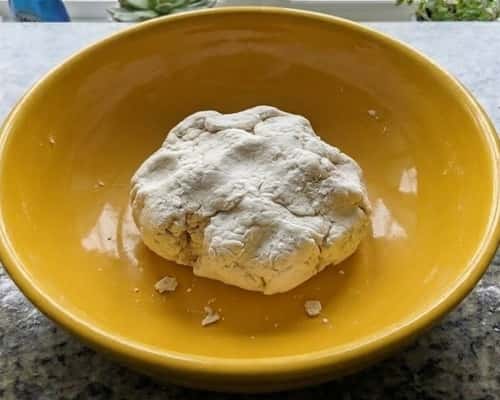
It will resemble mashed potatoes or thick paste.
That’s when the handmade clay recipe is ready.
Step 4 – Cool the Dough

Transfer the clay onto parchment paper or a plate.
Let it sit for about 10 to 15 minutes.
Touch it too early and your fingers will regret it. I learned that the hard way once.
The clay slowly becomes firmer as it cools.
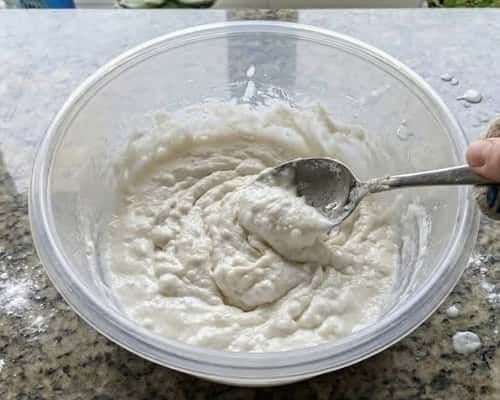
Step 5 – Knead the Clay
Once the dough is warm instead of hot, begin kneading.
Press. Fold. Roll. Repeat.
Do this for about 5 minutes until the texture becomes smooth and workable.
If the clay feels sticky, sprinkle a little flour. If it feels dry, lightly wet your hands.
The texture should feel similar to play clay, just slightly firmer.
Recipe 2 – Glue & Baking Soda Clay
This version is extremely popular among DIY air dry clay hobbyists.
And it requires no stove at all.
Ingredients:
- 1 cup white school glue
- 1 cup baking soda
Instructions:
- Pour the glue into a mixing bowl.
- Add baking soda gradually while stirring.
- Continue mixing until a thick dough forms.
- Next, for three to four minutes, knead the ingredients.
The result feels smoother and slightly flexible compared to flour clay.
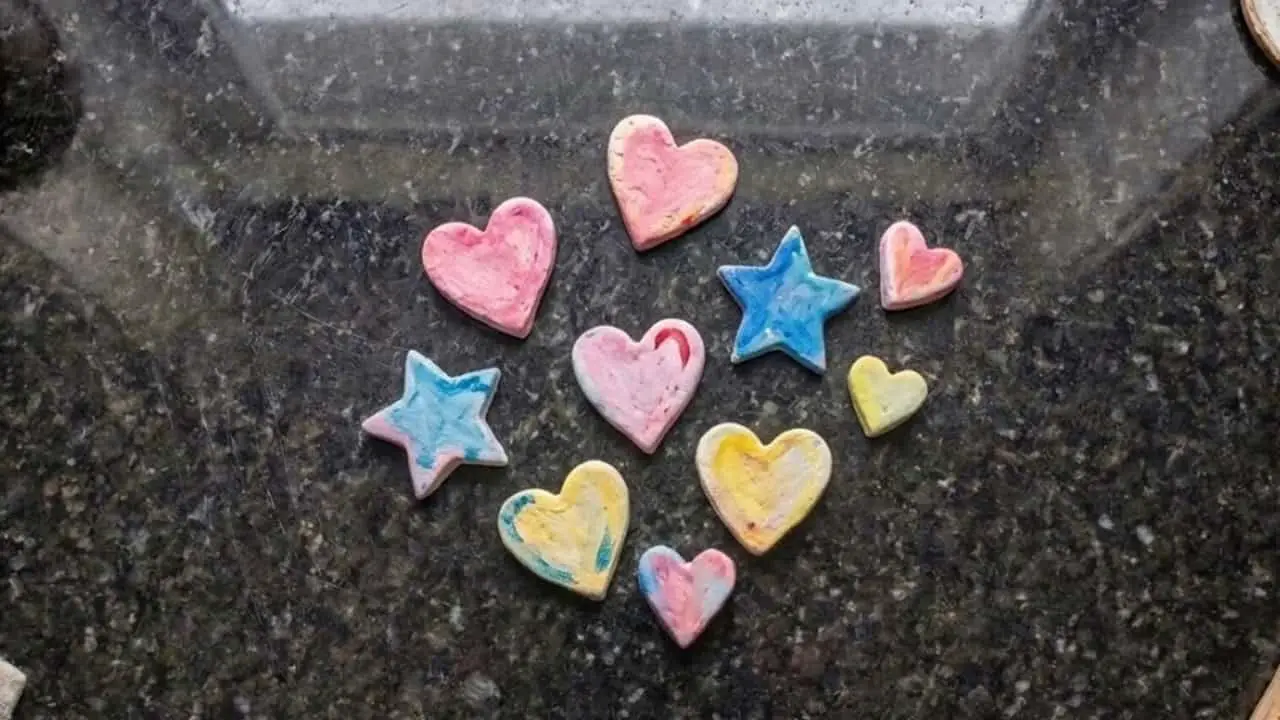
It’s perfect for delicate craft items like small trays, ornaments, or holders for lee press on nails and nail pops.
Recipe 3 – Tapioca Starch Air Dry Clay
If you want the smoothest texture without using cornstarch, tapioca starch works incredibly well.
It’s actually the closest substitute in many air dry clay recipe experiments.
Ingredients:
- 1 cup baking soda
- ½ cup tapioca starch
- ¾ cup water
Instructions:
- Combine baking soda and tapioca starch in saucepan.
- Add water slowly while stirring.
- Cook over medium heat while stirring constantly.
- When the mixture thickens and forms dough, remove from heat.
- Let cool and knead for several minutes.
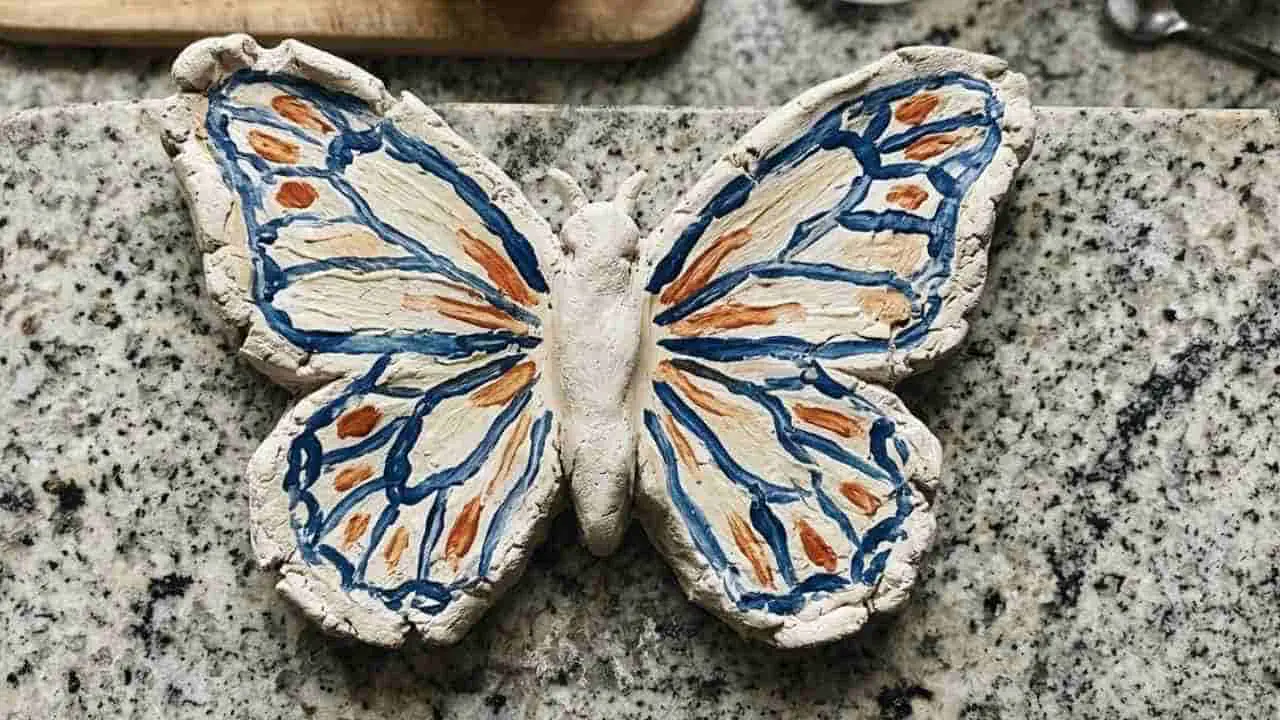
This clay becomes smooth and ideal for shaping detailed projects like miniature clay food or textured craft items using tools like a metal ball stylus.
Let Your Clay Air Dry
Once your shapes are finished, place them on parchment paper.
Leave them untouched for 24 – 48 hours.
Thicker pieces take longer to dry. Smaller items like beads or charms dry faster.
Sometimes small cracks appear while drying. Clay can be dramatic sometimes. Just smooth the surface with a little water and your finger.
Optional: Sanding and Painting
After drying completely you can sand rough edges with fine sandpaper.
Then paint using acrylic paints if desired.
Some people leave the clay natural white though. It actually looks beautiful for repurposed decor pieces or handmade trays.
Comparison of Cornstarch-Free Air Dry Clay Recipes
| Substitute Ingredient | Texture | Best Uses |
| Flour | Slightly grainy | Kids crafts, play clay |
| Glue | Flexible and smooth | ornaments, small trays |
| Tapioca starch | Smooth and fine | detailed DIY air dry clay projects |
Each version creates a slightly different type of handmade clay recipe, so the best choice really depends on what you want to make.
Storage Tips
If you have leftover clay:
- wrap it tightly in plastic wrap
- store it inside an airtight container
- keep it in the refrigerator
Most DIY air dry clay stays usable for about one week this way.
If it hardens slightly, knead it with damp hands to bring it back to life.
Also Read: Waterproofing Air Dry Clay
Final Thoughts
Here’s something fascinating about homemade craft clay.
Traditional pottery clay hardens because minerals change structure inside extremely hot kilns.
But recipes like these rely on something much simpler – water slowly evaporates while starches or binders hold the shape together.
That’s why small tweaks in ingredients can change the final texture dramatically.
A simple air dry clay recipe can behave like soft play clay, detailed sculpting clay, or even a material for creative repurposed decor projects depending on what you mix into it.
And honestly, experimenting with those variations is half the fun.