I’ve made more anklets than I can count, and trust me… some turned out cute, some turned out what was I thinking.
If you’re here looking for clay bead anklet ideas, you’re in the right place.
These are simple, doable, and feel very homemade – in a good way.
No fancy tools needed. Just patience, a little mess, and a vibe. Ready to make something you’ll actually wear?
1. Minimalist White + Gold Heishi Anklet
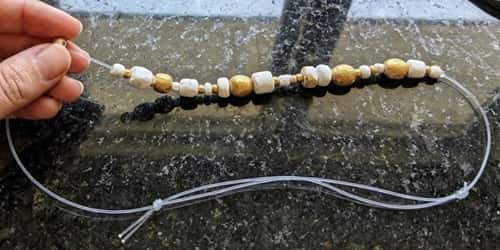
I started with this because it never fails.
Steps:
- Take white polymer clay beads (flat heishi style works best).
- Add 3 to 5 gold spacer beads in between every 6 to 7 white beads.
- Use a clear elastic string (0.5 to 0.8 mm).
- Measure around your ankle + add 1 inch for comfort.
- String the beads in pattern.
- Tie a double knot, dab a tiny glue drop, tuck inside a bead.
It looks like those minimalist beach jewelry with heishi beads you see online, but you made it yourself.
2. Pastel Rainbow Anklet
This one feels like summer. Or childhood. Or both.
Steps:
- Pick soft pastel clay beads (pink, mint, lavender, baby blue).
- Arrange them randomly or in repeating color blocks.
- Add tiny white beads between colors for separation.
- Thread onto elastic.
- Secure with tight knot.
Honestly, I once messed up the color order… and it still looked good.
3. Black + Gold Statement Anklet
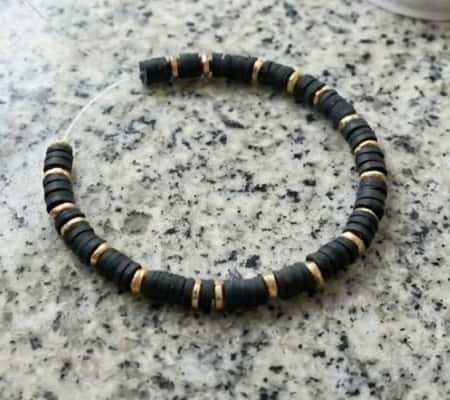
If you want something bold but still simple.
Steps:
- Use black clay beads as base.
- Insert gold heishi beads every 3 beads.
- Keep pattern consistent for clean finish.
- String and tie securely.
This one gives serious gold clay bead bracelet energy but for your ankle.
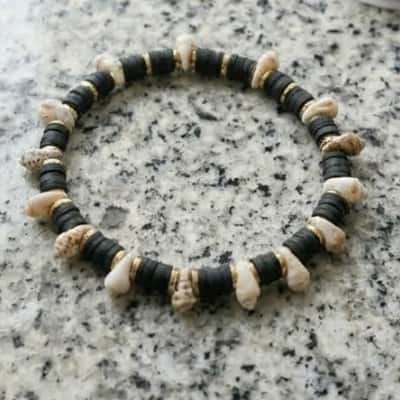
4. Beachy Shell + Clay Anklet
Steps:
- Mix white clay beads with small shell charms.
- Add a few turquoise beads for contrast.
- Space shells evenly so they don’t clump.
- Use strong elastic or nylon thread.
Feels like vacation even if you’re just at home doing laundry.
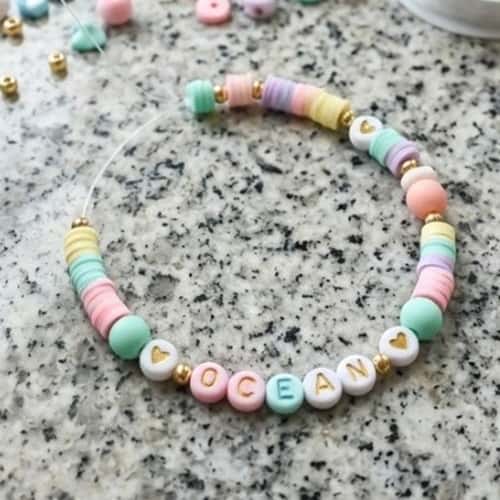
5. Name Letter Anklet

Personal, cute, slightly chaotic if letters don’t align (mine didn’t lol).
Instructions To Make This:
- Choose alphabet beads.
- Add clay beads on both sides of the name.
- Keep name centered.
- Use contrasting bead colors so letters pop.
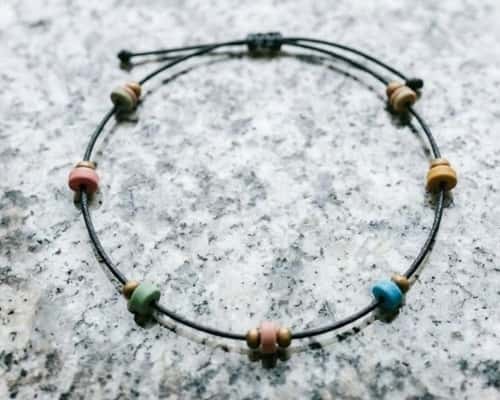
6. All-Neutral Earth Tone Anklet
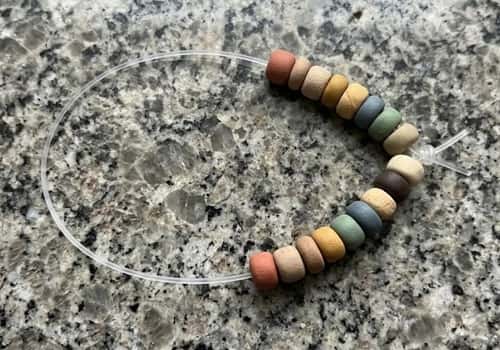
Steps:
- Use beige, brown, rust, and off-white clay beads.
- Alternate colors randomly.
- Add 1 to 2 gold beads for subtle shine.
- Thread and secure.
Its calming, but also stylish… hard to explain.
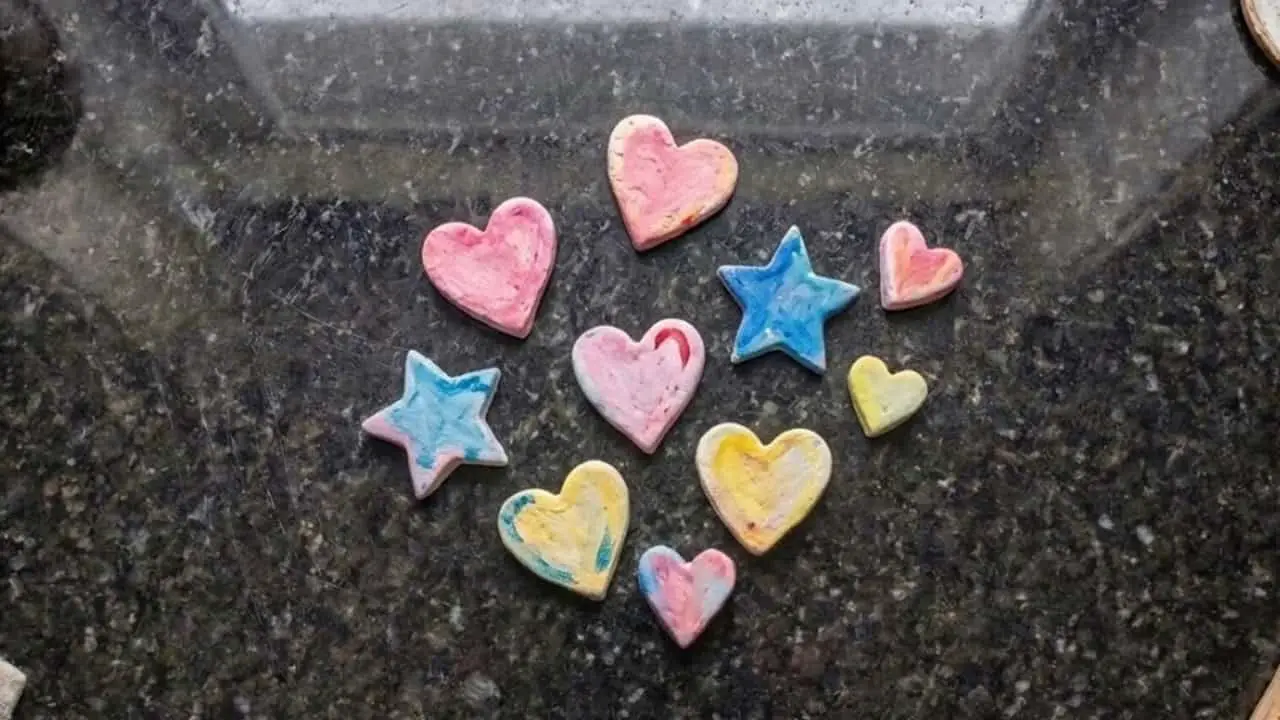
7. Anklet with Tiny Charms
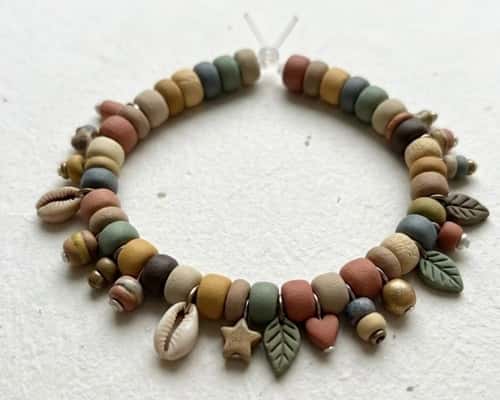
Instructions To Make This Anklet:
- Use plain clay beads as base.
- Add small charms (heart, star, moon).
- Attach charms using jump rings before stringing.
- Space evenly.
This one looks like store-bought anklet design beads honestly.
8. Color Block Anklet
Instructions To Make Color Block:
- Divide beads into 3 to 4 color groups.
- String each color in blocks (10 to 15 beads per color).
- Keep transitions clean.
- Tie securely.
I once made one too tight… couldn’t even wear it. So measure properly.
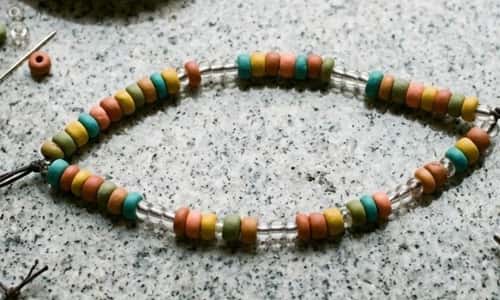
9. Boho Mixed Bead Anklet
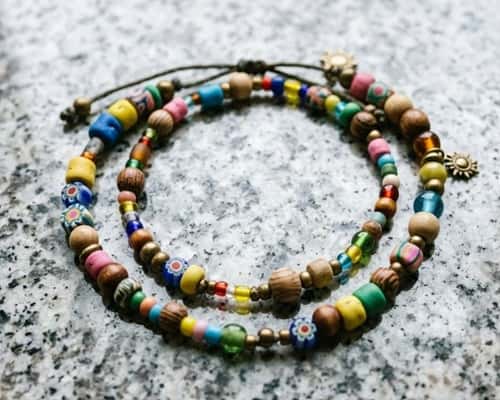
Steps To Make This Clay Anklet:
- Mix clay beads, wooden beads, and glass beads.
- Don’t overthink the pattern.
- Add random spacers.
- String freely.
There’s no rule here. And thats the fun part.
10. Thin Single-Line Anklet
Instructions To Make This Clay Anklet:
- Use very small clay beads.
- Stick to one color.
- Add 1 gold bead in center.
- Keep it lightweight.
Perfect if you like homemade anklets that don’t scream for attention.
11. Double Layer Anklet
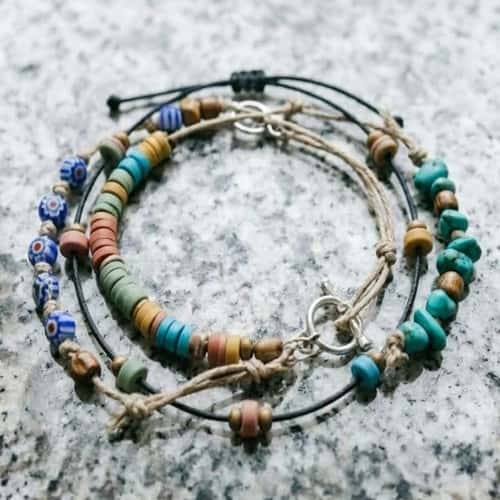
Steps:
- Make two separate anklets (different styles).
- Connect them with jump rings at ends.
- Use lobster clasp if needed.
It gives that layered anklet bracelet feeling without any extra effort.
12. Bright Festival Anklet
Steps:
- Use neon or bright clay beads.
- Mix shapes (round + heishi).
- Add metallic spacers randomly.
- String and secure tightly.
Not everyone may like it… but thats fine.
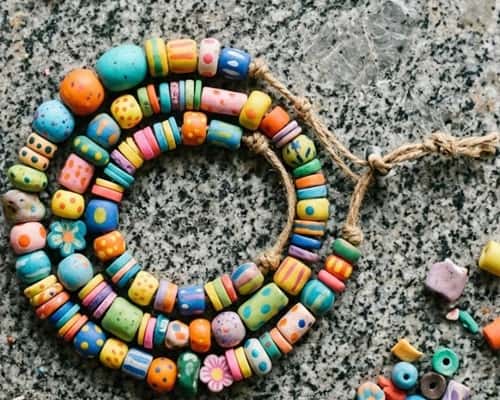
Final Thoughts
Here’s what I’ve learned after making way too many of these… perfection actually ruins handmade jewelry.
Slight uneven spacing, weird color combos, even knots that look a bit off – that’s what makes these yours.
Trends like gold heishi beads jewelry for beach will come and go, but something you made with your hands? That stays. So don’t aim for perfect, aim for real. And honestly… the imperfect ones usually get the most compliments.