I’ve seen a lot of clay ashtray ideas floating around, but most of them skip the tiny details beginners actually need.
So I’m keeping this real. Simple steps. Messy edges. Totally doable at home.
And no, I haven’t personally made every single one of these clay ashtray projects… but I’ve broken them down in a way that you can actually follow without guessing.
If you’ve got some air dry clay, a flat surface, and a little patience – you’re good to go.
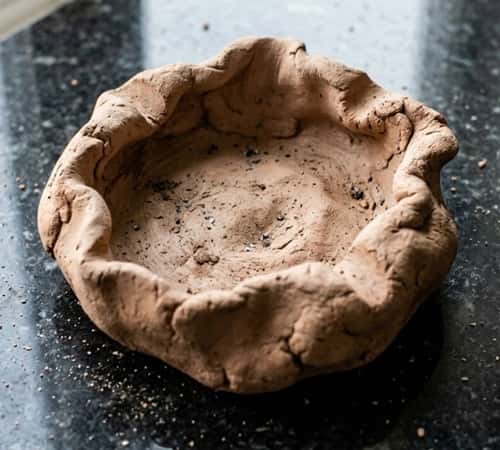
1. Basic Round Finger-Pressed Clay Ashtray
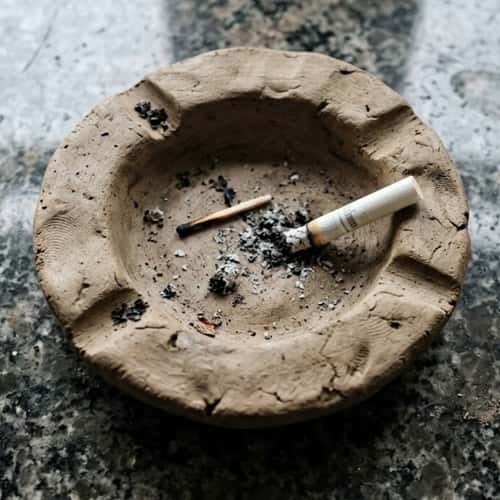
Let’s start easy. Like really easy.
Take a ball of air dry clay and flatten it using your palm. Not perfect? Good. That’s the vibe. Now gently press your thumb in the center to create a shallow dip.
Next, pinch the edges upward slightly. This forms the walls. Use two fingers to press 2 to 3 small grooves on the rim – these are where cigarettes rest.
Feels too soft? Let it sit for 5 minutes and then refine the edges.
Let it dry for 24 to 48 hours. You can sand rough spots later if needed.
This is one of those beginner clay projects that actually teaches control.
2. Leaf Impression Ash Tray
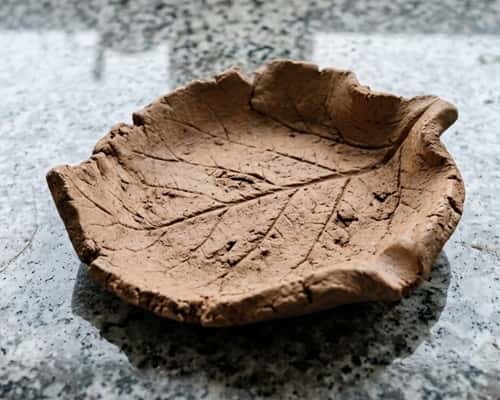
Want something that looks fancy without effort? Try this.
Roll out clay like a thick roti. Place a real leaf on top and gently press it with a rolling pin or glass.
Peel it off slowly. See those veins? That’s your design.
Now cut around the leaf shape using a knife. Slightly curl the edges upward so it becomes a usable ash tray.
Don’t overthink symmetry… it never works anyway.
This fits perfectly into air dry clay tray ideas if you like nature-inspired decor.
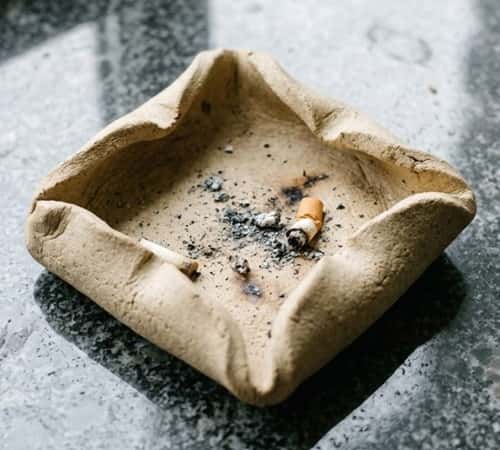
3. Minimal Square Clay Ashtray

Okay, clean and modern lovers… this one’s for you.
Roll clay evenly, about 1 cm thick. Cut a square using a ruler or knife.
Now here’s the trick – gently press the center down while keeping edges slightly raised.
Create four small notches at each side midpoint.
Straight lines matter here… but honestly, a little wobble makes it look handmade.
This could pass as a ceramic ash tray handmade piece if finished nicely.
4. Pinch Pot Style Ashtray
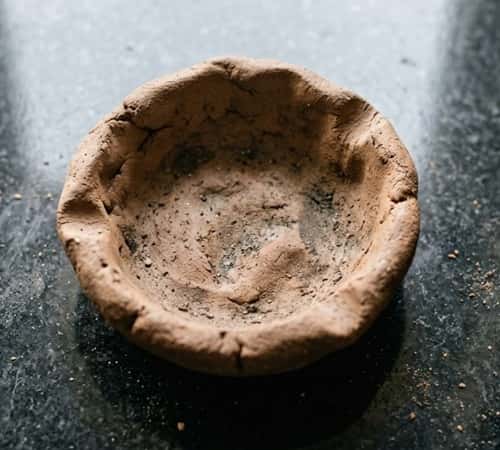
This feels like childhood art class.
Take a clay ball. Push your thumb into the center. Rotate and pinch outward slowly.
Don’t rush… or it’ll crack. Trust me.
Once shaped like a small bowl, flatten the base slightly so it sits stable. Add 2–3 grooves on the rim.
It won’t be perfect. It shouldn’t be perfect.
This is classic clay ashtray craft technique used by clay people for ages.
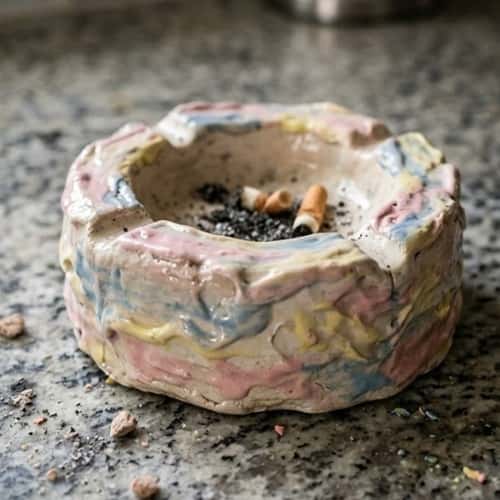
5. Marble Effect Air Dry Clay Ashtray
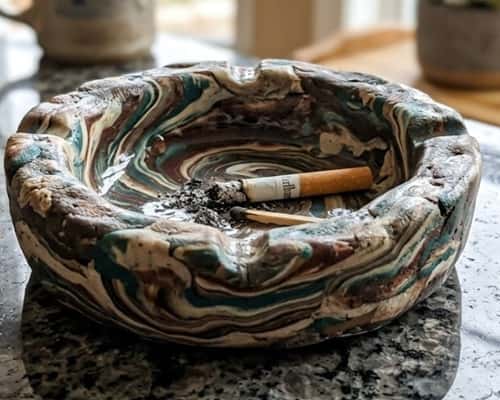
This one looks expensive but isn’t.
Take two clay colors. Twist them together gently. Don’t mix fully.
Flatten and shape into a shallow bowl.
You’ll get that marble swirl effect automatically. Pretty cool, right?
Cut edges roughly or smooth them… your choice.
This works great for air dry clay ashtray designs that stand out visually.
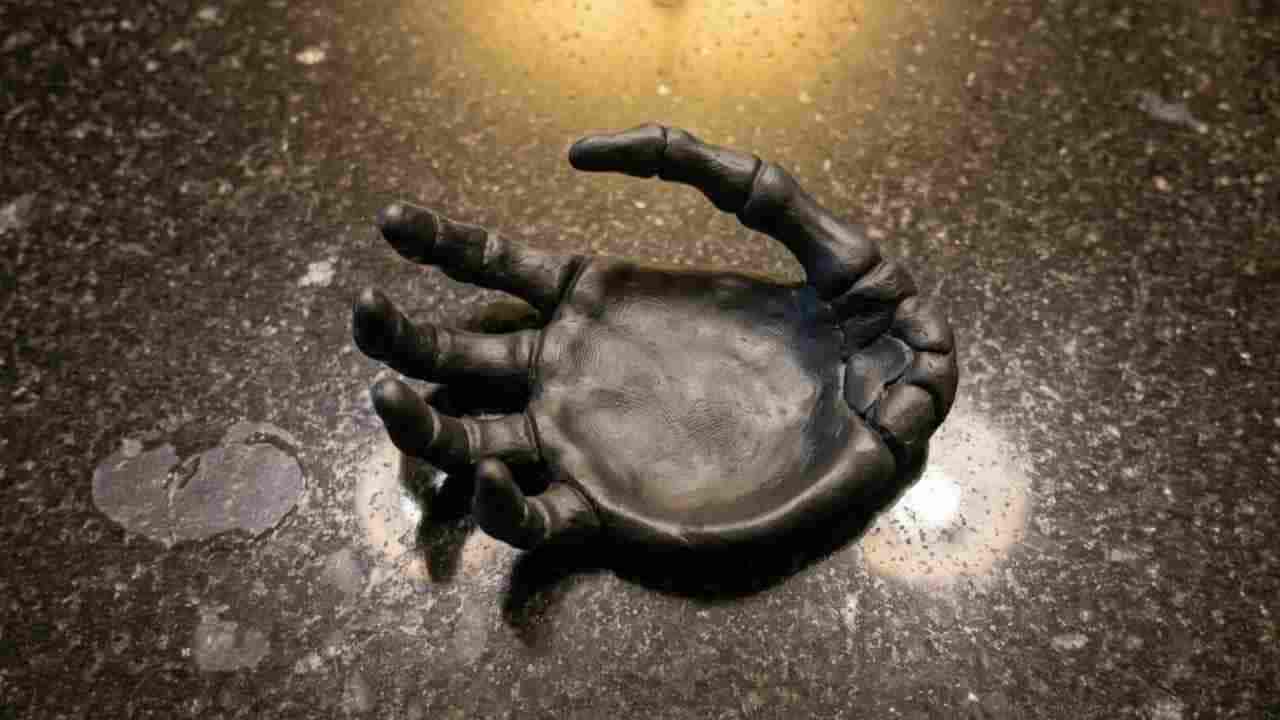
6. Handprint Ashtray
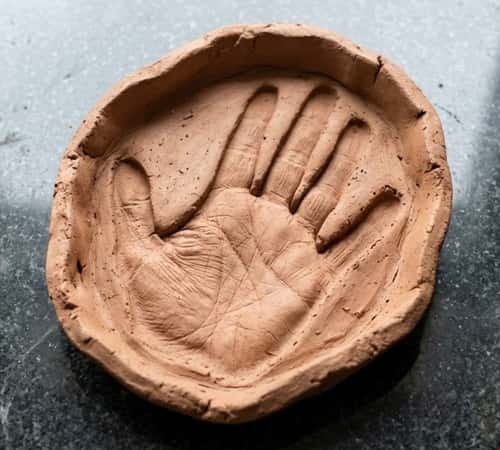
This one feels personal. Almost too personal.
Flatten clay slightly. Press your palm into it. Not too hard.
Now shape around the handprint into a shallow tray.
Add grooves between finger impressions if you want functional rests.
It looks messy… but that’s kinda the charm, isn’t it?
This overlaps with air dry clay projects that feel meaningful.
7. Textured Rock Style Ash Tray
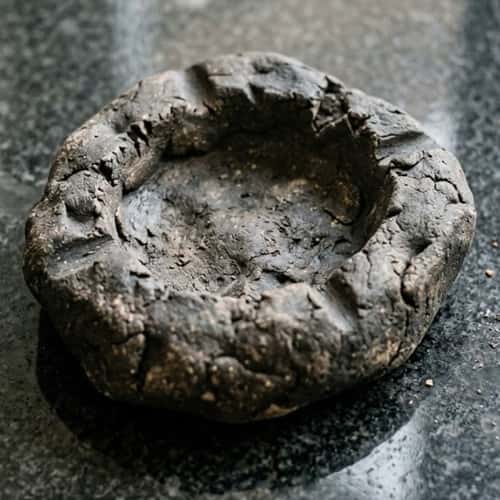
Ever seen those raw, rugged ash trays? Let’s recreate that.
Shape clay into a rough circle. Don’t smooth it. Seriously, don’t.
Use a stone or foil to press random textures.
Make shallow dips randomly – not symmetrical.
It’s supposed to look like a rock, not a plate.
This style gives your clay ashtrays a raw earthy vibe.
8. Cake Shape Clay Ashtray
Sounds weird? Wait till you see it.
Shape clay like a mini cake slice or full round cake.
Add fake “icing” texture using a toothpick or spoon edge.
Create ash grooves subtly so they blend into the design.
It’s playful. Almost looks edible… don’t eat it though.
This is where cake shapes meet quirky clay ashtray projects.
9. Letter Stamped Ashtray
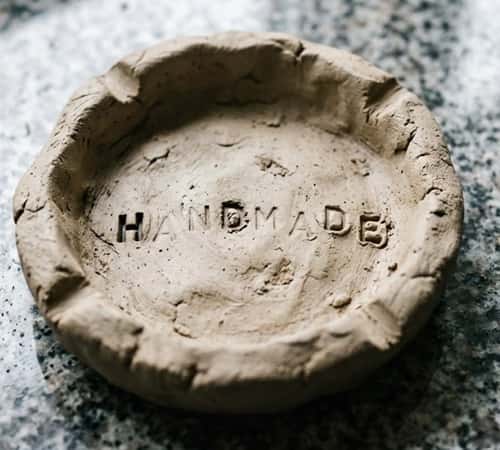
Want to personalize it? This one’s fun.
Flatten your clay base first. Shape it however you like.
Now use letter stamps to press words or initials.
Don’t press too deep or it cracks later. Learned that the hard way…
Add grooves after stamping.
Great for gifting. Or just marking your own space.
10. Folded Edge Modern Ashtray
Roll a flat slab.
Now fold 3 to 4 edges slightly inward like soft creases.
It creates a geometric bowl without cutting anything.
Feels fancy… but super simple.
Why does this look so good with zero effort? I don’t know.
Perfect for modern clay ashtray ideas.
11. Double Layer Ash Tray
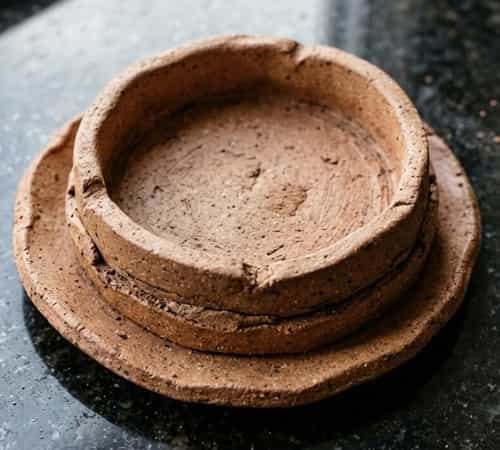
This one adds depth.
Make one flat base. Then create a smaller raised layer on top.
Attach using a bit of water (acts like glue).
Smooth the join lightly… or leave it visible for texture.
Add grooves on the top layer.
It feels slightly advanced, but still beginner friendly.
This fits nicely into more creative clay ashtray projects.
12. Freeform Abstract Clay Ashtray
No rules. Seriously.
Take clay and just… shape it randomly. Twist, press, stretch.
Add dips wherever feels right.
If it looks weird, you’re doing it right.
Functional? Yes. Predictable? Not at all.
This is where creativity beats perfection every single time.
Final Thoughts
Here’s something I’ve noticed – most people overthink clay ashtray craft. But honestly, clay doesn’t reward perfection… it rewards play.
The more you try to control every edge, the more it fights back.
Even the best looking ceramic ash tray handmade pieces started as messy experiments. So don’t wait for “perfect skills.” Start with one. Mess it up. Make another.
And weirdly enough, those imperfect clay ashtrays end up being the ones you like the most.