I still remember opening my first pack and thinking… what do I even make with this? That’s exactly why I’m putting together these fevicryl mouldit clay craft ideas in the simplest way possible.
You don’t need fancy tools, trust me. Just hands, patience, and a bit of curiosity.
These are perfect for diy air dry clay lovers, beginners, and even messy weekend kids crafts.
I haven’t personally tried every single one here, but I’ve broken them down so clearly that you can follow along without confusion. Ready to get your hands a little messy?
1. Mini Clay Succulent
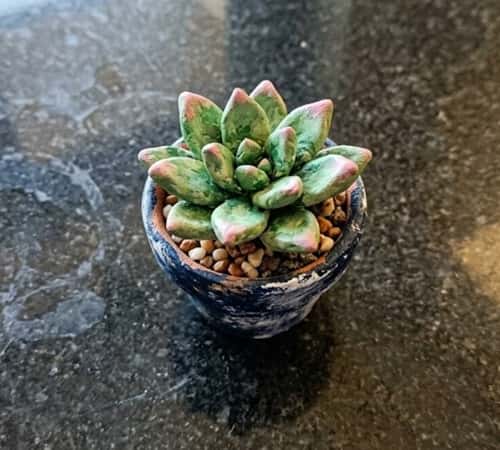
This one is surprisingly calming. Also, it doubles as cute decor.
Start by mixing equal parts of Fevicryl Mouldit resin and hardener. Knead it well until the color becomes uniform. If it feels sticky, don’t panic… it gets better.
Now roll small pea-sized balls. Flatten each slightly using your thumb. These will become your leaves. Make about 10 to 15.
Take one flattened piece and roll it into a tight center bud. Then slowly attach other leaves around it. Overlap them slightly. Don’t worry if they aren’t perfect, real succulents aren’t perfect either.
Use a toothpick to gently press lines on leaves for texture. Press lightly, or you might ruin the shape.
Let it dry for 24 hours. Once dry, paint using soft greens. Add a hint of white for that dusty plant look.
You can stick it on a bottle cap or small lid to make a mini planter. It’s one of those clay diy projects that looks expensive but costs nothing.
2. Personalized Name Keychain
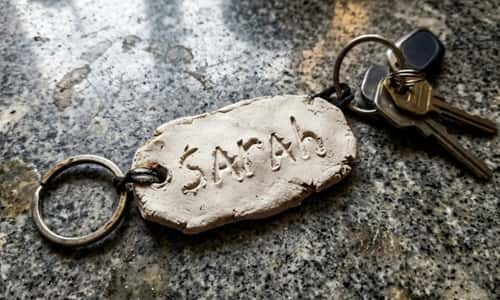
Ever made something and instantly wanted to gift it? This is that.
Mix your clay properly first. Don’t rush this step, or it cracks later.
Roll it flat using a bottle if you don’t have a roller. Aim for medium thickness, not too thin or it bends.
Now cut out a rectangle or oval shape using a knife. Keep edges slightly uneven for that handmade vibe.
Use a toothpick or blunt pencil to carve a name or initials. Go slow here. If you mess up… honestly, just smooth it and try again.
Make a small hole at the top using a skewer or pen tip. This is for the keyring.
Let it dry completely. Then paint it. Bright colors work best, but you do you.
Seal it with clear varnish if you want shine. Or don’t. Matte also looks cool.
It’s one of the easiest easy diy gifts you can make at home.
3. Cute Clay Fridge Magnets
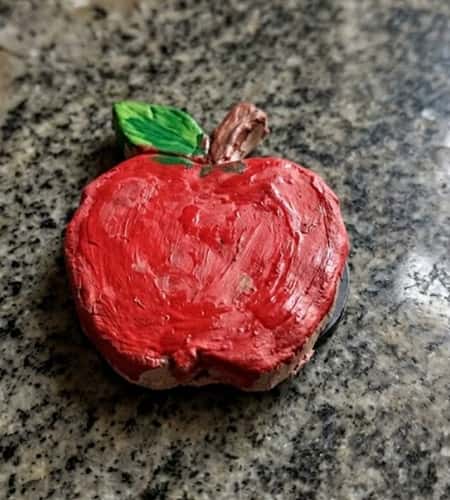
These are chaotic in the best way.
Mix your clay as usual. Divide into small portions.
Decide your shapes. Fruits? Clouds? Random blobs? All work. That’s the beauty of clay art projects.
Roll tiny shapes using your fingers. For example, a strawberry: make a small oval, pinch one end. Add texture using a needle or toothpick.
For eyes or details, use a pen tip. You don’t need precision… just go with the flow.
Let everything dry first. Then paint using acrylic colors. Add tiny expressions if you want. Or leave them plain.
Glue a small magnet at the back using strong adhesive. Let that dry fully before using.
These are perfect for kids crafts, honestly. Kids enjoy this more than adults sometimes.
Also, don’t worry if they look weird… weird is good here.
4. Clay Jewelry Dish
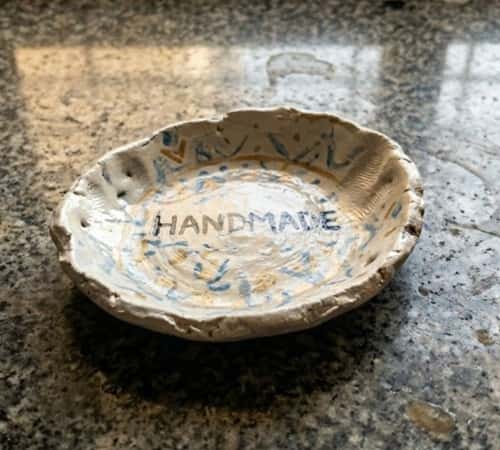
I like projects that don’t just sit there collecting dust. This one earns its space.
Start by mixing your fevicryl mouldit clay craft base properly. Knead until smooth, no streaks.
Roll it into a ball first, then flatten it gently using your palm or a bottle. Don’t aim for a perfect circle. Honestly, uneven edges look more real.
Now place it over an upside-down bowl. This helps create that dish shape. Press lightly so it curves naturally. If it cracks a little, just smooth it with wet fingers.
Leave it like that for a few hours, then remove and let it dry fully.
Once dry, paint inside with soft pastel or metallic shades. Outside? Keep it raw or textured.
It fits perfectly into clay craft decor ideas and even bricolage facile style setups.
You can use it for rings, coins, or random tiny things you always lose.
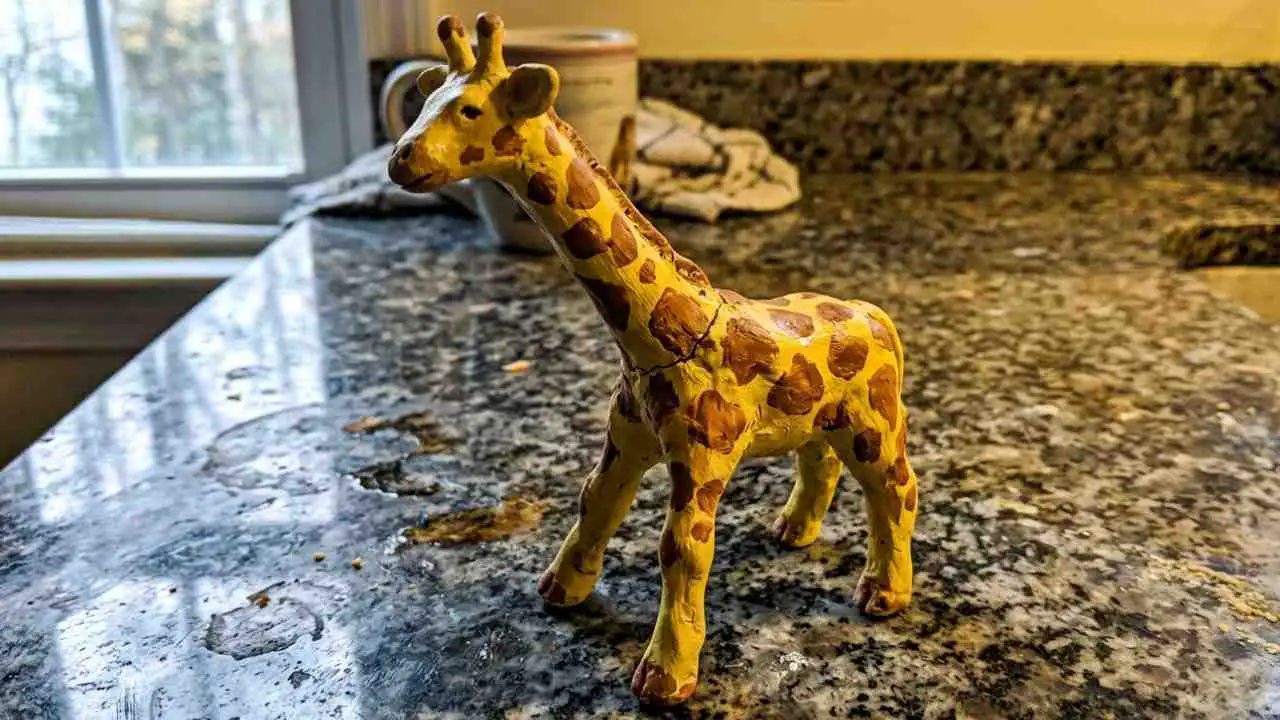
5. Tiny Animal Figurines

This is where things get playful… or slightly chaotic.
Mix your clay evenly. Then divide into small pieces depending on how many animals you want.
Let’s say you’re making a turtle. Roll one ball for the body, four tiny ones for legs, one small for the head. Stick them together gently. Press just enough so they don’t fall apart.
Use a toothpick to add shell texture. Lines, dots, whatever feels right. There’s no strict rule here.
For eyes, just poke two dots. Done.
Let it dry completely. Paint later with simple colors. Don’t try to make it perfect, seriously. Slightly wonky looks cuter.
These kinds of kids crafts often turn into the most memorable pieces. I’ve seen people keep these for years.
Also fits beautifully under sztuka I rękodzieło if you enjoy handmade art.
6. Decorative Clay Wall Hanging
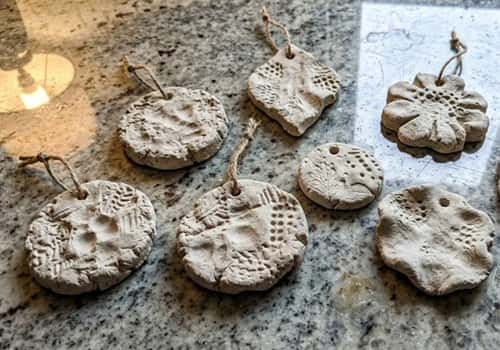
This one feels fancy… but it’s actually simple.
Start with your mixed clay. Roll it flat, slightly thicker than you think. Thin clay bends, and we don’t want that.
Cut into shapes. Circles, arches, abstract blobs… anything works. Don’t over-plan this part.
Now use a skewer or straw to make small holes at the top. This is for hanging later.
You can press textures using leaves, fabric, or even lace. Just press gently and lift. It leaves a beautiful imprint. Sometimes it don’t come perfect, but that’s fine.
Let it dry fully.
Paint in neutral tones or go bold. Your choice. Once dry, thread a string or jute through the holes.
Hang it on a wall or door. It instantly lifts the space.
This is one of those clay diy projects that looks like store-bought decor but isn’t.
7. Clay Candle Holder
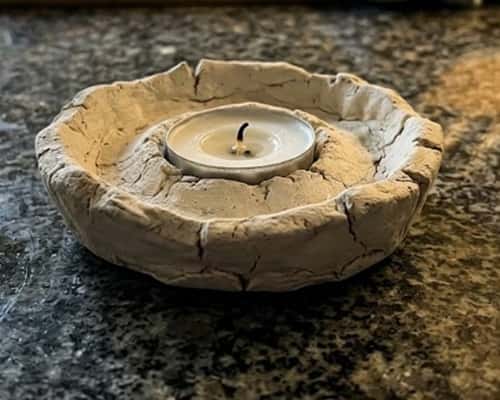
You ever see those aesthetic candle setups and think it’s hard? It’s not.
Start by mixing your fevicryl mouldit clay craft mixture properly. Knead till smooth. If it feels too hard, you probably didn’t mix evenly.
Roll a thick base, about the size of your palm. This is your foundation.
Now take a candle (tea light works best) and gently press it in the center. Don’t push too deep, just enough to create a holder shape.
Remove the candle carefully. Smooth the edges using wet fingers. If cracks appear, just patch with a bit of extra clay.
You can add texture using a fork or toothpick. Or leave it plain.
Let it dry fully. Then paint in neutral tones, or even leave it raw for that earthy clay art projects look.
Honestly, this fits perfectly in cozy decor setups.
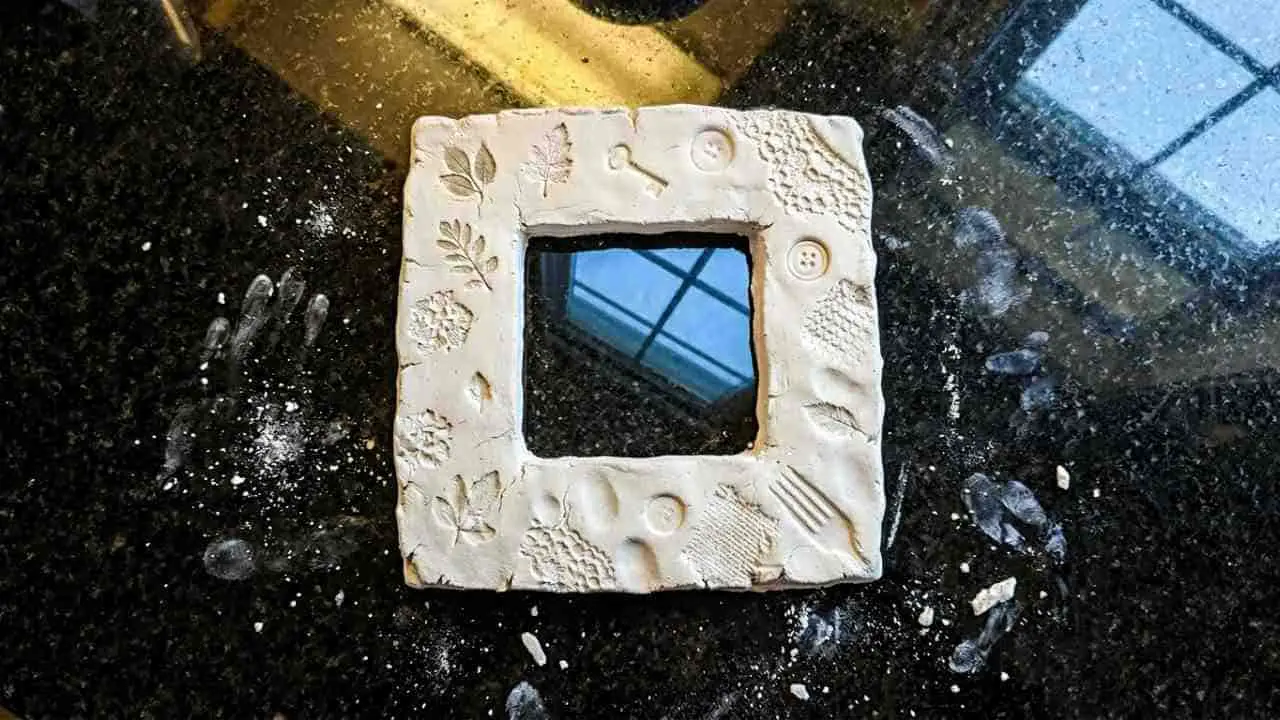
8. Clay Photo Frame Embellishment
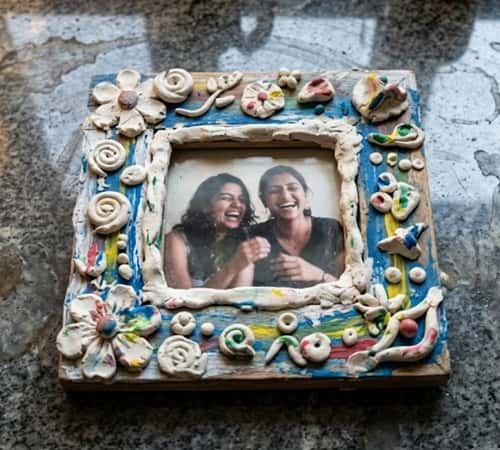
This one is not about making a full frame. It’s about transforming one.
Take any old plain photo frame. Wood, plastic… doesn’t matter.
Now mix your clay evenly. Roll small shapes – flowers, vines, dots, random textures. Keep them small and manageable.
Stick these directly onto the frame while the clay is still soft. Press gently so they attach well. If it falls, press again. Simple.
Build layers slowly. Don’t try to finish in one go, or it gets messy fast.
Let everything dry completely before painting.
Paint in soft pastels, metallics, or even bold colors. Your call. A slightly uneven paint job actually makes it feel more handmade.
This falls under easy diy gifts and honestly, people love customized stuff like this.
And yeah… sometimes it look messy before it looks good. That’s normal.
9. Clay Beads for Jewelry
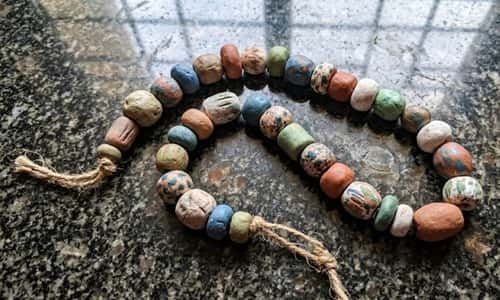
Once you start making beads… you don’t stop. Seriously.
Mix your clay well first. Then pinch small equal pieces.
Roll each into balls using your fingers. Try to keep size consistent, but honestly, slight variation looks better. Too perfect feels machine-made.
Use a toothpick or needle to poke a hole through each bead. Do this before drying, or it becomes impossible later.
You can also try oval or tube shapes for variety. Play around.
Let them dry completely. Then paint or leave them natural. You can even mix colors before shaping for a marbled effect.
Once dry, string them using thread or wire. Make bracelets, necklaces… whatever you like.
This is one of those relaxing diy air dry clay activities that doesn’t feel like work.
Also fits beautifully into fevicryl mouldit clay art ideas if you enjoy wearable crafts.
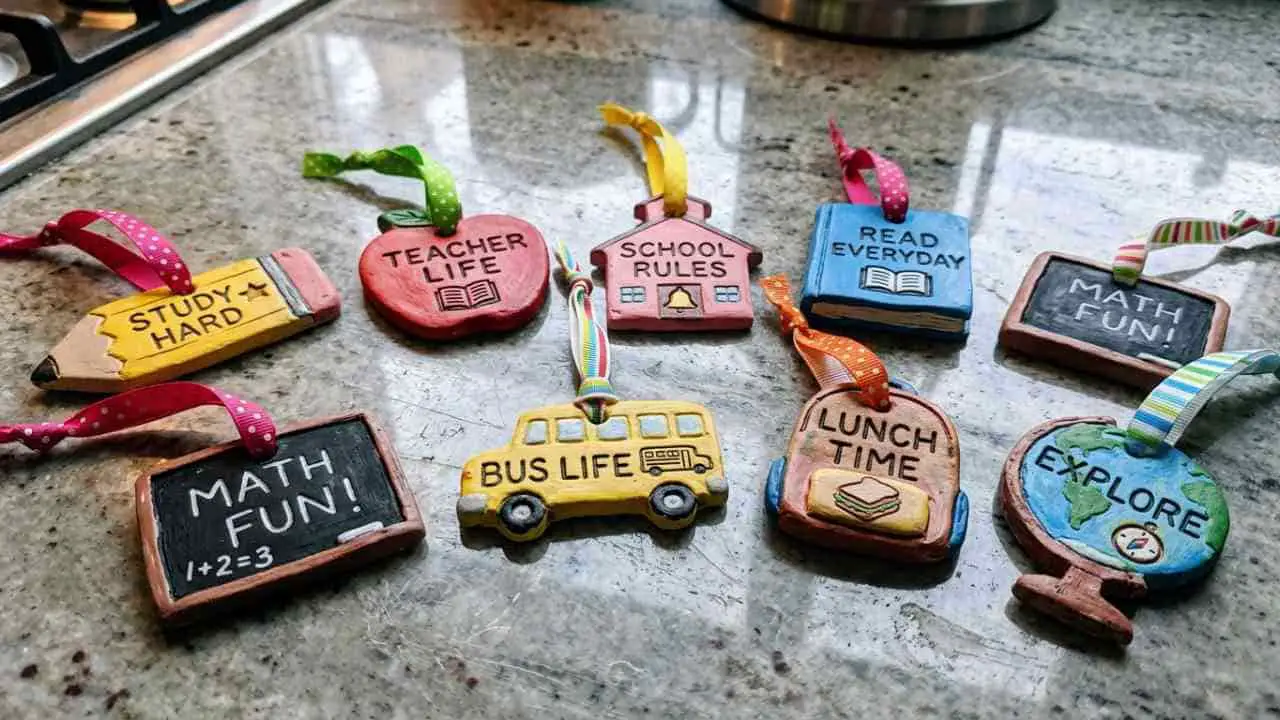
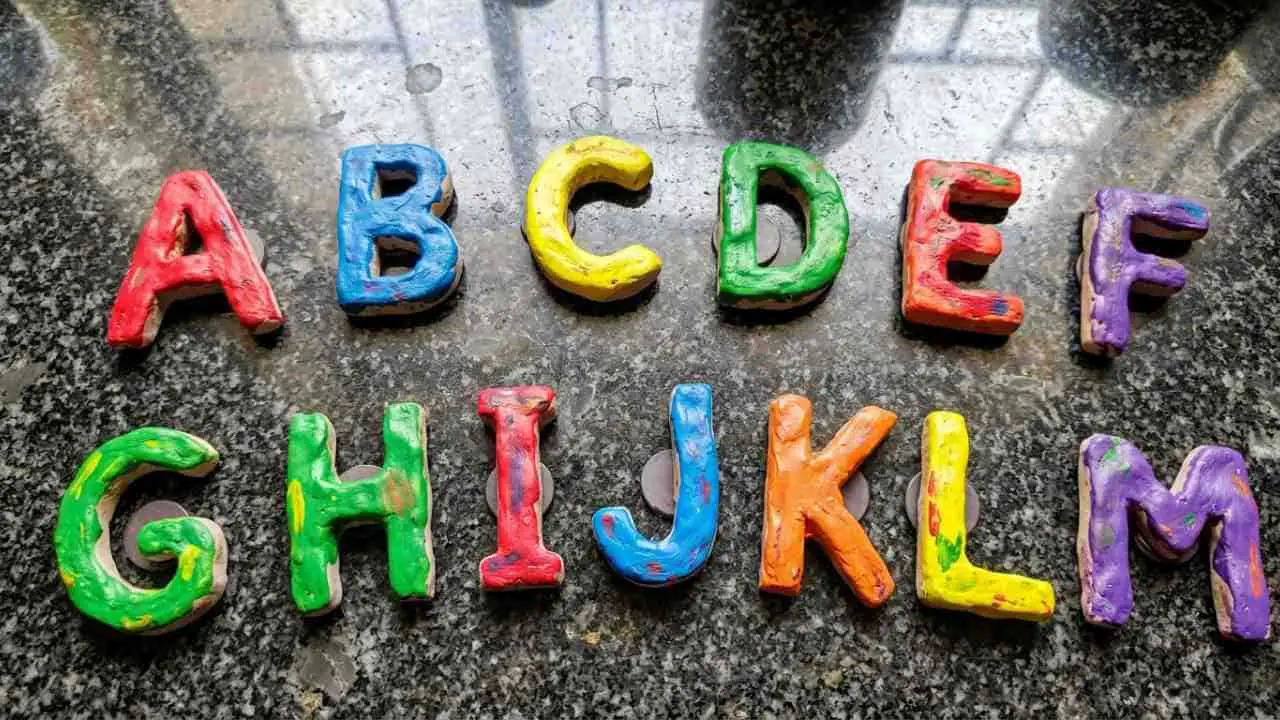
10. Clay Alphabet Magnets
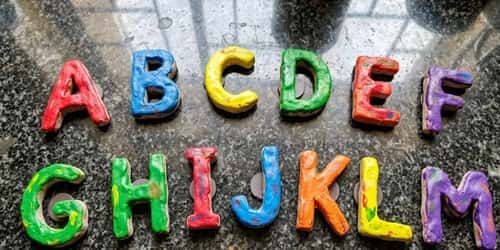
You think you’ll make a few… and suddenly you have 20 letters.
Mix your clay evenly first. Then roll small portions.
Shape each into letters using your fingers. Keep them thick enough so they don’t snap. Thin letters break easily, and that’s annoying.
Don’t aim for perfect font shapes. Slightly wobbly letters actually look better. Trust me on this.
Let them dry fully before painting. Bright colors work best here.
Once dry, glue magnets at the back. Let the glue set properly, or they fall off later.
These are perfect for kids crafts or even fridge decor.
Also fits nicely into clay diy projects that are both fun and useful.
Some letters might look weird… it happens.
Final Thoughts
Here’s the thing most people don’t tell you… clay crafting isn’t about perfection, it’s about repetition. The more you touch, roll, mess up, fix again – the better your hands get.
These fevicryl mouldit clay craft ideas are just starting points, not rules.
You’ll notice over time how your shapes improve, your textures feel more natural, and your confidence grows without you realizing it. That’s the real win here.
Whether you’re into bricolage facile or just exploring fevicryl mouldit clay art, keep experimenting.
Because honestly… the best pieces usually come from accidents, not plans.