Before diving into the nitty-gritty details, take a moment to watch the original video of Honey Butter Rotisserie Chicken (Courtesy: Cooking With Shereen Via YouTube).
It’s packed with visual cues that will make this recipe even easier to follow.
Once you’ve seen the magic unfold, scroll down for a step-by-step breakdown of how to recreate this mouthwatering honey butter chicken in your own kitchen.
Credit: Cooking With Shereen Via YouTube
Choose Your Chicken Preferences For This Recipe
Make Using Organic Chicken | Make Using Regular Chicken
Ingredients Needed To Make Honey Butter Rotisserie Chicken
Let’s start by gathering everything you need and here’s what you’ll require:
The Star Ingredient:
- A 4 lb whole chicken (fresh or thawed). Pro tip: If you’re unsure about sourcing quality poultry, consider this organic free-range chicken for tender meat and superior flavor.
Seasonings & Herbs:
- Salt (generous amounts)
- Freshly ground black pepper
- Fresh thyme & rosemary sprigs (or dried if fresh isn’t available)
- Garlic cloves (unpeeled works fine here – rustic vibes!)
For Basting & Glazing:
- Avocado oil (a healthier alternative to vegetable oils; check out this cold-pressed option)
- Unsalted butter (about 2 tablespoons)
- Honey (roughly 2 tablespoons – you can use raw honey for added depth)
Optional Tools:
- Kitchen twine (to truss the chicken securely)
- A small saucepan (for melting the butter-honey mixture)
Affiliate Disclosure: Kitchen tools and ingredients mentioned in this post have been carefully selected based on years of professional experience. Some links above and within the article are affiliate links, meaning I earn a small commission if you make a purchase. Rest assured, I only suggest or recommend kitchen essentials or things I use and trust in my own kitchen.
Step-by-Step Instructions To Make Honey Butter Rotisserie Chicken
Choose Your Chicken Preferences For This Recipe
Make Using Organic Chicken | Make Using Regular Chicken
Step 1: Prep Like a Pro
If you’ve followed the video closely you’ll see that Shereen starts by drying the chicken thoroughly with paper towels – a crucial step often overlooked. Why? Keeping moisture at bay is key to achieving perfectly crispy skin.
Pat every inch dry, including the cavity.
Next, liberally season both the inside and outside with salt and pepper.
Don’t hold back – the seasoning needs to penetrate deep for maximum flavor impact.
Next, stuff the cavity with thyme, rosemary sprigs and garlic cloves.
These aromatics infuse the meat as it cooks, creating layers of savory-sweet complexity.
Secure the legs together with kitchen twine, ensuring everything stays snug against the body.
This not only looks professional but also promotes even cooking.
Creative Insight: Notice howShereen doesn’t obsess over perfection when stuffing the cavity. They emphasize functionality over aesthetics – a refreshing reminder that good food doesn’t have to be Instagram-perfect to taste amazing.
Step 2: Oil It Up
Using avocado oil, give the chicken a thorough rubdown.
This step serves two purposes: it helps the seasonings adhere better and ensures the skin turns gloriously golden during roasting.
Be generous – don’t skimp on the oil!
Generously coat the entire exterior with an additional layer of salt and pepper.
Remember, seasoning is king. As the creator wisely advises, “Don’t ask where the seasonings are – they’re everywhere.”
Step 3: Roast to Perfection
Preheat your oven to medium heat (around 350°F/175°C). Place the chicken breast-side up on a roasting pan or baking sheet lined with foil for easy cleanup.
Pop it in the oven and let it cook for 1 hour to 1 hour and 15 minutes.
Halfway through, baste the chicken with the honey butter glaze (more on that below).
Pro Tip: Investing in a reliable meat thermometer like this instant-read model takes the guesswork out of doneness. To guarantee perfect doneness, use a meat thermometer to confirm that the thickest section of the breast hits an internal temperature of 165°F (74°C)
Step 4: Craft the Honey Butter Glaze
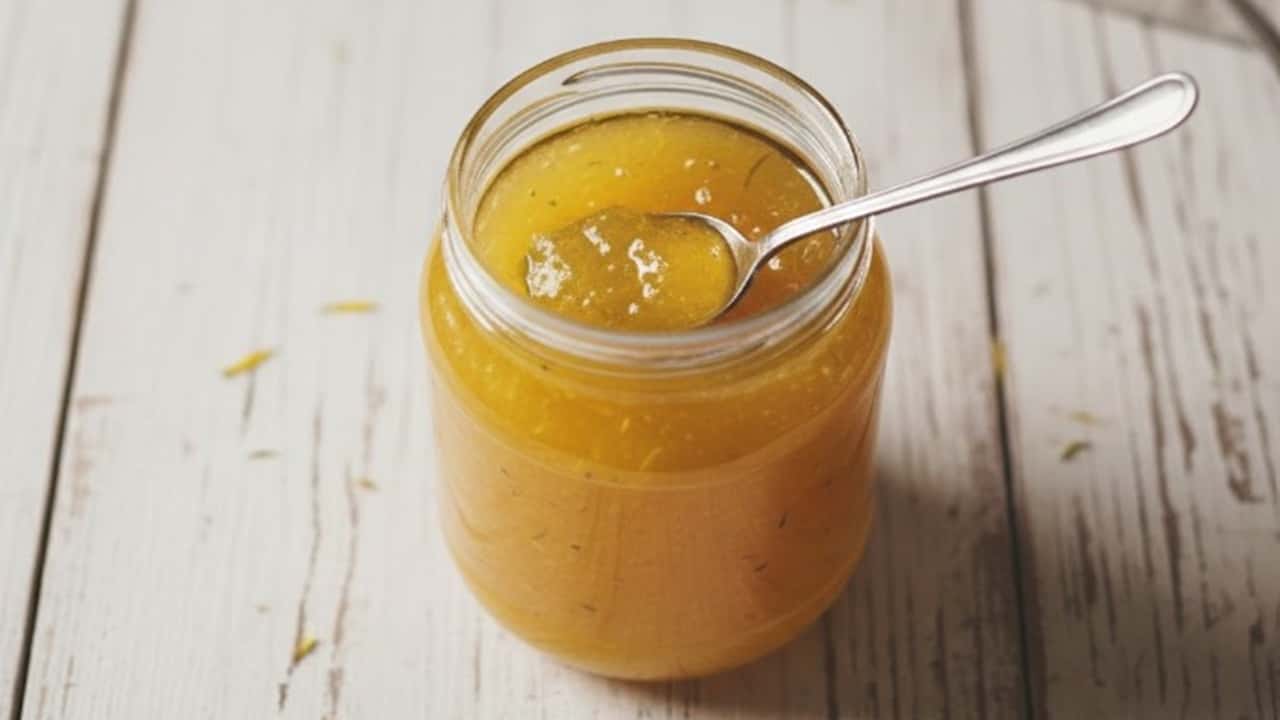
While the chicken roasts, prepare the star of the show: the honey butter glaze. In a small saucepan over low heat, melt 2 tablespoons of unsalted butter.
Once melted, stir in 2 tablespoons of honey until fully combined.
Keep the heat low to avoid burning the delicate sugars in the honey.
Creative Twist: For an extra layer of flavor, try adding a pinch of smoked paprika or a splash of lemon juice to the glaze. These subtle tweaks can take the dish from great to unforgettable.
Step 5: Baste, Rest, and Serve
About halfway through cooking, brush the honey butter glaze all over the chicken.
Repeat once more toward the end of the cooking time for that signature sticky finish.
Once the chicken is fully cooked, take it out of the oven and let it rest for 10 minutes.
This resting period allows the juices to settle and spread evenly, guaranteeing a moist and flavorful experience with every bite.
Why This Honey Butter Rotisserie Chicken Recipe Works

The genius of this recipe lies in its balance of simplicity and bold flavors.
In this case for this recipe Shereen trusts the natural juiciness of the chicken, enhanced by thoughtful seasoning and a decadent honey butter glaze.
Her hands-on approach – like using kitchen twine and emphasizing proper seasoning – shows a deep understanding of culinary fundamentals.
If you follow these steps I am sure you will walk away with not just a delicious meal but also newfound confidence in your cooking abilities.
Whether you’re hosting a dinner party or simply craving something special for Sunday supper, this honey butter chicken is sure to impress.
Products I Use And Like To Get Perfect Chicken Every Time
To make your life easier (and your meals tastier), here are a few tools and ingredients worth considering:
- Organic Free-Range Chicken: If possible, try to get one that is Sourced from ethical farms, this type of chicken delivers unmatched flavor and texture.
- Cold-Pressed Avocado Oil: Rich in healthy fats and perfect for high-heat cooking.
- Instant-Read Meat Thermometer: Never second-guess doneness again with this precision tool.
- Raw Honey: Adds a nuanced sweetness to the glaze while supporting local beekeepers.
Final Thoughts
This honey butter chicken recipe proves that sometimes, less truly is more.
With minimal ingredients and straightforward techniques, you can create a dish that feels indulgent yet approachable.
So grab your apron, fire up the oven, and get ready to wow your taste buds – and maybe even a few dinner guests along the way.
