Have you ever noticed how fascinating tiny ants become once kids start watching them? That’s exactly what inspired this paper ant craft.
It isn’t just another cut-and-glue activity.
Instead, it quietly sneaks in shape recognition, scissor practice, and creativity while children stay busy making something adorable.
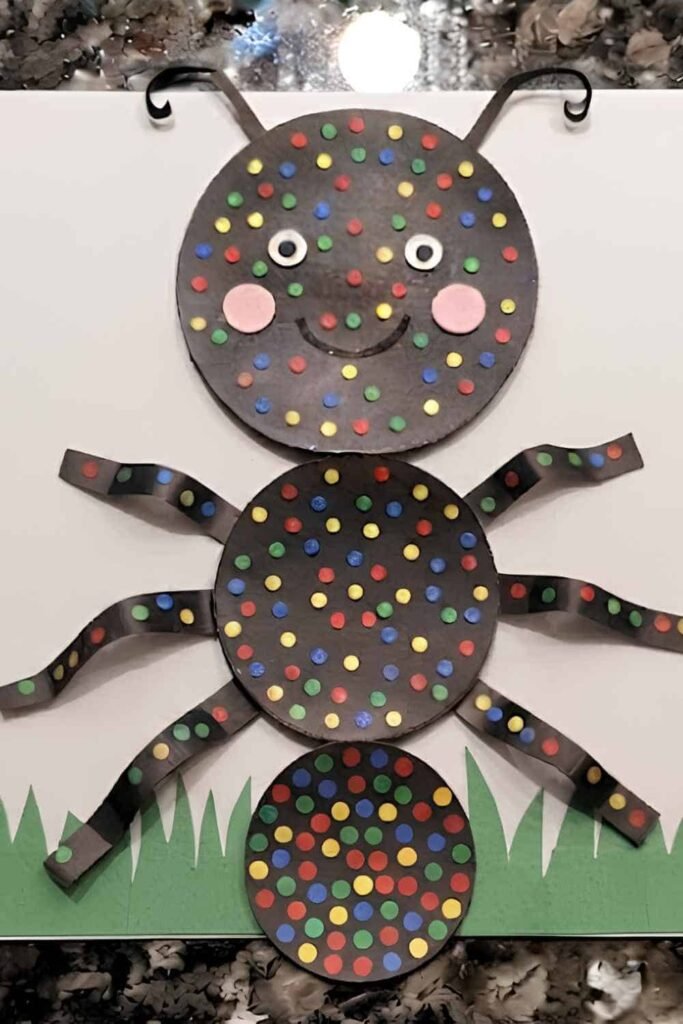
Even though ants aren’t usually linked with a spooky craft, their shiny black bodies and long legs can fit perfectly into Halloween learning themes too.
If you’re looking for an easy kids craft that feels different from the usual butterflies and ladybugs, this little paper friend deserves a spot on your craft table.
Materials Needed To Make Paper Ant Craft
- Black construction paper
- Dark brown cardstock (optional for contrast)
- White paper scraps
- Pink paper scrap (optional for cheeks)
- Child-safe scissors
- Glue stick
- Black marker
- Pencil
- Circle objects for tracing (or free printable craft template)
- Googly eyes (optional)
- Ruler
You May Need To Download The Template
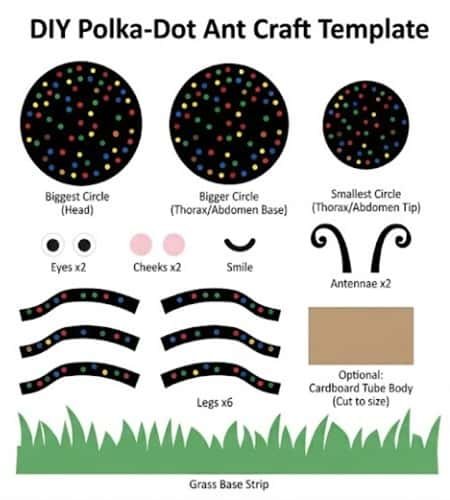
Click here to download the PDF Template
Step 1: Cut the Main Body Pieces
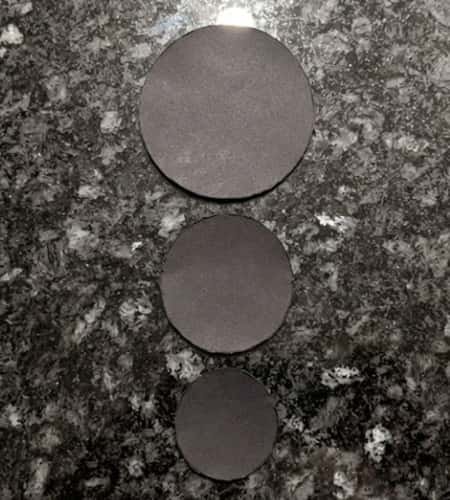
Start by making the body using simple circles so this easy ant craft stays beginner friendly.
Draw one large circle (about 8 cm), one medium circle (6 cm), and one smaller circle (5 cm) on black paper.
These become the abdomen, thorax, and head. Carefully cut them out.
Don’t rush here because cleaner edges make the finished paper ant look much nicer.
If cutting circles feels tricky, trace bowls, bottle caps, or use a craft template instead.
Kids always enjoy tracing objects they find around the house.
Step 2: Build the Ant Body
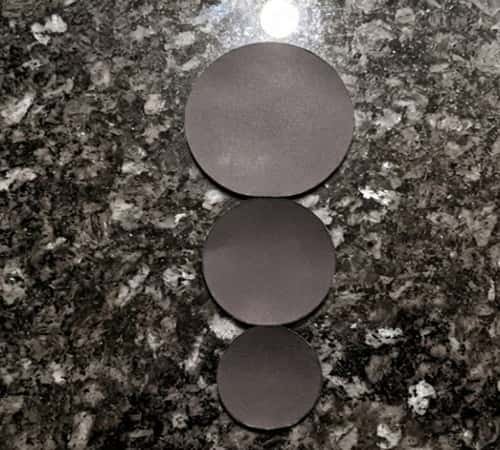
Lay the circles in a straight line with a tiny overlap.
Glue the largest circle first, then attach the medium circle, and finally the head.
Press each section for about ten seconds so the glue grabs properly.
Already starting to look like an ant, isn’t it? Keep everything centered because the legs will be added later.
A slightly uneven overlap actually makes the insect feel more playful.
This simple layout works wonderfully for ant crafts for preschoolers since there are no complicated shapes involved.
Step 3: Make Six Folded Legs and Two Antennae
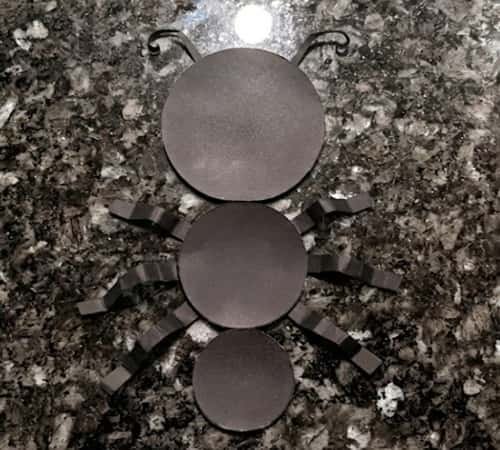
Cut six thin strips about 9 cm long and 0.5 cm wide from black paper.
Fold each strip once in the middle instead of leaving them perfectly flat.
This tiny fold lifts the legs slightly and gives your paper ants a fun three-dimensional look. Next, cut two shorter strips for the antennae.
If one strip comes out a little crooked, that’s okay because real crafts don’t has to be factory perfect.
Glue three legs under each side of the thorax and tuck the antennae behind the head.
Step 4: Add Eyes and a Friendly Face
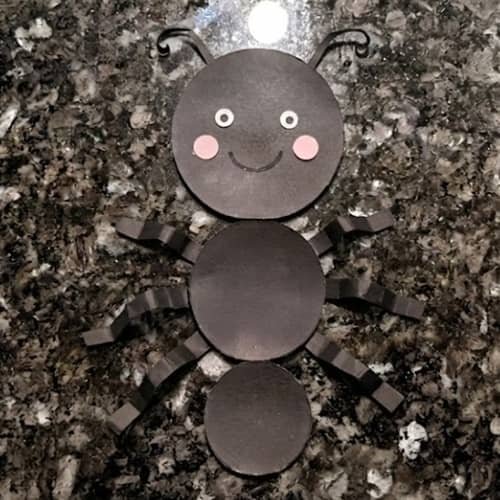
Glue two small white paper circles onto the head.
Add smaller black circles inside them for pupils, or simply use a marker.
Draw a tiny smiling mouth beneath the eyes. Want extra personality? Glue tiny pink circles as cheeks.
Suddenly the ant looks alive.
This step is usually everyone’s favorite because expressions completely change the character.
It doesn’t need any expensive supplies to look cute either.
This also makes a lovely ant craft for toddlers when an adult prepares the paper pieces beforehand.
Step 5: Decorate the Body With Fun Details
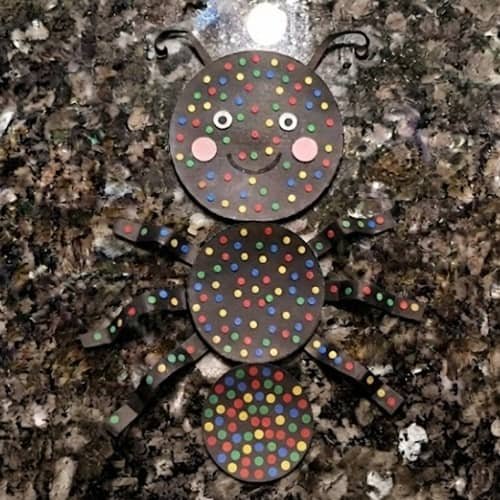
Instead of leaving the body plain black, add tiny paper dots, stripes, or little heart shapes cut from brown or dark gray paper.
Keep decorations subtle because ants naturally have simple bodies.
Draw tiny curved lines across the legs with a marker to suggest joints.
Want to build an ant that feels unique? Give it a miniature paper leaf to carry above its head.
This little storytelling touch transforms an ordinary paper craft into something children remember long after the glue dries.
Step 6: Create a Simple Grass Scene
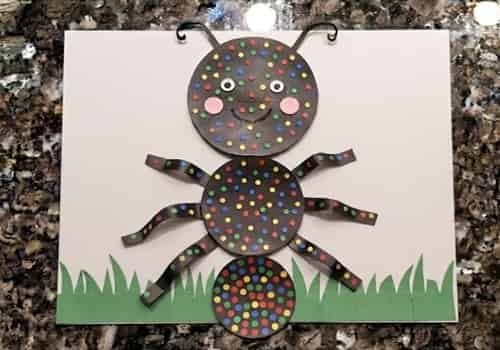
Cut a strip of green paper with zigzag scissors or make pointed grass blades using regular scissors.
Glue the grass along the bottom edge of a white cardstock sheet.
Attach your finished ant so it looks like it’s walking through the grass.
Add one or two tiny flowers if you like, but avoid overcrowding the page. Sometimes less really looks better.
This stage turns the project into a display-worthy cut and paste ant craft that children can proudly hang on a classroom wall.
Step 7: Make It Interactive
Here’s the twist that makes this paper ant craft stand apart.
Cut a tiny paper tunnel from brown paper and glue only the edges so the middle stays open.
Now the ant can slide partially inside the tunnel.
Kids absolutely love moving it back and forth during pretend play.
You can even add little paper crumbs or seeds for the ant to “collect.” This playful feature blends crafting with imaginative ant activities, making it perfect for preschool ant activities or rainy afternoon learning at home.
Use Cases
This paper ant craft fits far beyond a single afternoon activity.
- Preschool insect learning centers
- Kindergarten kids craft sessions
- Summer camp nature projects
- Classroom bulletin boards
- Rainy day DIY project
- Homeschool science lessons
- Library craft events
- Fine motor skill practice
- Pair with a free printable matching worksheet
- Insect-themed birthday activities
- Halloween insect corner as a gentle spooky craft
Final Thoughts
Tiny insects often teach surprisingly big lessons.
Ants quietly demonstrate teamwork, patience, persistence, and careful planning without saying a single word.
Turning those ideas into a hands-on project gives children something far more memorable than simply reading about insects in a book.
Better still, this paper ant craft leaves room for imagination instead of demanding perfection.
One child may create a cheerful explorer carrying a leaf, while another invents an entire colony using the same basic shapes.
That’s the real magic of simple crafting… it encourages observation first, creativity second, and confidence throughout the entire making process.





