Halloween always gets my creative side going, and this paper plate ghost craft for Halloween has become one of my favorite projects because it looks adorable without needing fancy supplies.
Ever wondered how a simple paper plate can turn into something delightfully spooky? That’s exactly what we’re making today.
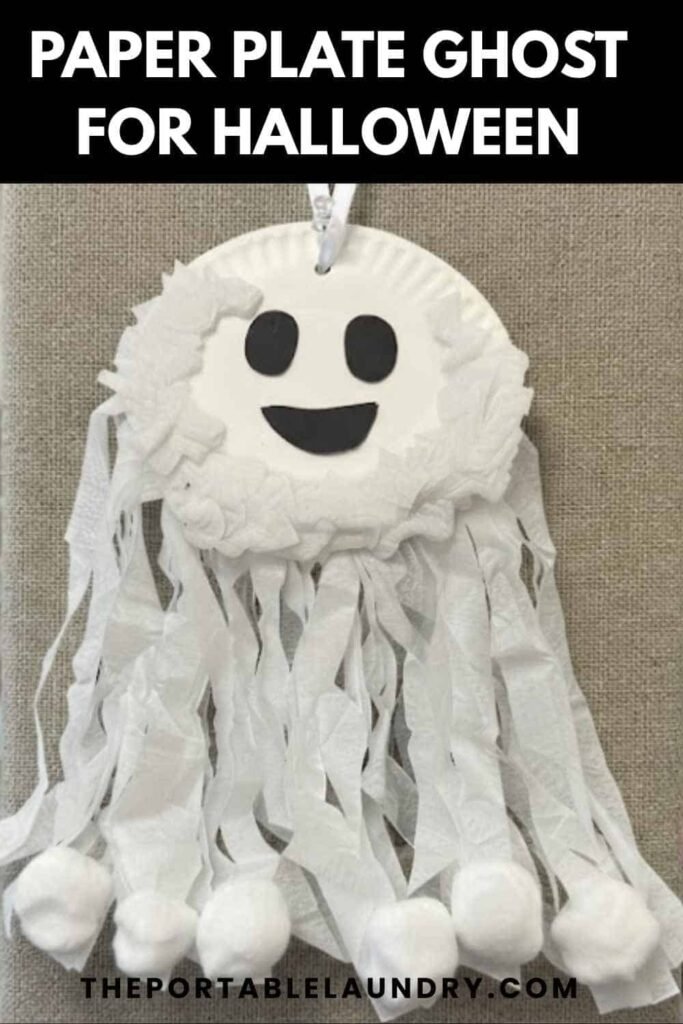
This eerie project is affordable, easy for beginners, and ideal for peaceful evenings at home, family craft nights, or classrooms.
The best part? Kids of all ages can personalize every ghost, so no two will ever look exactly alike.
It doesn’t take much time either, which honestly makes it even better.
Materials Needed To Make Paper Plate Ghost Craft
You’ll only need a handful of everyday supplies.
- 1 white paper plate (9-inch works best)
- White acrylic paint (optional for brighter finish)
- Black construction paper
- White tissue paper
- Child-safe scissors
- School glue or craft glue
- Black marker
- Pencil
- Cotton balls (optional for texture)
- White ribbon or string for hanging
- Hole punch
- Googly eyes (optional)
How to Make a Paper Plate Ghost Craft
Step 1: Prepare the Ghost Base
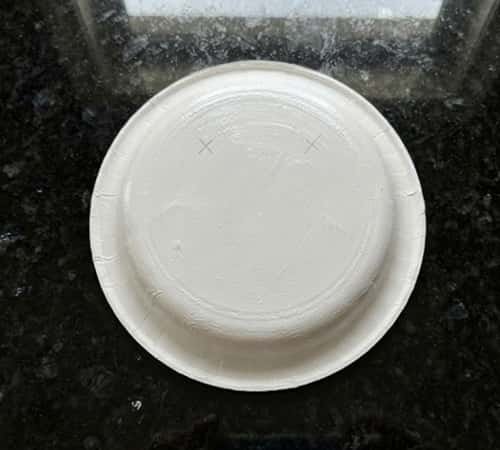
Lay the paper plate upside down so the curved side faces upward.
If the plate has designs or markings, apply a single thin layer of white acrylic paint to any printed designs on the plate, then let it dry fully.
While waiting, lightly sketch two large oval eyes and a small mouth with pencil to help with placement later.
Don’t worry if the paint isn’t perfectly smooth because tiny imperfections actually make the ghost look more handmade.
Step 2: Create the Flowing Ghost Body
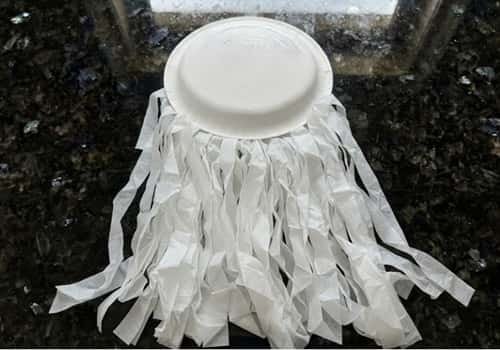
Cut several strips of white tissue paper, each roughly 8 to 10 inches long.
Instead of making identical strips, vary their widths slightly so the ghost appears to float naturally.
Glue the strips behind the lower half of the paper plate, overlapping some pieces to create movement.
Leave tiny gaps between a few strips because layered texture makes the ghost feel much more alive.
It is surprising how much difference this little detail makes.
Step 3: Add the Face
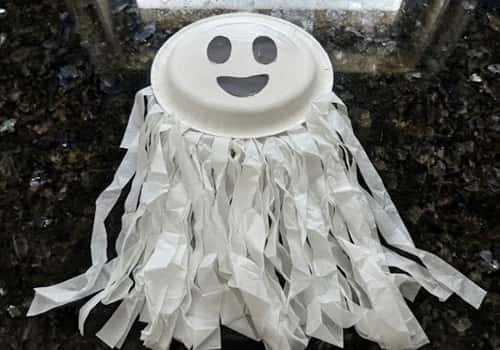
Cut two large oval eyes from black construction paper along with one rounded oval mouth.
Want your ghost to look friendly instead of scary? Make the mouth slightly curved.
Prefer something spooky? Stretch the mouth vertically and angle the eyes just a little.
Glue everything onto the center of the paper plate, checking the spacing before pressing firmly. Suddenly, the personality starts showing.
Step 4: Give Your Ghost Some Texture
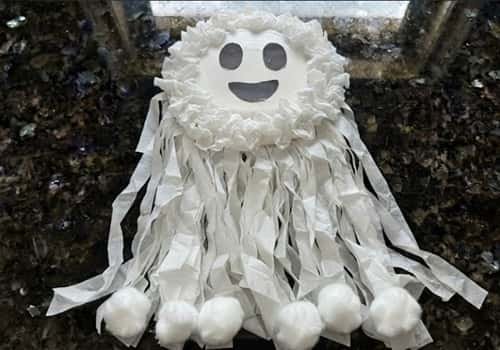
This is where the craft really starts standing out.
Tear tiny pieces of tissue paper, gently crumple them, then glue them around the edges of the plate to soften the outline.
You can even glue a few cotton balls along the bottom for a wispy floating effect.
Avoid covering the face because contrast helps the ghost stand out much better.
I honestly likes how the uneven texture catches shadows without adding extra colors.
Step 5: Finish the Details
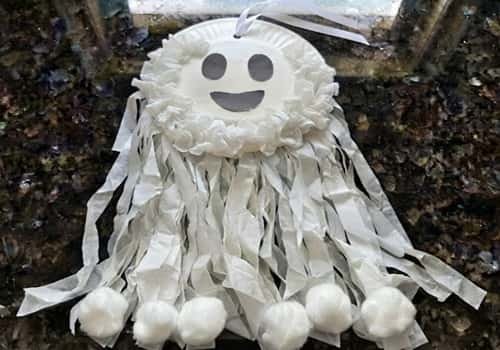
Use a black marker to draw tiny curved eyebrows, little cheek lines, or soft wrinkles around the mouth if you’d like extra character.
Punch a hole near the top center and thread a white ribbon through it for hanging.
Tug gently to ensure everything feels secure. Now your paper plate ghost craft is almost ready to haunt the room…in the cutest possible way.
Step 6: Let Everything Dry
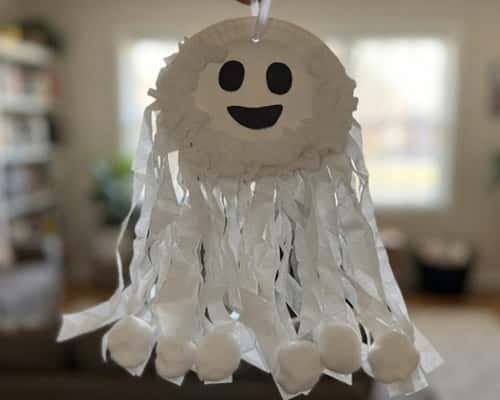
Lay the finished ghost flat for around 20 to 30 minutes until every glued section feels secure.
Resist the urge to hang it immediately because tissue paper shifts very easily while the glue is still damp.
Once dry, gently fluff the tissue strips using your fingers to create a floating effect.
Isn’t it amazing how such a small adjustment completely changes the look?
Where Can You Use This Paper Plate Halloween Craft?
One thing I enjoy about this paper plate ghost craft is how flexible it becomes once finished.
- Hang it on classroom bulletin boards.
- Decorate bedroom doors.
- Make a ghost garland using several designs.
- Use it during Halloween storytelling sessions.
- Create a cheerful paper plate Halloween craft display for parties.
- Use pre-cut pieces in place of scissors to make it a simple ghost activity for young children.
- Mix happy, spooky, silly and slightly scary ghost faces so every child creates something unique.
- It’s a fun kids craft that works for kids of all ages and can even become a memorable DIY project for family craft nights.
Final Thoughts
A lot of Halloween decorations end up looking almost identical because everyone follows the exact same pattern.
This Halloween centric paper plate ghost craft quietly avoids that problem.
By changing only the eyes, tissue placement, texture, or expression, each ghost develops its own personality without making the project more difficult.
That balance is what keeps children interested from beginning to end.
Creative projects like this also build cutting control, planning, and confidence while still feeling like play rather than learning.
And honestly, that’s probably why simple handmade decorations often become the ones families remember long after Halloween has passed.





