Looking for Purple Clay Craft Ideas that are more exciting than simply making another clay flower or basic bowl? I’ve got you covered.
Purple clay is surprisingly fun because the color already gives even simple shapes a little personality.
In this list, I’m focusing on easy air dry clay craft projects that kids can actually make with their hands, without complicated tools or fancy equipment.
Think tiny mushrooms, silly monsters, moons, magnets, little animals and other things to make with purple clay.
These are simple clay activities, but each one has a small twist to make it feel different from the usual DIY clay projects.
Kid-friendly note: Adult supervision is still a good idea, especially for younger children. Keep the projects tool-light and use only child-safe, non-toxic materials.
Choose Your Air Dry Clay Type
Regular Air Dry Clay | Cornstarch Clay | Homemade Clay
Affiliate Disclaimer: Some of the links in this post may be affiliate links, which means I may earn a small commission if you choose to make a purchase through them – at no extra cost to you. I only share products that genuinely fit this project and can help make your ceramic mug clay craft process easier and smoother. Your support helps keep ideas like this coming.
1. Purple Clay Mushroom Craft
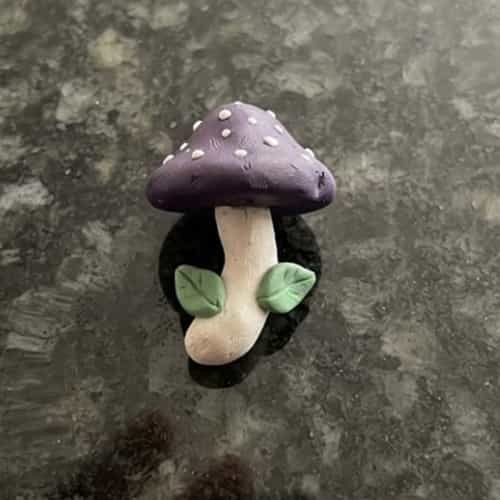
This one is tiny, cute and almost impossible to mess up. Perfect first project.
What you need
- Purple air dry clay
- Small amount of white clay
- Small amount of green clay
- Craft glue if needed
- Flat working surface
How to make it
- Take a small piece of purple clay and roll it into a smooth ball.
- Gently flatten the bottom so the mushroom can stand.
- Take another purple piece and form a dome for the mushroom cap.
- Press the cap lightly with your fingers so it becomes wider than the stem.
- Roll several tiny white clay balls.
- Flatten those balls and press them onto the purple cap as spots.
- Make two or three tiny green leaves and place them near the bottom.
- Let everything dry completely according to the clay manufacturer’s instructions.
My twist: Make the cap slightly uneven. A perfectly symmetrical mushroom can look too manufactured. The wonky one feels handmade.
2. Purple Clay Moon With Tiny Stars
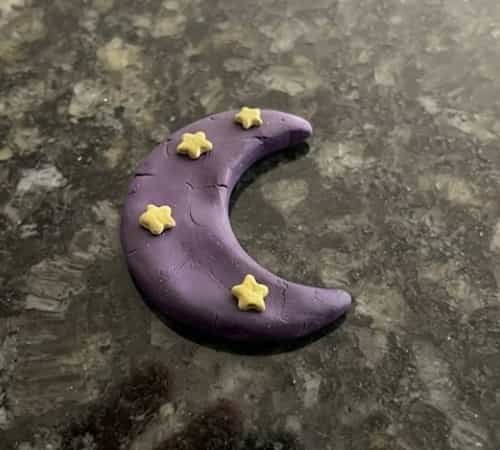
Want something that looks decorative without requiring advanced sculpting?
Steps
- Roll purple clay into a ball.
- Flatten it into a thick disk.
- Use your fingers to gently curve one side into a crescent.
- Remove excess clay from the inner curve.
- Smooth the edges with a damp fingertip.
- Make three or four tiny yellow clay balls.
- Flatten them into little stars or dots.
- Press them onto the moon.
- Add a tiny hole near the top if you want to hang it later.
- Leave it flat until completely dry.
This makes a lovely little diy purple clay creation for a child’s room.
3. Purple Clay Monster
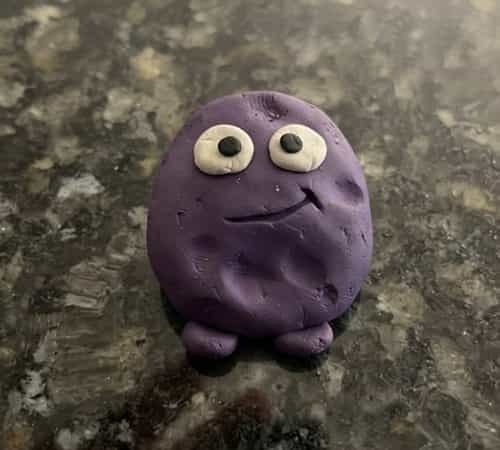
Here’s where kids can go completely silly.
Steps
- Roll purple clay into a chunky oval body.
- Flatten the bottom slightly.
- Make two tiny purple balls for feet.
- Add two larger white balls for eyes.
- Put tiny black clay dots inside the eyes.
- Make a long purple or pink strip for the mouth.
- Add small white triangles as teeth if desired.
- Give your monster three fingers, horns, ears or funny eyebrows.
- Press each piece firmly into place.
If something looks strange, keep it. That’s half the fun of a kids craft.
4. Purple Clay Butterfly
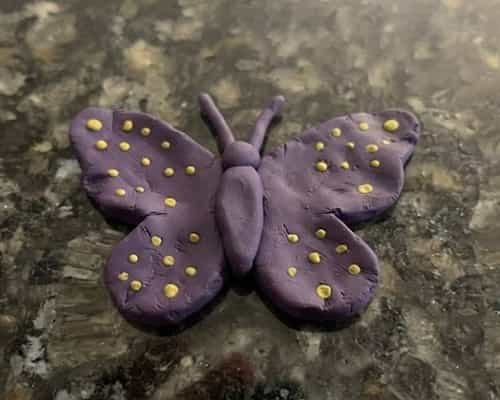
This is one of those clay projects where simple shapes do most of the work.
Steps
- Roll purple clay into a small oval for the body.
- Flatten two larger purple pieces into wings.
- Shape each wing into a rounded teardrop.
- Press the wings against the body.
- Add two thin antennae using tiny rolled clay pieces.
- Make small yellow or pink dots.
- Press the dots onto the wings.
- Slightly bend the wings upward before drying.
Keep the wings thick enough that they don’t become fragile.
5. Purple Clay Snail
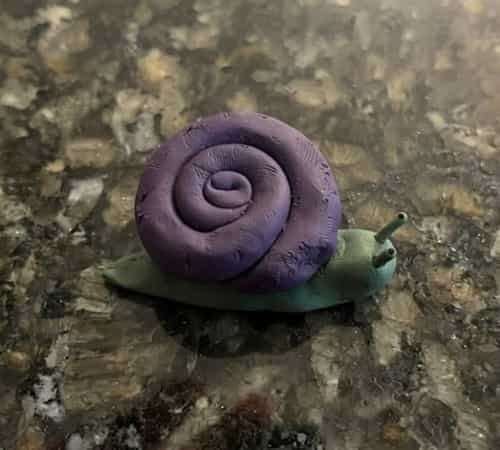
A snail is surprisingly easy because its shell does most of the visual work.
Steps
- Roll purple clay into a thick spiral rope.
- Coil it carefully into a round shell.
- Press the coil gently so the layers stick together.
- Make a small green or pink body.
- Add two tiny eye stalks.
- Place the shell on the body.
- Press gently where the two pieces meet.
- Let it dry on a flat surface.
Little trick: Don’t over-smooth the spiral. Those visible coils make the shell much more interesting.
6. Purple Clay Rainbow
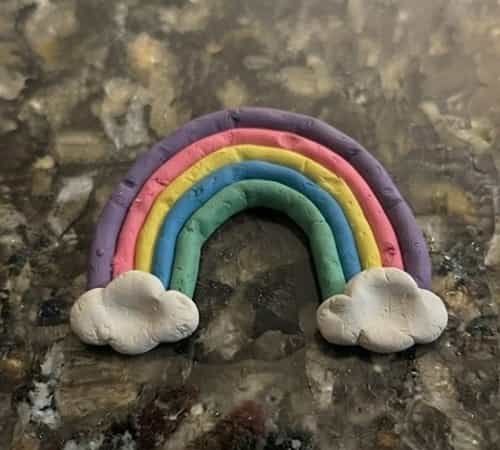
This is a fun option when you want colorful clay activities rather than an entirely purple object.
Steps
- Roll purple, pink, yellow, blue and green clay into thin ropes.
- Place the ropes side-by-side.
- Curve them gently into an arch.
- Press the layers together very lightly.
- Flatten the bottom edges.
- Add two small white cloud shapes.
- Press the rainbow into the clouds.
- Allow it to dry flat.
Don’t make the clay ropes paper-thin. Medium thickness holds its shape better.
7. Purple Clay Ladybug
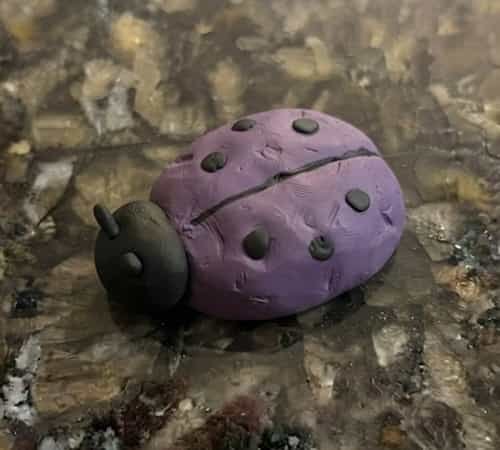
Forget the usual red ladybug for a minute.
Steps
- Form a purple oval body.
- Flatten the bottom.
- Make a thin black strip down the center.
- Add six tiny black dots.
- Make a small black head.
- Add two short antennae.
- Press everything together gently.
- Let it dry completely.
The unusual purple color gives this familiar animal a completely different personality.
8. Purple Clay Pencil Topper
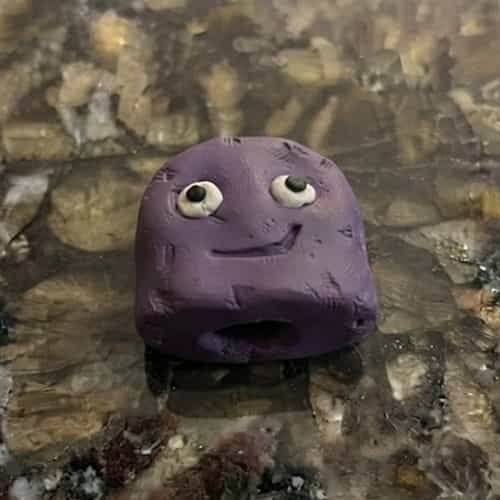
Now for something kids can actually use.
Steps
- Take a small piece of purple clay.
- Shape it into a simple character head.
- Keep the bottom slightly wider than the pencil.
- Make two tiny eyes.
- Add ears, horns or a tiny smile.
- Before drying, create a shallow opening underneath using a pencil.
- Check that the opening is large enough to slide over the pencil.
- Remove the pencil and allow the clay to dry.
- Once fully dry, test it on the pencil.
Don’t make the topper too large. A lightweight character stays balanced much better.
9. Purple Clay Mini Donut
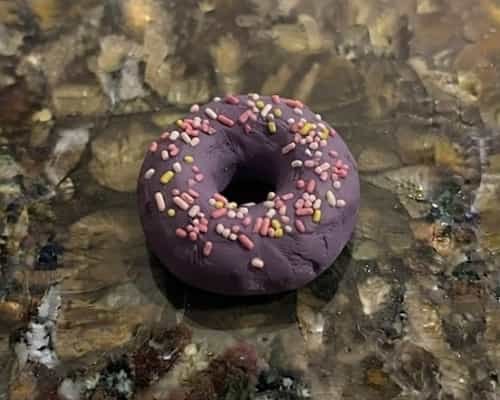
Who doesn’t like making pretend food?
Steps
- Roll purple clay into a ball.
- Flatten it into a thick donut shape.
- Push a finger gently through the center.
- Smooth the outside edge.
- Add tiny white, pink and yellow clay sprinkles.
- Press the sprinkles gently into the surface.
- Leave the donut flat while it dries.
Important: This is pretend food only. Make sure children know it isn’t edible.
10. Purple Clay Cat Face
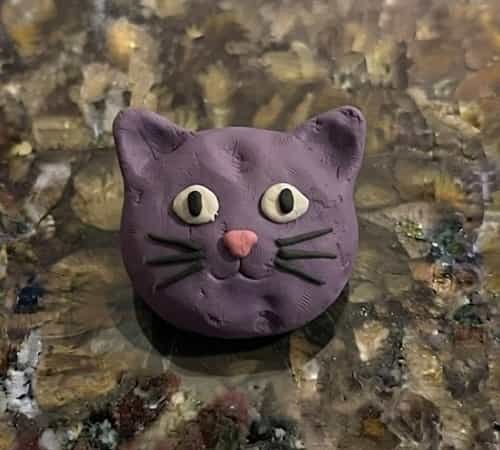
This is a great beginner diy clay sculpture because it only needs a few shapes.
Steps
- Flatten a purple clay ball into a rounded face.
- Pinch the top twice to form ears.
- Add two white eyes.
- Add tiny black pupils.
- Make a small pink nose.
- Roll three thin purple or black whiskers on each side.
- Press the pieces carefully into the face.
- Smooth any cracks with a slightly damp fingertip.
The ears don’t need to match perfectly. Kids love that handmade look.
11. Purple Clay Cactus
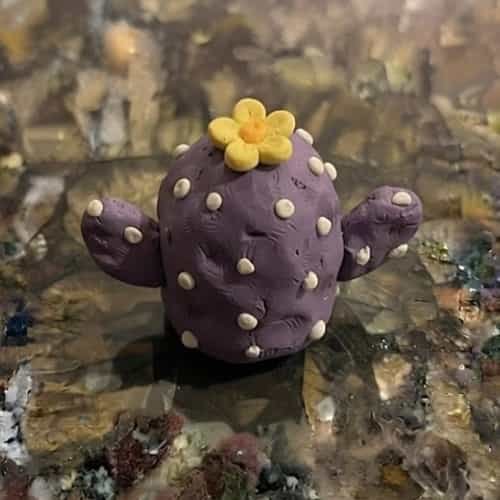
A tiny cactus is one of my favorite things to make with purple clay because it doesn’t need realistic details.
Steps
- Shape purple clay into a small rounded cactus.
- Flatten the bottom.
- Create two tiny side arms.
- Press the arms onto the main body.
- Add tiny white dots to represent cactus spines.
- Make a small yellow flower.
- Press the flower onto the top.
- Leave the cactus standing upright while drying.
Purple cactus? Absolutely. Who says cactus have to be green.
12. Purple Clay Jellyfish
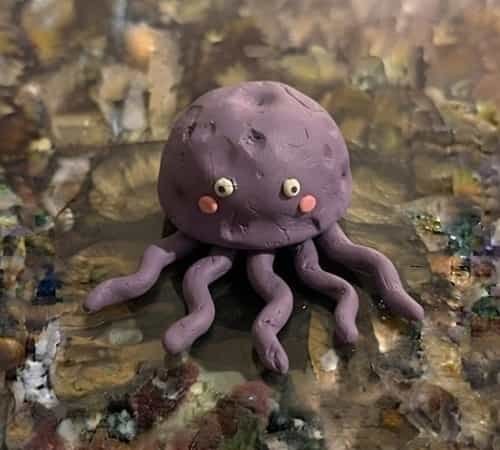
This one is especially fun for younger children because the shapes are very forgiving.
Steps
- Make a purple half-dome for the jellyfish head.
- Flatten the bottom slightly.
- Roll four or five thin clay ropes.
- Make each rope slightly wavy.
- Press them underneath the dome.
- Add two tiny white eyes.
- Add small pink dots if you want cheeks.
- Allow it to dry upside-down or resting carefully on its side.
Make the tentacles different lengths. It looks much more playful.
13. Purple Clay Star Magnet
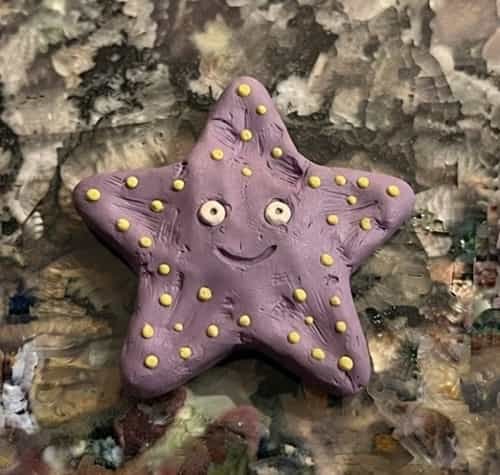
A tiny star can become a cute refrigerator decoration.
Steps
- Roll purple clay into a ball.
- Flatten it into a thick disk.
- Pinch five points around the edge.
- Smooth each point without making it too thin.
- Add tiny yellow dots or a simple smile.
- Let it dry completely.
- Once fully dry, an adult can attach a suitable craft magnet to the back using appropriate adhesive.
For younger kids, let them make the clay shape while an adult handles the magnet.
Final Thoughts
The interesting thing about working with purple clay is that you don’t need complicated sculpting skills to make something memorable.
Air dry clay craft works best when you build objects from basic forms… balls, ropes, disks, coils and flattened shapes.
Once kids understand those five forms, they can start inventing their own diy purple clay creations instead of copying a finished project.
That is where the real creativity starts. I’d also encourage children to change colors, exaggerate features and deliberately make funny shapes.
A crooked ear or uneven wing isn’t a mistake in a kids craft.
Sometimes, that tiny imperfection is what makes the finished piece feel like it actually belongs to them.





