There is something oddly satisfying about turning a few sheets of paper into a character you instantly recognize.
That is exactly why this alvin and chipmunks paper craft became one of my favorite weekend projects.
Forget those store-bought toys, because making your own is where the real fun hides.
It is simple enough for beginners yet detailed enough to keep older kids interested.
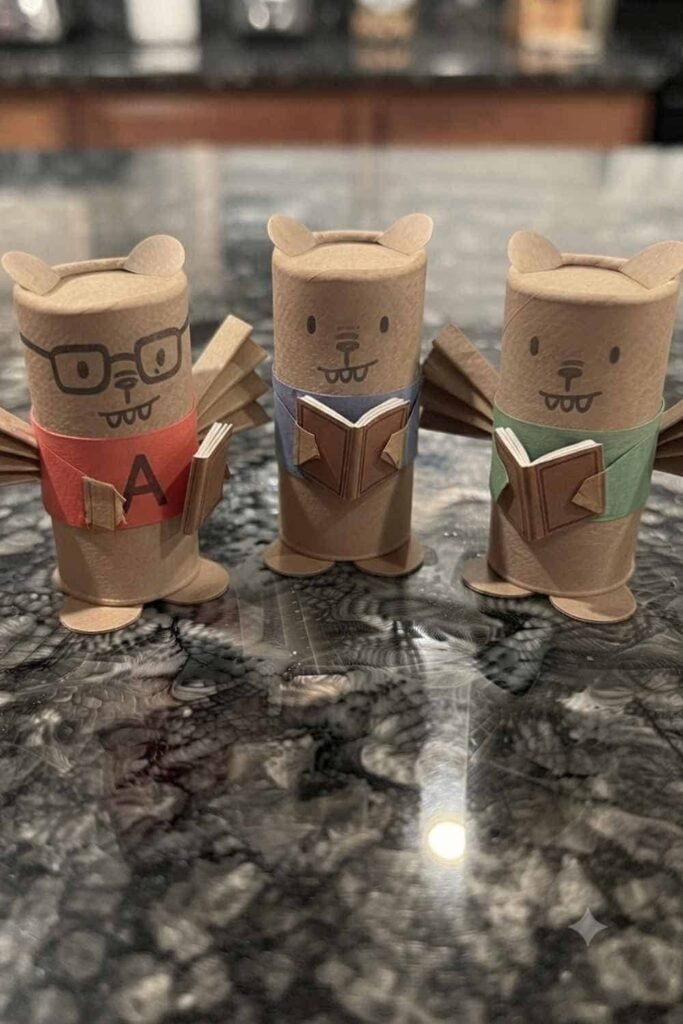
If you enjoy a fun spooky craft session during rainy afternoons, birthday activities, or classroom art time, this project fits right in.
Whether you’re a seasoned pro or just starting out, this diy craft guide will get your creative juices flowing in no time.
Let’s get crafting and make some noise!
Materials Needed To Make Alvin and Chipmunks Paper Craft
- Cardstock paper (Red, Blue, Green, Brown, Yellow)
- Scissors (keep ’em sharp)
- Glue stick or school glue
- Black fine-point marker
- Ruler (for those crisp folds)
- Your favorite upbeat playlist
You May Also Like: Air Dry Clay Alvin and Chipmunks Craft (Kids Craft)
Step-by-Step Instructions
Step 1: Shaping the Foundation
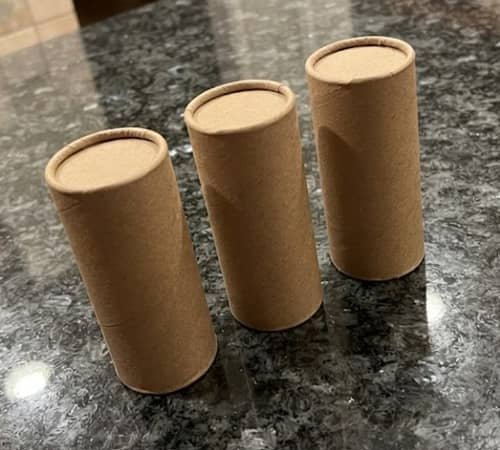
First, cut three rectangles from your brown cardstock, roughly 4×6 inches.
These will be the bodies for our little guys.
Roll each piece into a loose cylinder, it doesn’t need to be perfectly round, as chipmunks have a bit of a slouch.
Use your glue to secure the edges.
Does that look like a sturdy start for your alvin doll? It should be standing tall and proud.
Step 2: Adding the Iconic Outfits
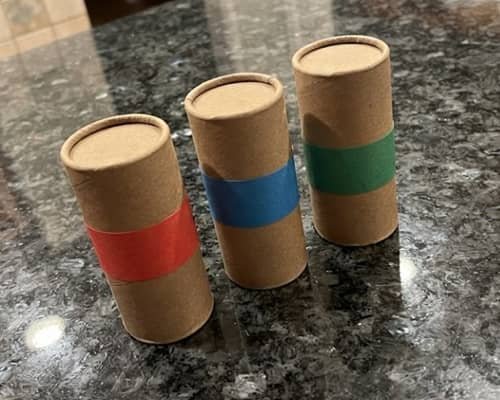
Time to dress them up! Cut small rectangular strips from the red, blue, and green paper.
The red strip is for Alvin, blue for Simon, and green for Theodore.
Glue these horizontal strips around the middle of your brown cylinders.
It’s important you make sure the seam is at the back. Is the glue drying fast enough? Ensure the colored paper hugs the cylinder tight like a little sweater.
Step 3: Creating the Iconic Chipmunk Heads
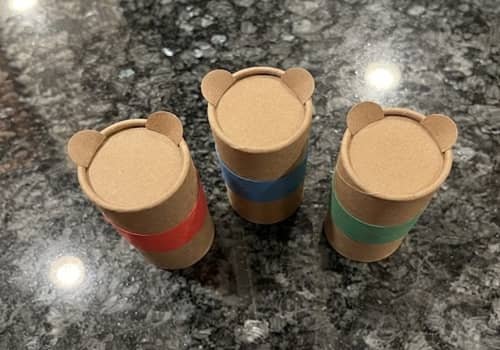
Take a fresh piece of brown paper and sketch three circles about 2 inches in diameter.
Cut them out carefully. You wanna give them those signature oversized ears, so add two small semi-circles on the top of each head.
Glue the heads to the top of your cylinders.
Do they look like they’re ready to sing, or are they just staring into space?
Step 4: Drawing the Facial Expressions
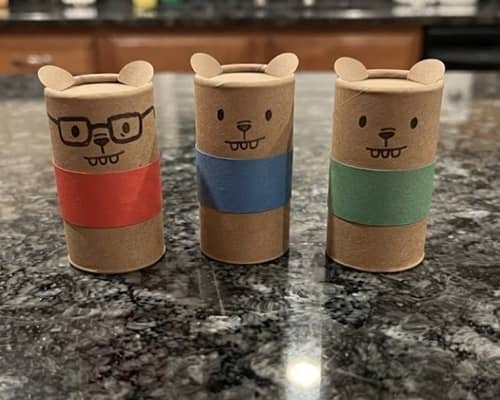
Grab your black marker.
This is where your alvin and the chipmunks puppets get their personality.
Draw large, expressive eyes, a tiny triangular nose, and big, goofy buck teeth.
Alvin should have a smirk, Simon needs his glasses drawn on, and Theodore should look a bit shy.
Don’t worry if the lines aren’t straight, they look better when they’re a bit messy.
Step 5: Attaching the Arms and Legs
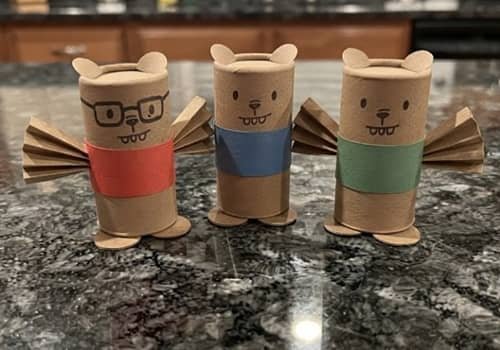
Cut six thin strips of brown paper for the arms and four small ovals for the feet.
Fold the arm strips like an accordion to give them a bit of bounce.
Glue two arms to the sides of each cylinder and two feet at the base.
You’ve almost finished this diy alvin and the chipmunks project! Are they standing up on their own yet?
Step 6: Crafting the Signature Accessories
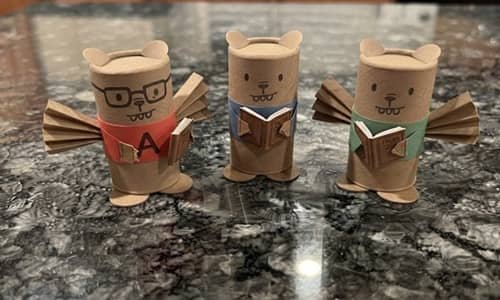
For the final touch, add the accessories that define them. Alvin needs a tiny ‘A’ on his red sweater, Simon needs a tiny book made of folded paper, and Theodore needs a little paper snack.
Use a tiny bit of glue to attach these. It really pulls the whole steve cobs papercraft vibe together, don’t you think?
Step 7: Final Adjustments
Check all the seams. If a piece is peeling, just add a tiny dab of glue.
You want these printable foldable characters to stay together during their big show.
Give them a little shake to make sure nothing falls off.
Is the glue holding up good? Perfect.
Use Case
These little guys are fantastic for desktop decor or as unique bookmarks.
You could even string them up to make a garland for a music-themed bedroom.
They’re light enough to be taped to a laptop lid or kept inside a planner for a surprise pop-up concert.
Final Thoughts
Paper crafts become much more memorable when they invite creativity instead of chasing perfection.
Every youngster ends up giving Alvin a slightly different smile, attitude, or personality, which makes this paper craft of Alvin and Chipmunks an excellent example.
Those little differences are what make handmade projects worth keeping.
Once you have finished Alvin, try designing matching characters using the same measurements so they all look like one complete set.
Over time, you can even build your own library of paper craft characters and create miniature scenes that encourage storytelling, imaginative play, and fine motor skills all at the same time.





