Have you ever heard the silly Halloween rhyme, “Trick or treat, smell my feet”? I decided to turn that funny phrase into a simple trick or treat smell my feet craft that kids can actually make without needing fancy supplies.
This paper craft combines a little painting, a traced or painted footprint, and a few easy Halloween details to create a funny piece of wall art.
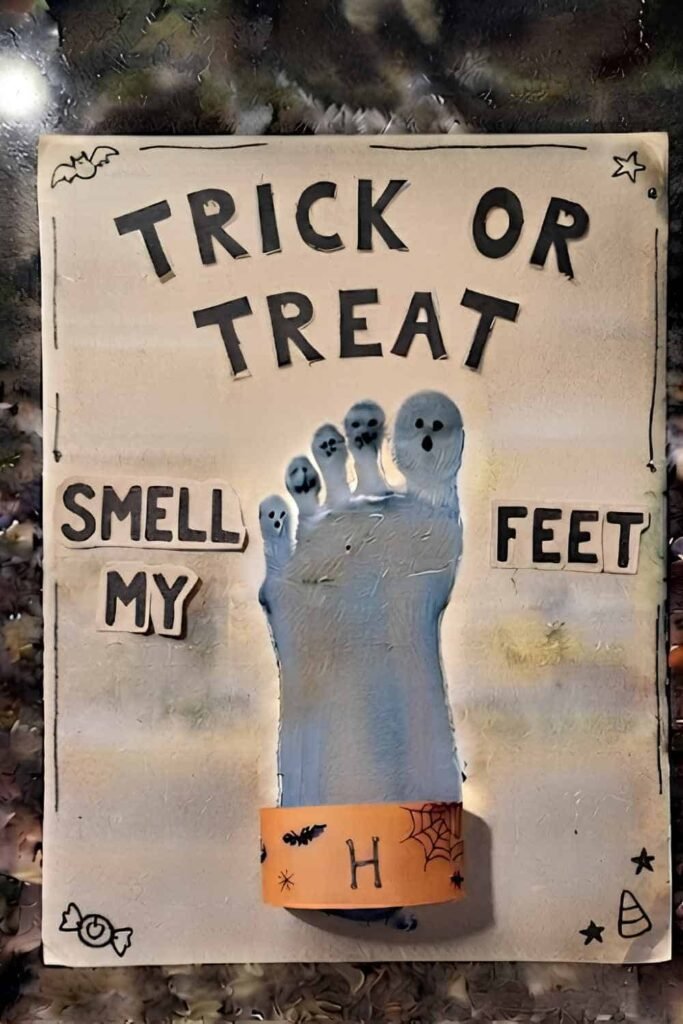
It works beautifully as a Halloween craft for a rainy afternoon, classroom activity, or family DIY project. The best part? It doesn’t need to look perfect.
In fact, the slightly wonky shapes and uneven paint makes it feel much more personal.
Materials Needed To Make Fun Trick Or Treat Smell My Feet Craft
- 1 sheet of white or cream cardstock
- Black construction paper
- Orange construction paper
- Purple or green construction paper
- Pencil
- Scissors
- Black marker
- Orange, black, purple, or green acrylic/craft paint
- Small paintbrush
- Sponge or foam brush
- Glue stick or white craft glue
- Paper plate or scrap cardboard for paint
- A few paper towels or an old cloth
- Optional: googly eyes
- Optional: white gel pen
Tip: Use cardstock rather than very thin printer paper. A painted footprint can make ordinary paper curl up, especially when kids gets generous with the paint.
Step 1: Prepare the Paper Base
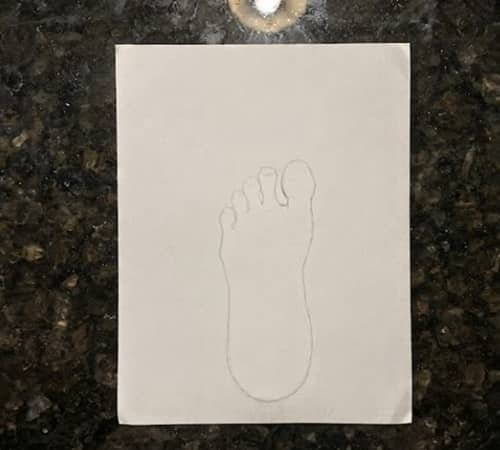
Start with a sheet of white or cream cardstock.
Place it horizontally on your work surface so there is enough room for the footprint and the Halloween lettering.
Use a pencil to lightly mark where the footprint will sit.
I like leaving about two-thirds of the sheet for the foot and the remaining space for the funny message.
Don’t draw the entire foot yet. We only need a rough idea of where everything will go.
Place a scrap sheet underneath your cardstock before painting. It saves the table from becoming part of the Halloween craft too.
Step 2: Make the Footprint
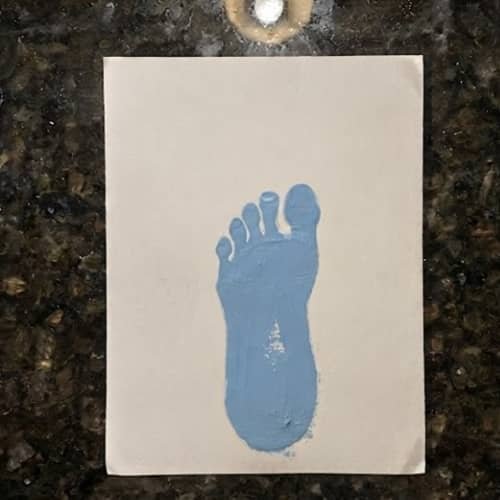
Now comes the fun part… the actual foot.
Paint the bottom of a child’s bare foot with a thin, even layer of washable black, orange, or purple paint.
Don’t soak the foot. A light coat gives a clearer print.
Have the child gently place their foot onto the cardstock where you made the pencil guide.
Press the heel down first, then the middle of the foot, and finally the toes.
Lift the foot straight up.
Do not slide it sideways, or the footprint may turn into one big smudge.
Let the paint dry completely before touching the paper.
The footprint doesn’t need to be perfect. Mine would probably have a few funny gaps too, and that is part of the charm.
Step 3: Turn the Toes Into Little Halloween Characters
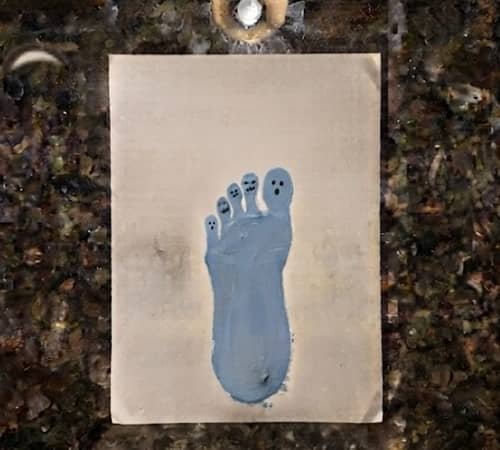
Once the footprint is dry, let’s give those toes some personality.
Use a black marker to add two tiny eyes to each toe.
Keep the faces very simple. Two dots and a little curved mouth is enough.
For a pumpkin theme, add tiny triangle eyes and a crooked mouth. For ghosts, make round eyes. You can even leave some toes plain.
Want an easier option? Add small paper eyes instead of drawing them.
I prefer the imperfect faces because they make the trick or treat footprint art look handmade rather than computer-designed.
Let the ink dry before adding more details.
Step 4: Add a Simple Halloween Cuff
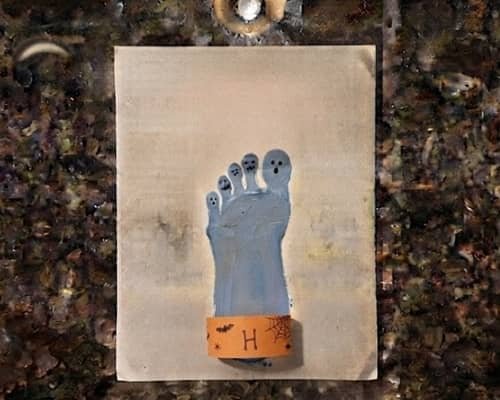
A footprint needs a little costume detail, right?
Cut a small rectangle from orange, purple, or green construction paper. Make it slightly wider than the heel of the footprint.
Glue the rectangle just above the heel. Don’t worry if the edges aren’t perfectly straight.
For extra character, draw a few small black lines across the cuff. You could also add white dots, tiny stars, or little pumpkin faces.
This small detail makes the footprint feel more like a Halloween character instead of simply being a painted foot.
Step 5: Cut Out the “TRICK OR TREAT” Letters
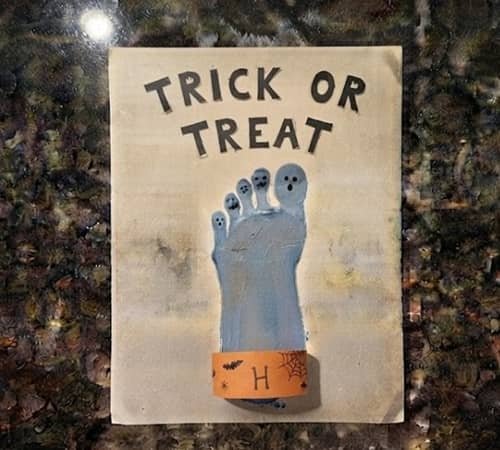
For the main message, use black construction paper.
You don’t need a cutting machine or perfect lettering. Draw chunky block letters by hand and cut them out with scissors.
Make three separate pieces:
TRICK
OR
TREAT
Keep the letters large enough to read from a distance.
If cutting individual letters feels annoying, write the words directly onto the cardstock with a thick black marker instead.
That’s actually my favorite shortcut for younger children.
The slightly uneven letters are part of the look. Perfect typography isn’t the goal here.
Step 6: Add the “SMELL MY FEET” Message
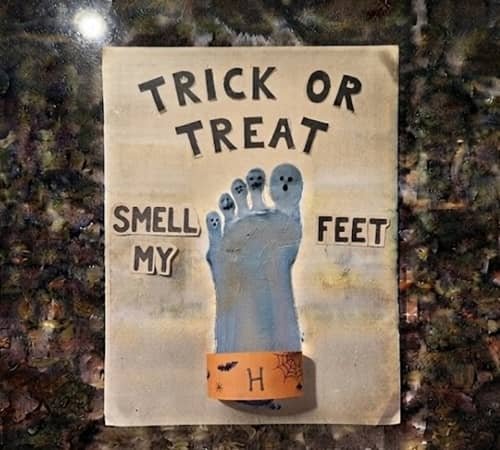
Now add the line that makes this whole project funny.
Cut or write SMELL MY FEET underneath the footprint.
I recommend using two lines:
SMELL MY
FEET
Make “FEET” slightly larger. It gives the craft a stronger visual punch and makes the joke instantly understandable.
Use orange paper for “SMELL MY” and black paper for “FEET,” or simply use a black marker if you want to keep things easy.
This is also where you can play around with the classic trick or treat smell my feet meme idea without copying any particular design.
Kids usually find this part hilarious.
Step 7: Add Tiny Halloween Details
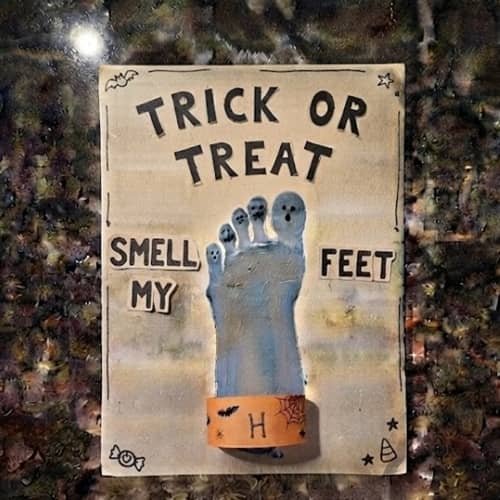
The craft is almost finished.
Take a black marker and add a few tiny details around the footprint.
You could draw three little stars, a crooked spiderweb, miniature bats, candy shapes, or simple pumpkin faces.
Keep this part restrained.
Too many decorations can hide the footprint, which is the star of this paper craft.
If you want some color, add tiny orange or purple paper circles as pretend candy pieces.
A few white gel-pen dots on the dark letters can also make them pop.
Remember, this is supposed to look like something a child could genuinely make at home. A crooked bat is completely acceptable.
Step 8: Let It Dry and Display It
Give the finished trick or treat smell my feet craft enough time to dry completely.
If you used wet paint, wait until the paper feels dry before moving it. This helps prevent fingerprints and accidental smearing.
For a classroom display, punch two small holes along the top and add string. At home, stick it onto a refrigerator, bedroom door, craft wall, or Halloween display board.
You could also write the child’s name and year in one corner. That tiny detail turns a simple kids craft into a keepsake.
And yes, the footprint might be a little crooked. Keep it anyway.
Also Read: Trick Or Treat Smell My Feet Clay Craft
Final Thoughts
What I like most about this Halloween project is that the footprint becomes the main character instead of just another decoration.
Kids can make the print themselves, choose the paint color, invent silly toe faces, and decide how wonky the lettering should be.
That makes it work for different all age groups, because younger children can concentrate on the footprint and painting while older kids can handle cutting and decorating.
You can even turn it into a little collection of Halloween feet painting art from every child in the family. Keep the imperfections.
Those tiny mistakes are usually what make handmade crafts worth keeping long after Halloween is over.





