I love messy craft days. There’s something calming about shaping clay with your own hands, even if it ends up a little crooked.
If you’re hunting for fresh air dry clay bowl craft ideas, you’re in the right place.
I haven’t personally tested these, but I’ve studied enough tutorials and techniques to guide you step by step.
These air dry clay bowls ideas are beginner friendly and simple to follow.
Ready to make your own clay bowls that actually look handmade and proud of it?
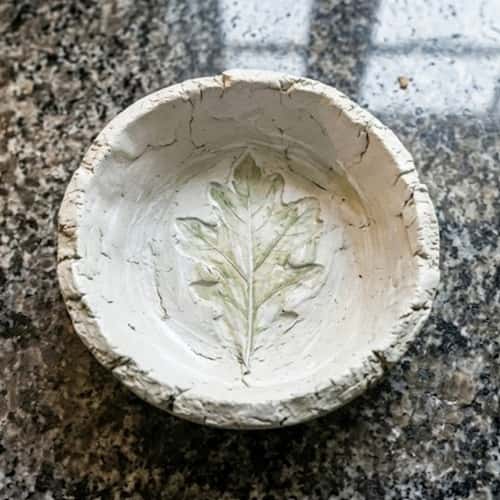
1. Leaf Imprint Nature Bowl Using Air Dry Clay
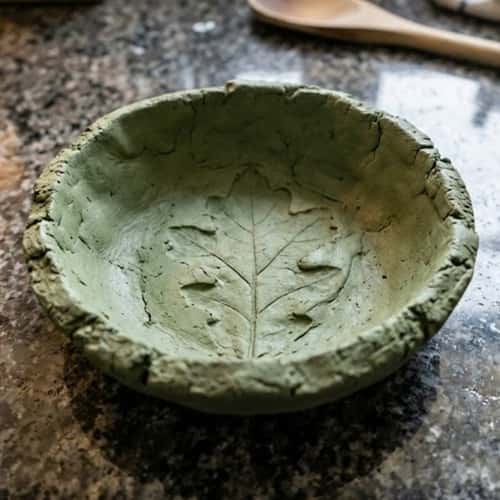
What you need: Air dry clay, rolling pin, real leaf (with strong veins), knife, small bowl (for shaping), sandpaper.
Instructions:
- Knead the clay for 2 to 3 minutes until soft. If it cracks, your clay is too dry, add a tiny bit of water.
- Roll it flat about 5mm thick. Not too thin or it will break.
- Press the leaf vein-side down firmly into the clay.
- Peel it off slowly. You’ll see the imprint.
- Cut around the shape with a knife.
- Gently lift and place inside a small bowl to curve it.
Let dry for about 24 to 48 hours. Sand edges lightly. Seal with clear varnish if you want shine.
2. Minimalist White Ring Dish
Tiny bowl. Big charm.
This is perfect for trinket dishes air dry clay style.
You need: Clay, small round cutter, spoon, acrylic paint (white or pastel), clear sealant.
Steps:
- Roll clay flat.
- The next step is to cut a circle with a glass or cookie cutter..
- Use the back of a spoon to gently press center down.
- Keep edges slightly thicker for strength.
Let dry fully. Paint thin coats. Don’t rush drying, it will crack if you do.
I know it sounds too simple, but simple works.
3. Air Dry Clay Marbled Bowl
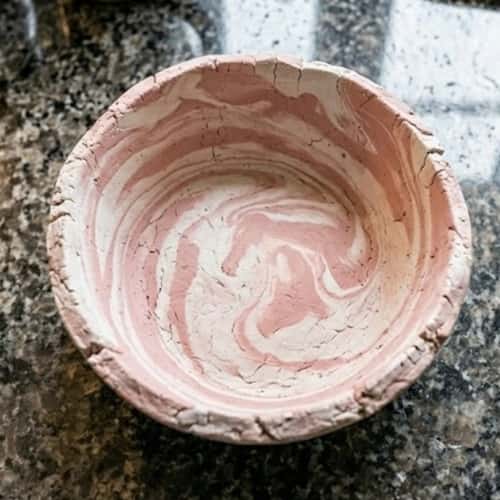
Materials: White and colored air clay, rolling pin, bowl mold.
Instructions:
- Roll two colors into thin ropes.
- Twist them together loosely.
- Roll flat gently. Don’t overmix or colors blend fully.
- Cut a circle.
- Drape over upside-down bowl.
Let dry. The marbling looks fancy but it’s so easy. I was surprise how forgiving this method is.
Seal with gloss varnish for shine.
4. Rustic Rope Texture Bowl
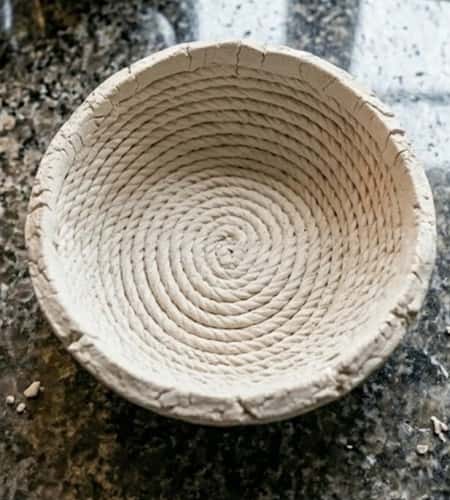
Texture makes everything better, right?
This clay bowl diy air dry method gives farmhouse vibes to be honest.
Supplies: Clay, thick rope, bowl mold, knife.
Steps:
- Roll clay 6mm thick.
- Press rope firmly across surface in straight lines.
- Repeat in different directions if you like.
- Cut circular shape.
- Place over bowl mold.
Dry completely before removing. Sand lightly.
I love when crafts don’t look factory made.
5. Scalloped Edge Jewelry Bowl
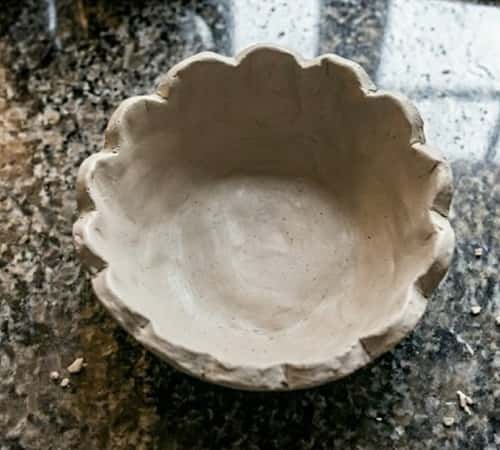
What you need: Clay, rolling pin, round cutter, straw or small round cap.
Steps:
- Roll clay evenly.
- Cut circle.
- Use straw edge to press half-circles along border.
- Gently lift and place into shallow bowl mold.
Let dry 48 hours. Paint inside gold or leave raw.
Sometimes I think less paint is more.
This fits beautifully into air dry clay dish ideas for bedside tables.
6. Yarn Holder Bowl (With Side Cut)
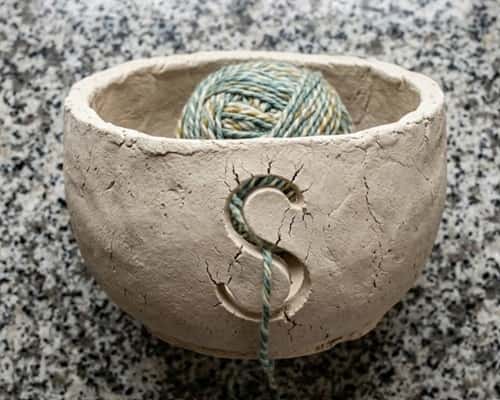
If you crochet, this one is genius.
This is basically an air dry clay yarn bowl diy version.
Materials: Clay, knife, large bowl mold.
Steps:
- Roll thick slab. At least 8mm thick for strength.
- Drape over large bowl.
- Cut a curved “S” opening on one side before it dries.
- Smooth edges with damp finger.
Dry slowly. If you rush, it might warp.
Seal it so yarn doesn’t snag.
7. Stamped Pattern Bowl
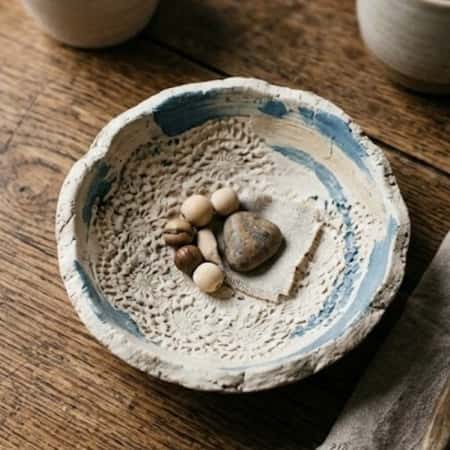
Supplies: Clay, lace fabric or rubber stamp, rolling pin, bowl mold.
Steps:
- Roll clay evenly.
- Press lace or stamp firmly.
- Peel carefully.
- Cut circle and shape over bowl.
Dry 1 to 2 days. Paint lightly to highlight texture.
This air clay bowl diy style works great for gifting.
8. Painted Inside Accent Bowl
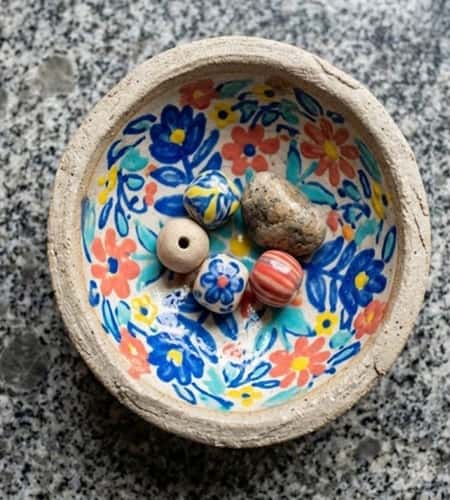
Materials: Clay, bowl mold, acrylic paints.
Steps:
- Make simple round bowl shape.
- Let it dry fully.
- Paint inside with geometric shapes or bright colors.
Don’t paint before it dries, it will ruin surface.
These are perfect air dry clay trinket dishes for keys or coins.
9. Speckled Stone Look Bowl
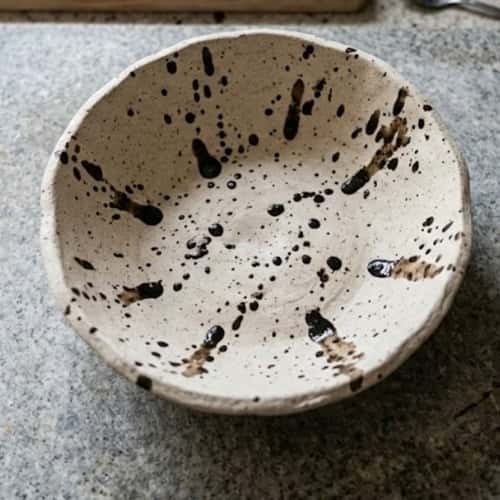
Supplies: White clay, black acrylic paint, toothbrush.
Steps:
- Shape basic bowl using air dry clay bowl plans (simple draped mold method).
- Let dry completely.
- Dip toothbrush in diluted black paint.
- Flick paint gently to create speckles.
It feels messy. It is messy. But it works.
Seal after drying.
10. Heart Shaped Trinket Dish
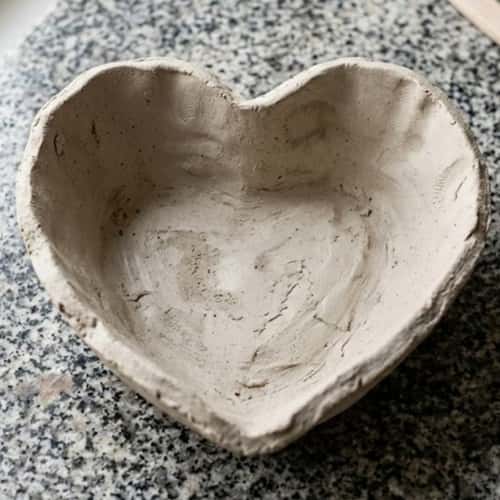
Materials: Clay, knife, heart template, small bowl mold.
Steps:
- Roll clay flat.
- Trace heart shape.
- Cut carefully.
- Place inside bowl mold to curve slightly.
Let it dry for about 48 hours. Sand edges softly.
These trinket dishes air dry clay style are perfect for gifts.
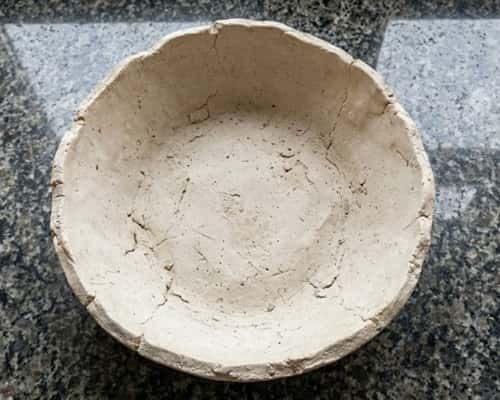
11. Fruit Bowl Style Wide Dish
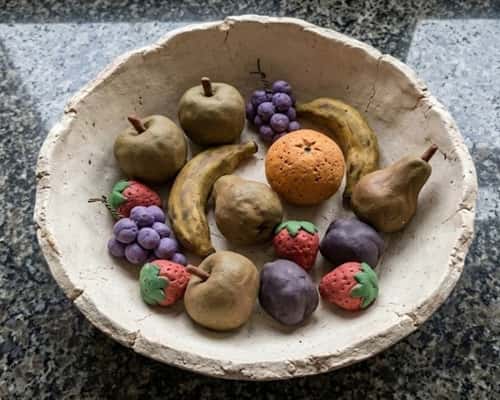
This one is bigger.
If you’re dreaming of an air dry clay fruit bowl, thickness is key.
Steps:
- Roll thick slab (8 to 10mm).
- Use large plate as guide to cut circle.
- Gently lift and press into wide bowl mold.
- Smooth cracks with damp finger.
Dry extra long. Big pieces need more time.
Seal properly so it lasts.
12. Raw Edge Boho Bowl
Materials: Clay, hands, no cutter.
Steps:
- Roll uneven slab.
- Tear edges instead of cutting.
- Press into bowl mold lightly.
- Leave edges jagged.
Let dry naturally. No rush.
Sometimes imperfections tells story better than perfection does.
This is pure air dry clay bowl craft energy.
Final Thoughts
Here’s what most people don’t talk about. Air drying clay shrinks slightly.
So plan for that when measuring. Also, thicker pieces crack less, but they take longer. Patience matters more than talent.
If you’re learning how to make air dry clay bowls, focus on drying time, sealing, and even thickness.
These air dry clay bowls diy projects aren’t about perfection.
They’re about experimenting with texture, weight, and surface finish. And honestly? The slightly wonky ones have the most character.