Christmas crafts don’t always have to be ornaments, cards, or things that sit on a shelf.
Why not make something you can actually wear? These Ear cuff clay crafts for Christmas turn soft, colorful clay into tiny festive accessories that kids can help create and decorate.
I especially like this idea because the designs can be kept small, simple, and a little imperfect.
That handmade look is part of the charm! You can use air-dry clay, kid-friendly modeling clay, or clay that works with your usual craft supplies.
Ready to make some tiny Christmas jewelry?
Choose Your Air Dry Clay Type
Regular Air Dry Clay | Cornstarch Clay | Homemade Clay
Affiliate Disclaimer: Some of the links in this post may be affiliate links, which means I may earn a small commission if you choose to make a purchase through them – at no extra cost to you. I only share products that genuinely fit this project and can help make your ceramic mug clay craft process easier and smoother. Your support helps keep ideas like this coming.
1. Tiny Christmas Tree Ear Cuff
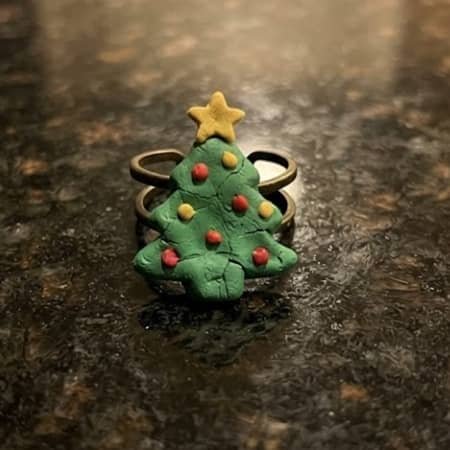
A miniature Christmas tree is probably the easiest place to start.
You will need:
- Air-dry clay
- Green, red, and yellow clay
- A smooth silicone or rounded ear cuff base
- Craft glue suitable for the chosen materials, used by an adult
How to make it:
- Take a tiny amount of green air-dry clay and roll it gently between your fingers.
- Flatten it slightly into a small triangle.
- Use your fingertip to create two or three shallow zigzag edges so it resembles a Christmas tree.
- Add tiny red and yellow clay dots as ornaments.
- Make a very small brown rectangle for the tree trunk.
- Press the trunk onto the bottom of the tree.
- Add a tiny yellow star at the top if your fingers can manage it.
- Leave the clay completely undisturbed while it dries according to the package instructions.
- Once dry, an adult can secure the decoration to a smooth cuff base.
Don’t make the tree too thick. A lighter decoration sits much better on an ear cuff.
2. Candy Cane Twist Ear Cuff
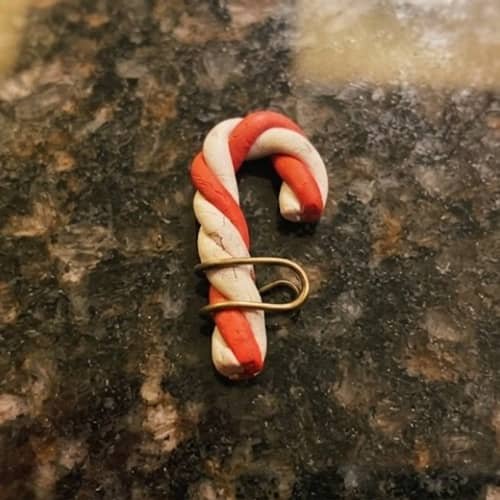
This one looks complicated but it really isn’t.
Roll two very thin clay snakes, one red and one white.
Keep them roughly the same length. Place them beside each other, gently twist them together, then flatten the twisted piece slightly.
Bend one end into a soft candy-cane hook.
Let it dry flat.
The red-and-white clay color combos instantly give this design its Christmas feeling.
If your child presses too hard, don’t worry. The uneven twist actually makes it look handmade.
3. Mini Gingerbread Person Cuff
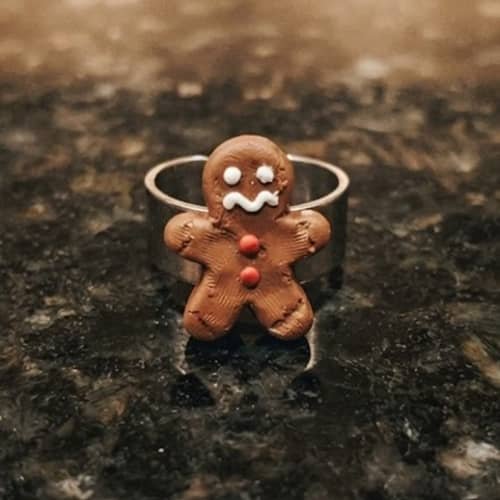
Who says gingerbread people belong only on cookies?
Roll a small piece of brown air-dry clay into a ball. Flatten it gently and shape it into a tiny person using your fingertips. You don’t need a perfect body shape.
Add two tiny white clay dots for eyes, a curved icing-style line, and two red buttons.
Let everything dry separately if the clay is very soft. Once hardened, attach the tiny figure to the cuff base.
This is one of my favorite polymer clay jewelry ideas, even though I prefer air-dry clay for a kid-friendly version.
4. Snowman Face Ear Cuff
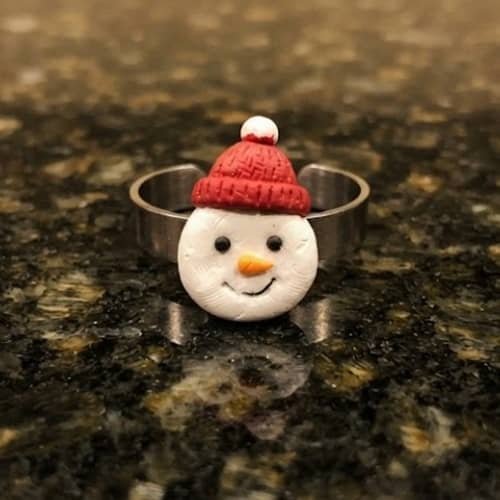
Keep this one wonderfully simple.
Roll white clay into a tiny ball and flatten it into a small rounded face.
Add two black clay dots for eyes and one tiny orange clay triangle for the carrot nose.
For a Christmas twist, add a tiny red clay hat.
That’s it.
The trick is to keep the face small enough that it doesn’t make the cuff heavy.
Smaller looks cuter here anyway. Kids can make several expressions too. A happy snowman, sleepy snowman, or very confused snowman are all fair game!
5. Christmas Pudding Clay Cuff
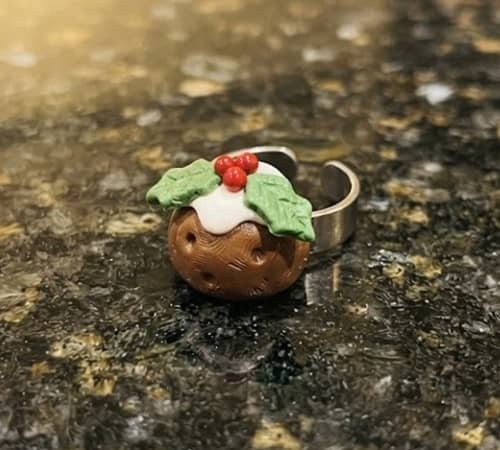
This is such a fun little shape because it doesn’t need detailed sculpting.
Make a small brown clay ball and flatten the bottom slightly so it can sit neatly against the cuff decoration.
Add a few tiny green leaves on top.
Finish with three or four tiny red berry dots.
Don’t worry about making the berries identical. They shouldn’t be. The little variations make this clay craft look like something a child actually made.
Once dry, attach it to the cuff base with adult help.
6. Rudolph Reindeer Cuff
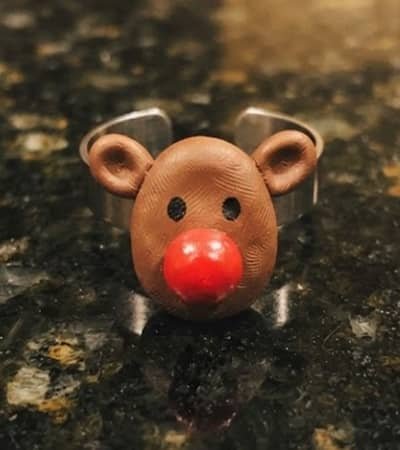
Rudolph works brilliantly as a tiny clay face.
Shape a small oval from brown clay. Add two tiny ears by pressing small brown pieces onto the sides.
Use black clay for the eyes.
Then comes the important part: one tiny red nose.
You can also add a little cream-colored clay patch around the mouth.
Let the complete piece dry before attaching it to the cuff. If the ears feel loose, make them slightly thicker rather than adding complicated supports.
This is a great little project for clay activities with younger kids because most of the shaping can happen with fingers.
7. Santa Hat Ear Cuff
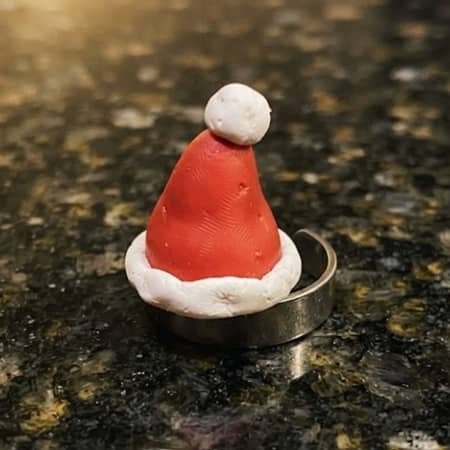
A Santa hat can be made using only three colors.
Start with red clay. Roll it into a small cone.
Flatten the bottom gently.
Add a thin white clay strip around the bottom and a tiny white clay ball at the tip.
The shape does not need to be mathematically perfect. In fact, a slightly crooked Santa hat looks more playful.
For older kids, you could make several tiny hats using different red shades. Those little differences can make a whole set feel more handmade.
8. Christmas Bell Ear Cuff
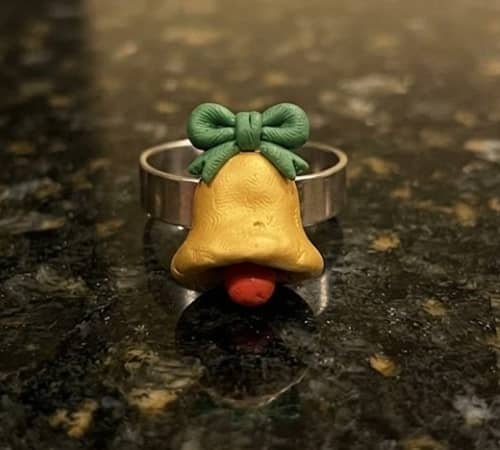
For this one, form a tiny golden or yellow clay dome.
Flatten the bottom.
Make a tiny red clay ball and place it underneath as the bell clapper.
Add a very small green bow on top if you want more detail.
Avoid making the decoration hollow. A solid, shallow bell shape is easier for beginners and less likely to break while drying.
Gold, red, and green are classic clay color combos, but a silver-and-blue version would look lovely too.
9. Peppermint Candy Cuff
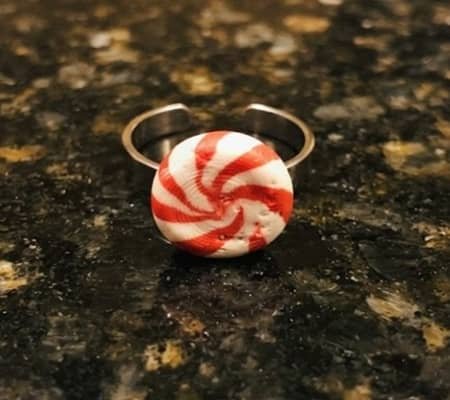
Here’s an easy one for very young crafters.
Roll a small white clay ball.
Flatten it.
Add several very thin red clay strips across the surface. Press them gently into place and trim the excess only if an adult is handling the cutting step.
For a completely tool-free version, simply make shorter strips and place them within the circle.
You can also reverse the colors and make a red candy with white stripes.
These designs would work especially well as clay cuff earrings for Christmas when kept very small and lightweight.
10. Christmas Star Ear Cuff
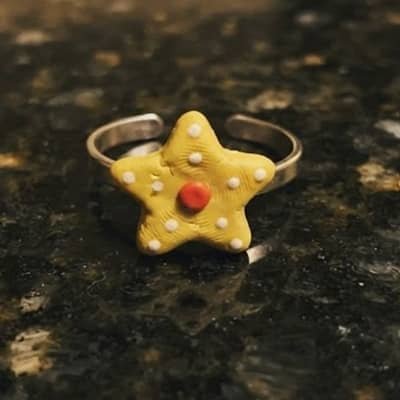
Stars are perfect when you want something less obviously Santa-themed.
Flatten yellow clay into a small piece.
Shape it into a five-point star using your fingertips. Don’t worry if the points are slightly uneven.
Add tiny white dots or a small red center.
For an unexpected version, try turquoise, purple, or pink instead of yellow.
Even sculpey neon colors can inspire a brighter modern Christmas palette, although for kids I would choose whichever clay is already safe and suitable for their age.
11. Little Christmas Wreath Cuff
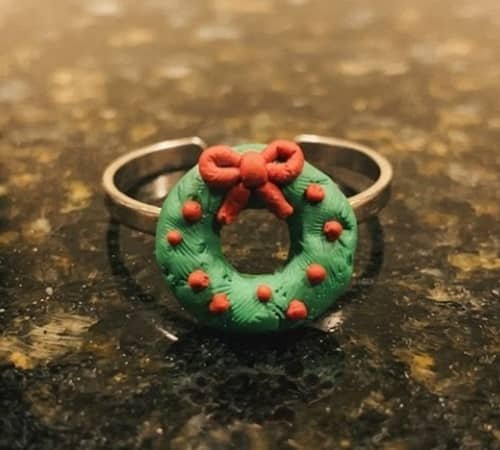
Make a tiny green clay ring by rolling a thin clay snake and joining its ends.
Flatten it carefully.
Add tiny red berry dots around one side.
A small red bow at the bottom finishes the wreath.
If making the ring is frustrating, don’t force it. A flattened green circle with a red bow still reads as a wreath once it’s tiny enough.
This is also one of those polymer clay craft designs that can be adapted later for brooches, charms, or ornaments.
12. Tiny Present Box Cuff
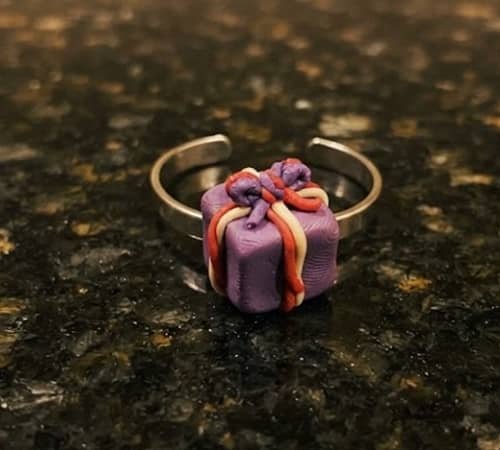
A miniature gift box makes a surprisingly cute wearable decoration.
Make a tiny square from red, green, blue, or purple clay.
Flatten it slightly.
Roll a very thin strip of contrasting clay and place it vertically across the box.
Add another strip horizontally.
Finish with a tiny bow.
Keep the decoration shallow. A large cube can become uncomfortable and heavy when worn.
Try unusual Christmas shades too.
Burgundy and cream, forest green and gold, or dusty pink and red can make this feel more like boutique clay jewelry than a basic kids craft.
13. Bonus: DIY Clay Hoop-Style Cuff
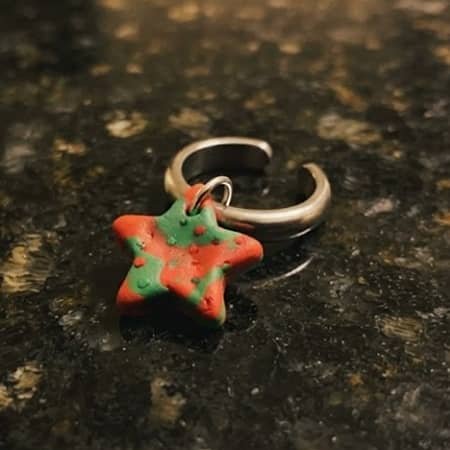
Want something that feels a little more like grown-up jewelry?
Make a tiny flat clay charm such as a star, tree, heart, or candy cane. Let it dry completely.
Instead of trying to create the entire ear cuff from clay, use a smooth ready-made cuff or hoop-style base and have an adult attach the charm securely.
This is where Diy clay hoop earrings and ear-cuff-inspired jewelry can overlap.
The important distinction is that an ear cuff sits around the outer ear without requiring a pierced hole.
For kids, I’d keep the charm very small and use a rounded, comfortable base.
Final Thoughts
What makes these Ear cuff clay crafts for Christmas interesting isn’t really the Christmas theme. It’s the scale.
Working this small teaches kids how tiny changes in shape, thickness, and color can completely change the personality of a piece.
That’s a useful lesson for almost any future clay project. I also love using leftover clay scraps here because the quantities are so tiny.
Mix a little red with white and suddenly you have pink. Add blue to white and you get several winter shades.
So before throwing those little clay leftovers away, look at them again. Your next miniature jewelry idea might already be sitting on the craft table.
Also Read:





